
I know I’m a little silly, but the first time I walked through our current house, I was excited to see it had a butler’s pantry (I’ve never had one before). And why was I so excited? Because I am … Continue reading

I know I’m a little silly, but the first time I walked through our current house, I was excited to see it had a butler’s pantry (I’ve never had one before). And why was I so excited? Because I am … Continue reading

A few weeks ago I told you I was in the process of painting my 2 year old daughter’s ceiling in preparation for turning her room from a nursery to a “big girl room.” I am happy to report the … Continue reading
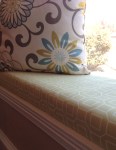
In my kitchen there is a bay window with a rather deep window sill. This space actually perplexed me for a while when we first moved in our house. Seriously, what does one do with a window sill that is … Continue reading

To keep from boring everyone with my ramblings, I typically try to post to my blog only once a week, however, I’m pretty excited about my latest project and wanted to go ahead and share it with each of you. … Continue reading

As a little girl I adored playing in “secret” spaces. My imagination soared and there was just something fun about places where no adults were allowed (or could fit). When we were potential buyers for our current home, I admit, … Continue reading

A couple of weeks ago my decorator-savvy younger sister sent me a photo of the new semi-flush mount ceiling fixture she purchased from Home Depot. My first thought was, “Wow! Home Depot is stepping it up!” My second thought was, … Continue reading
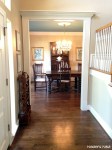
In my last post I mentioned I would post pictures of the “Before and After” process of my dining room. Sorry it took me longer to post than I originally intended. Apparently, I have the same attention span as my 2 … Continue reading
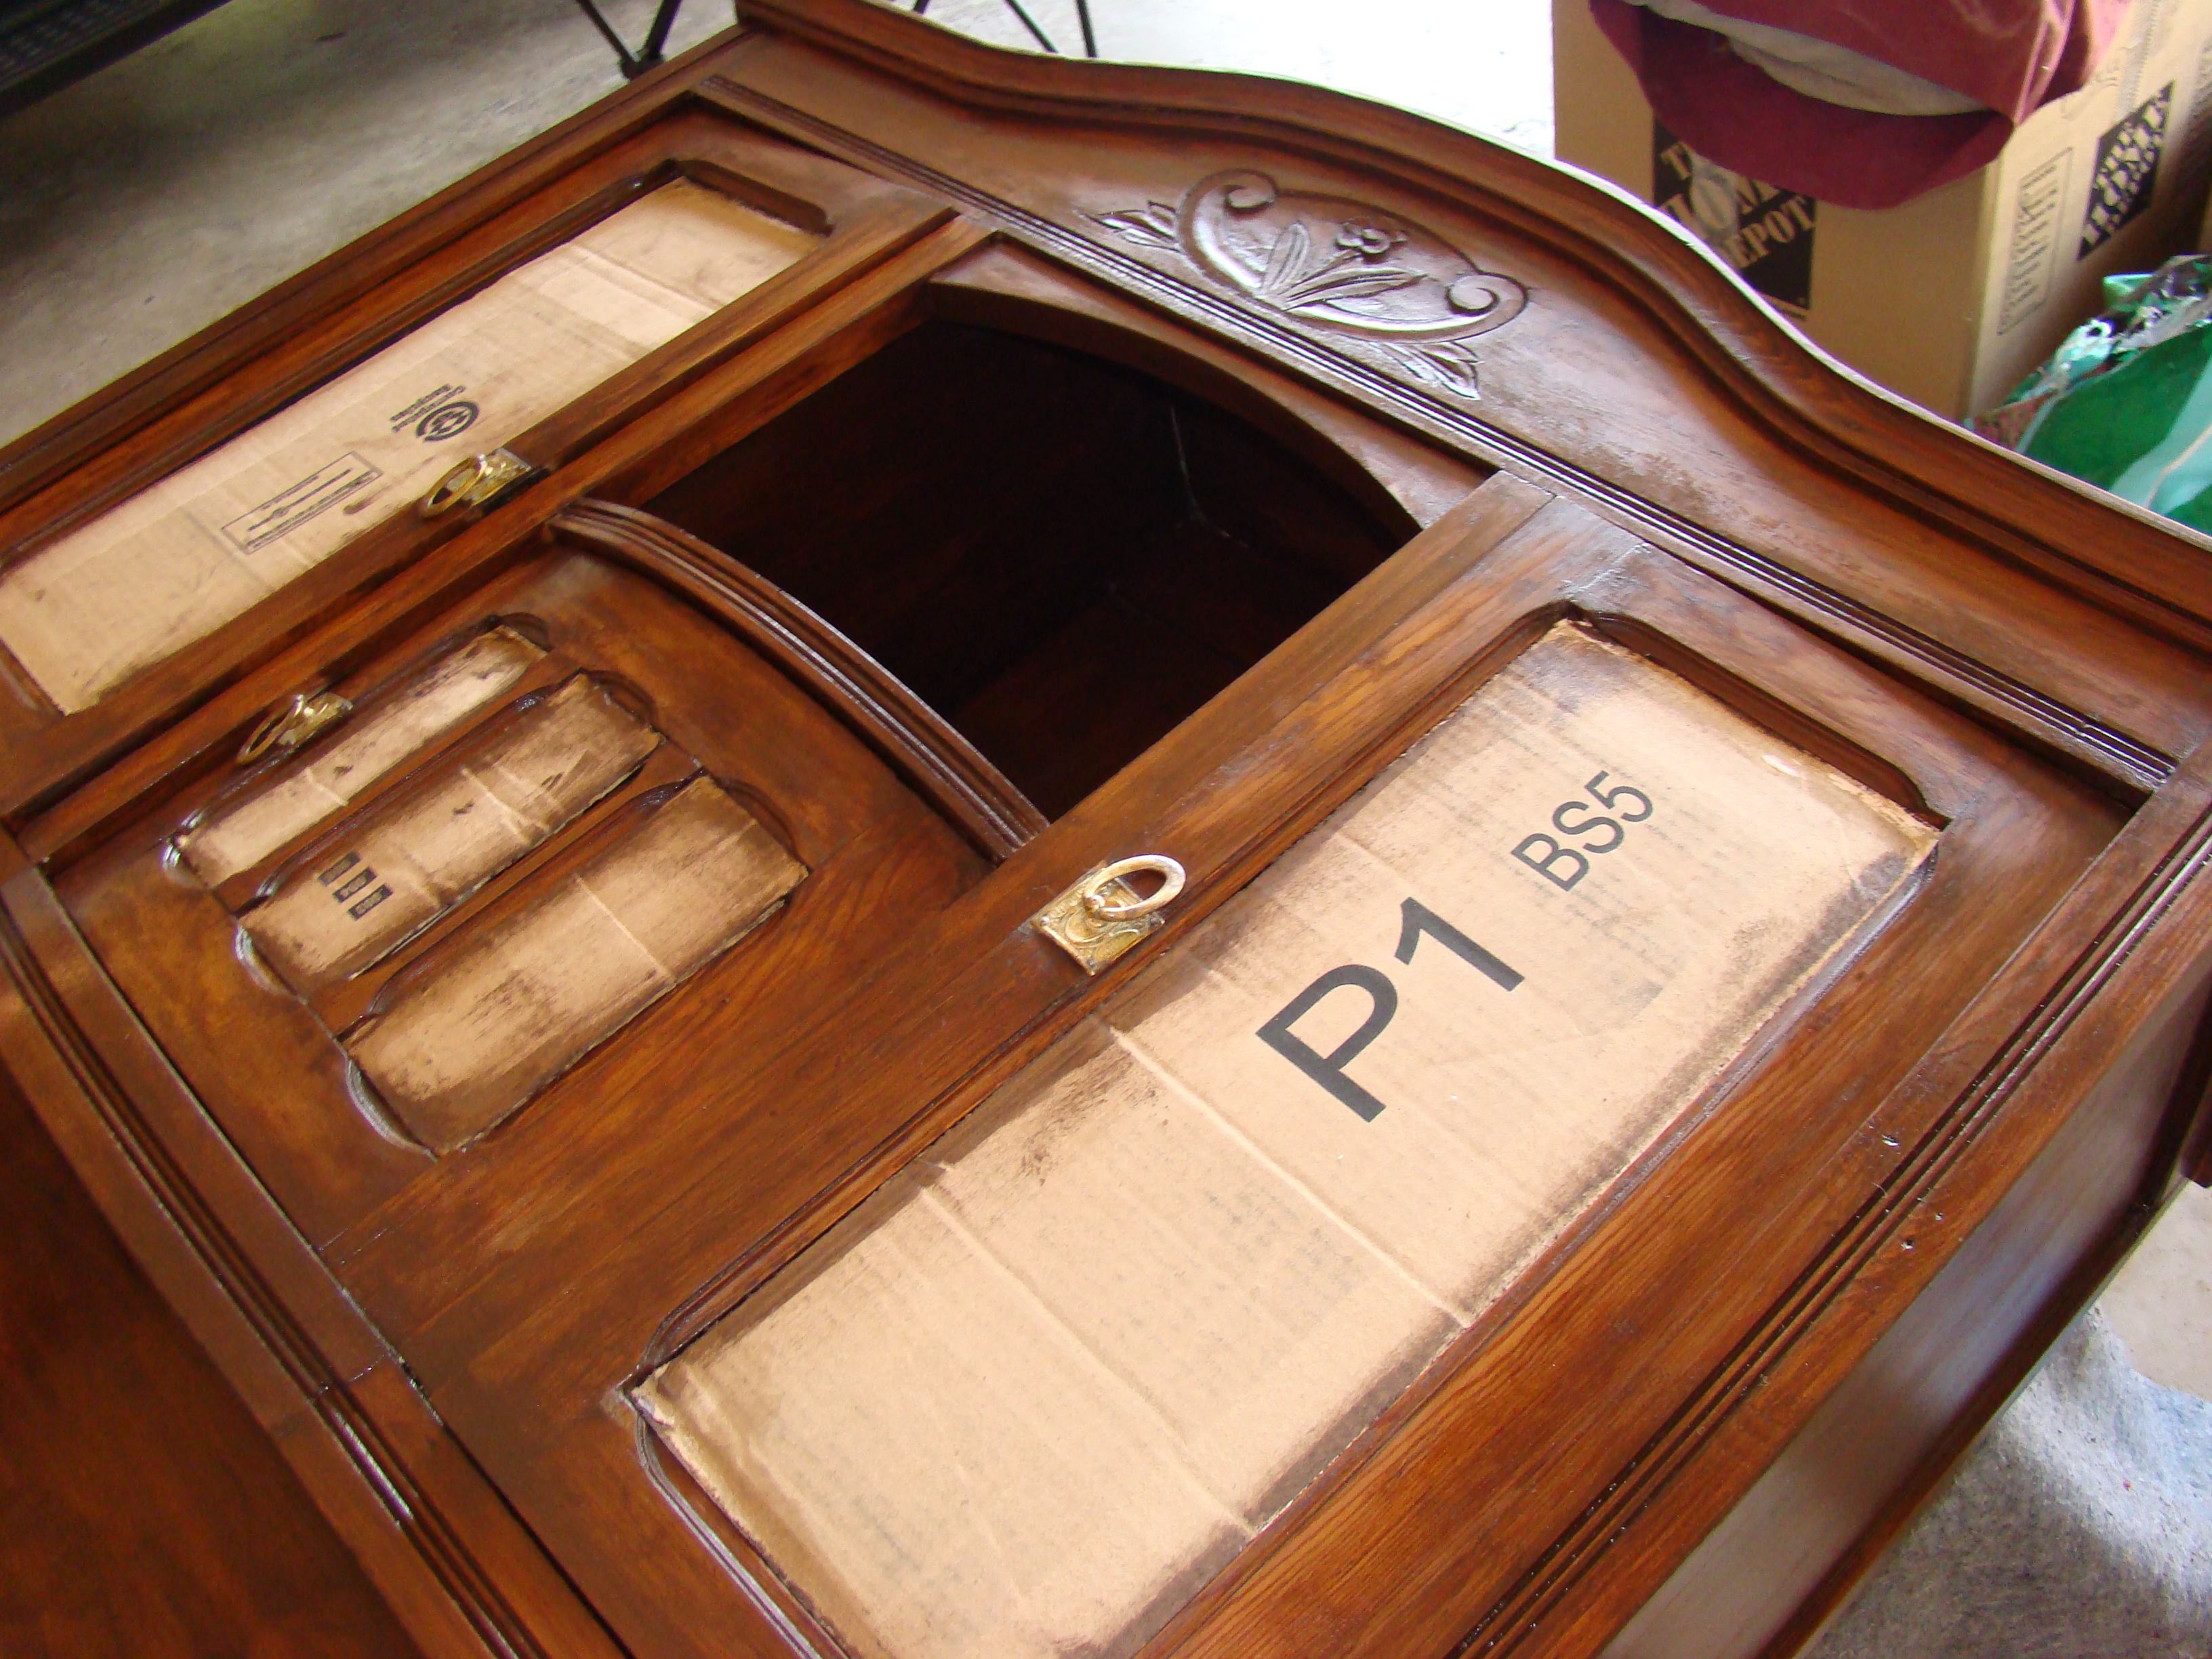
Eight years ago I spotted this hutch at an antique fair and just knew I had to have it.
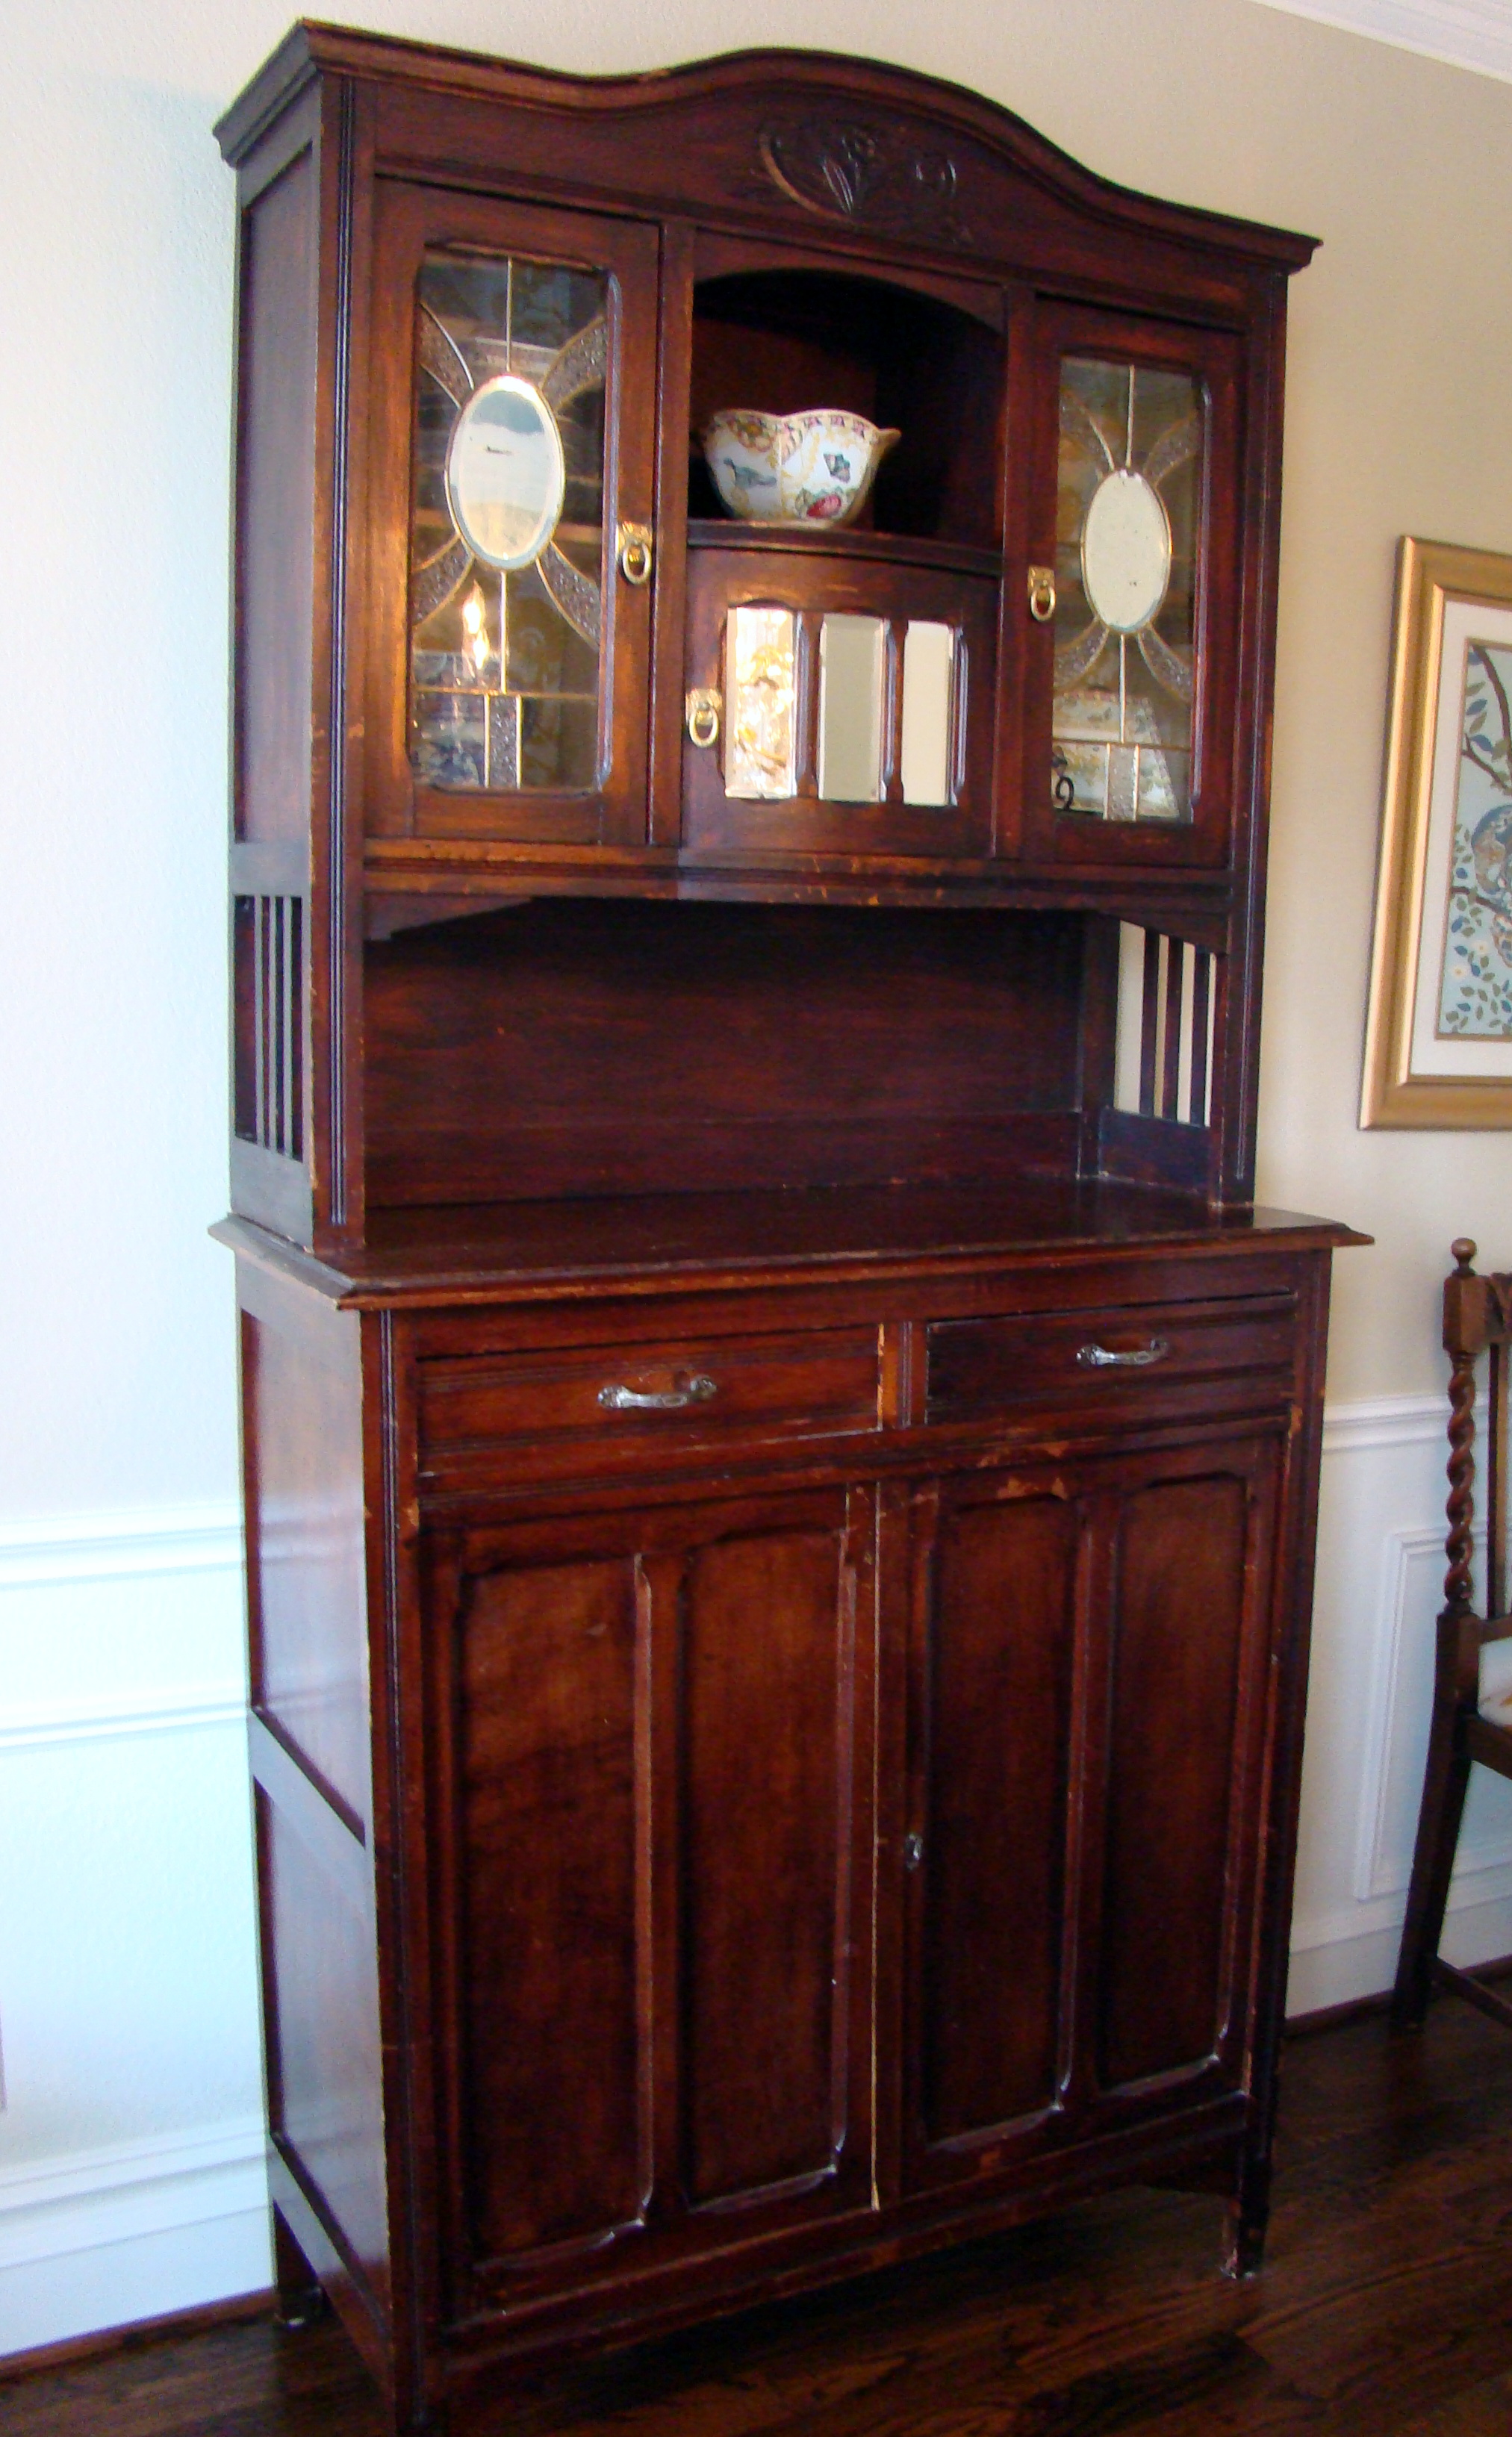
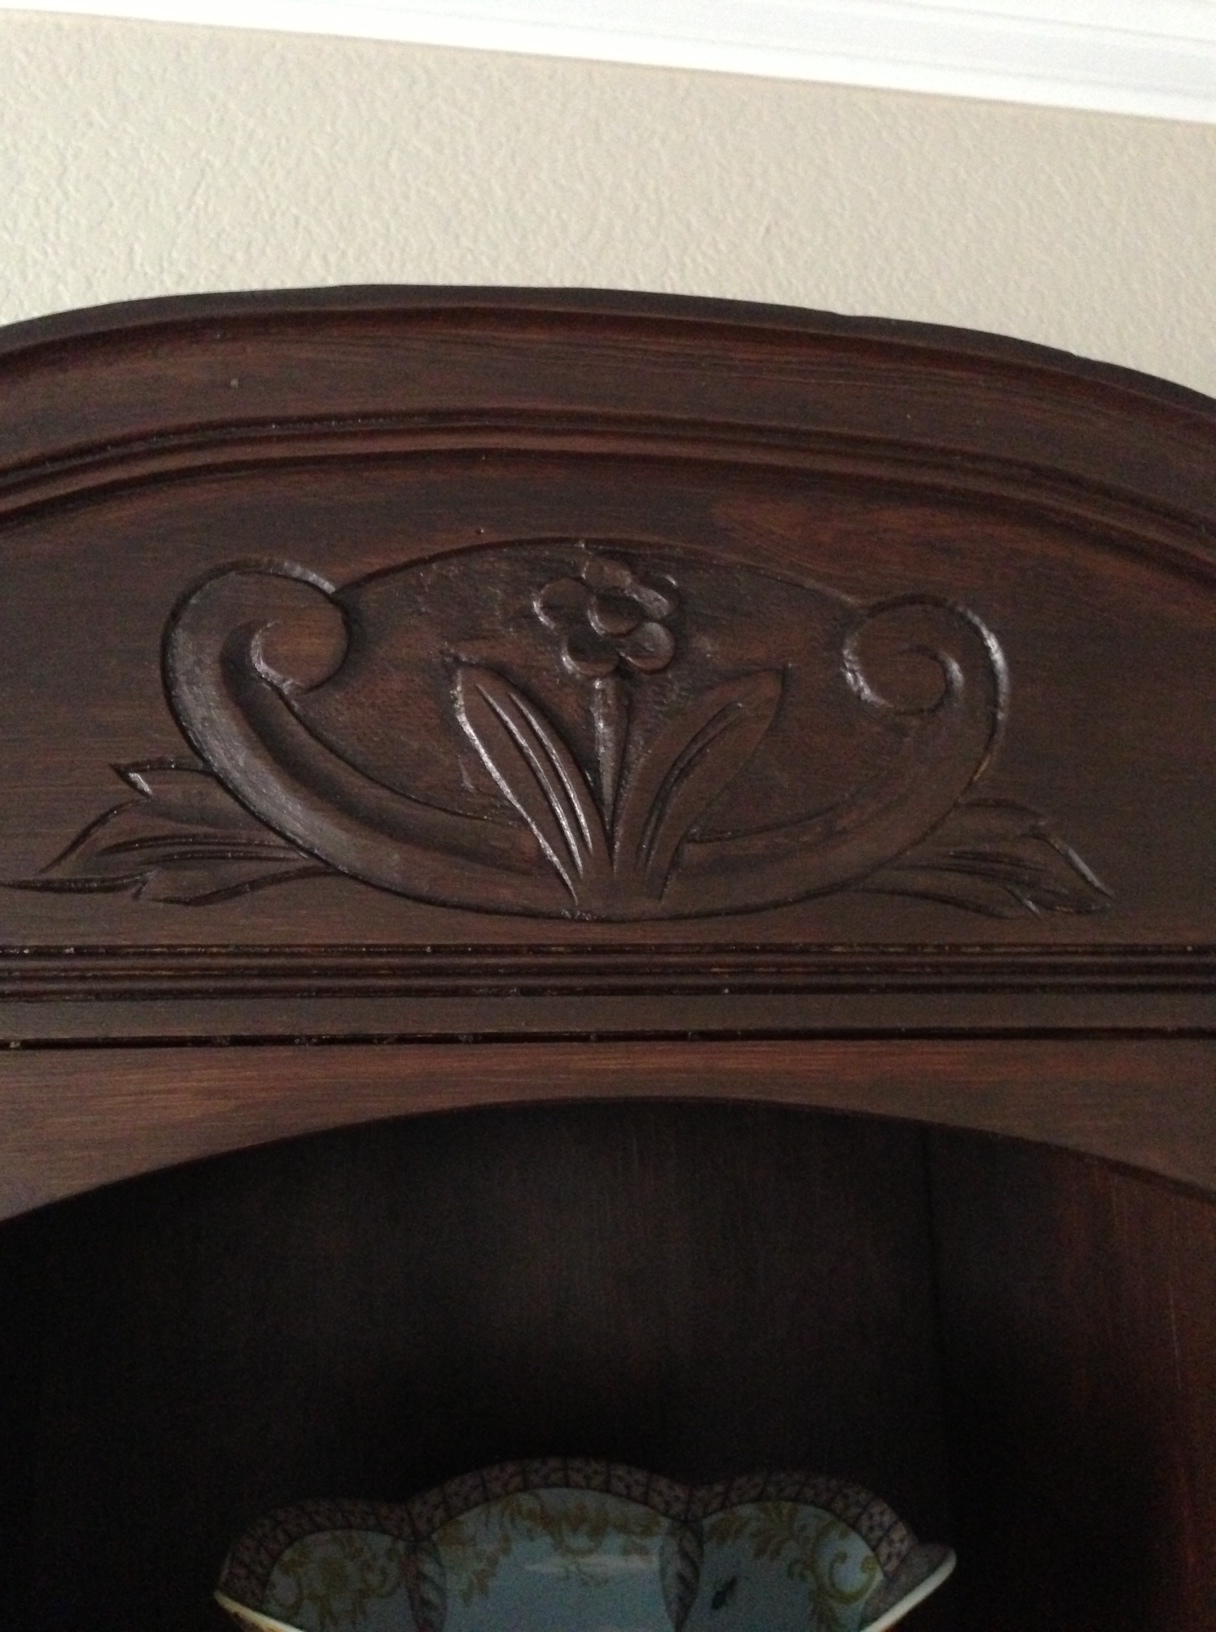
The piece isn’t very sturdy (it’s made of only plywood and pine) and it needed A LOT of TLC. But, it had so much character and I loved the hand carved detailing and antique glass. Plus, the seller knocked 40% off the price (I’m a sucker for a deal). When I bought it I was a newlywed with no kids, no dogs and I just knew I would have plenty of time to give it a makeover, however, I somehow managed to find other things to do. Fast forward 8 years, 2 kids, 2 dogs and 4 moves later and there it still sat, with no love and now I really didn’t have any time on my hands. One day last summer, for some inexplicable reason, I woke up and thought, “NOW is the time!” So what if I had to refinish the piece in my garage…in Texas…in July? GREAT idea! So, off I went to purchase supplies…
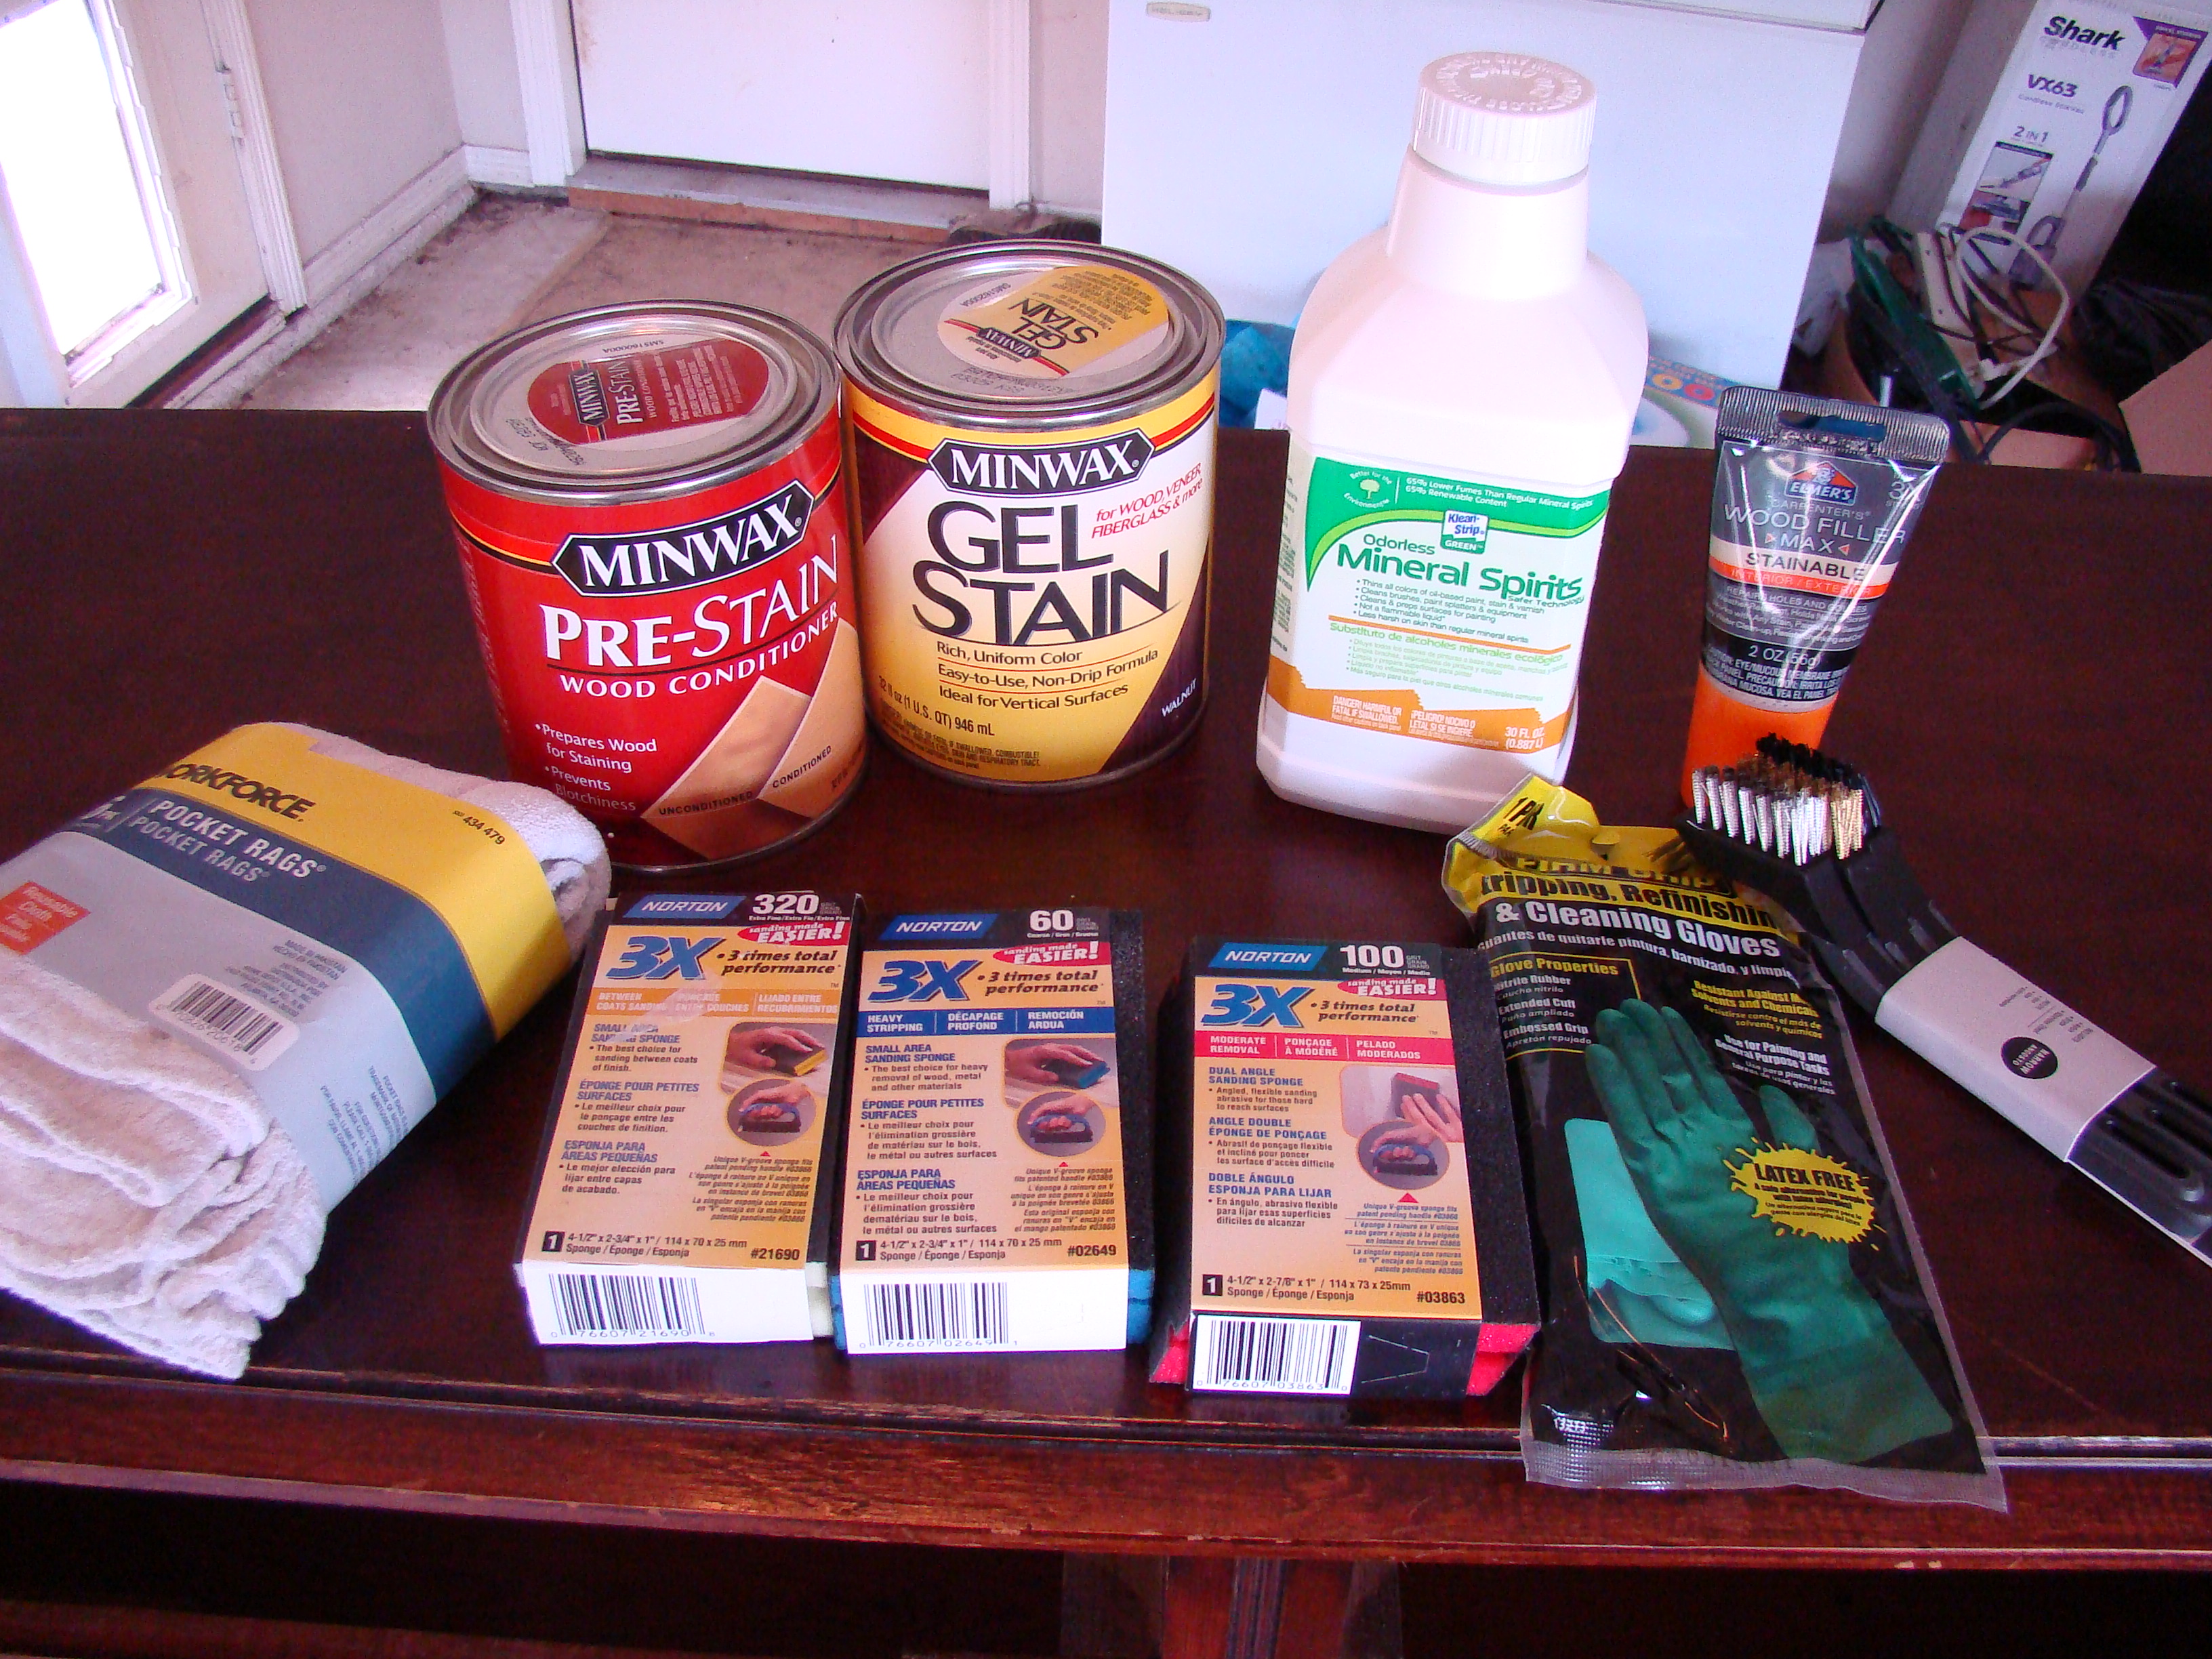
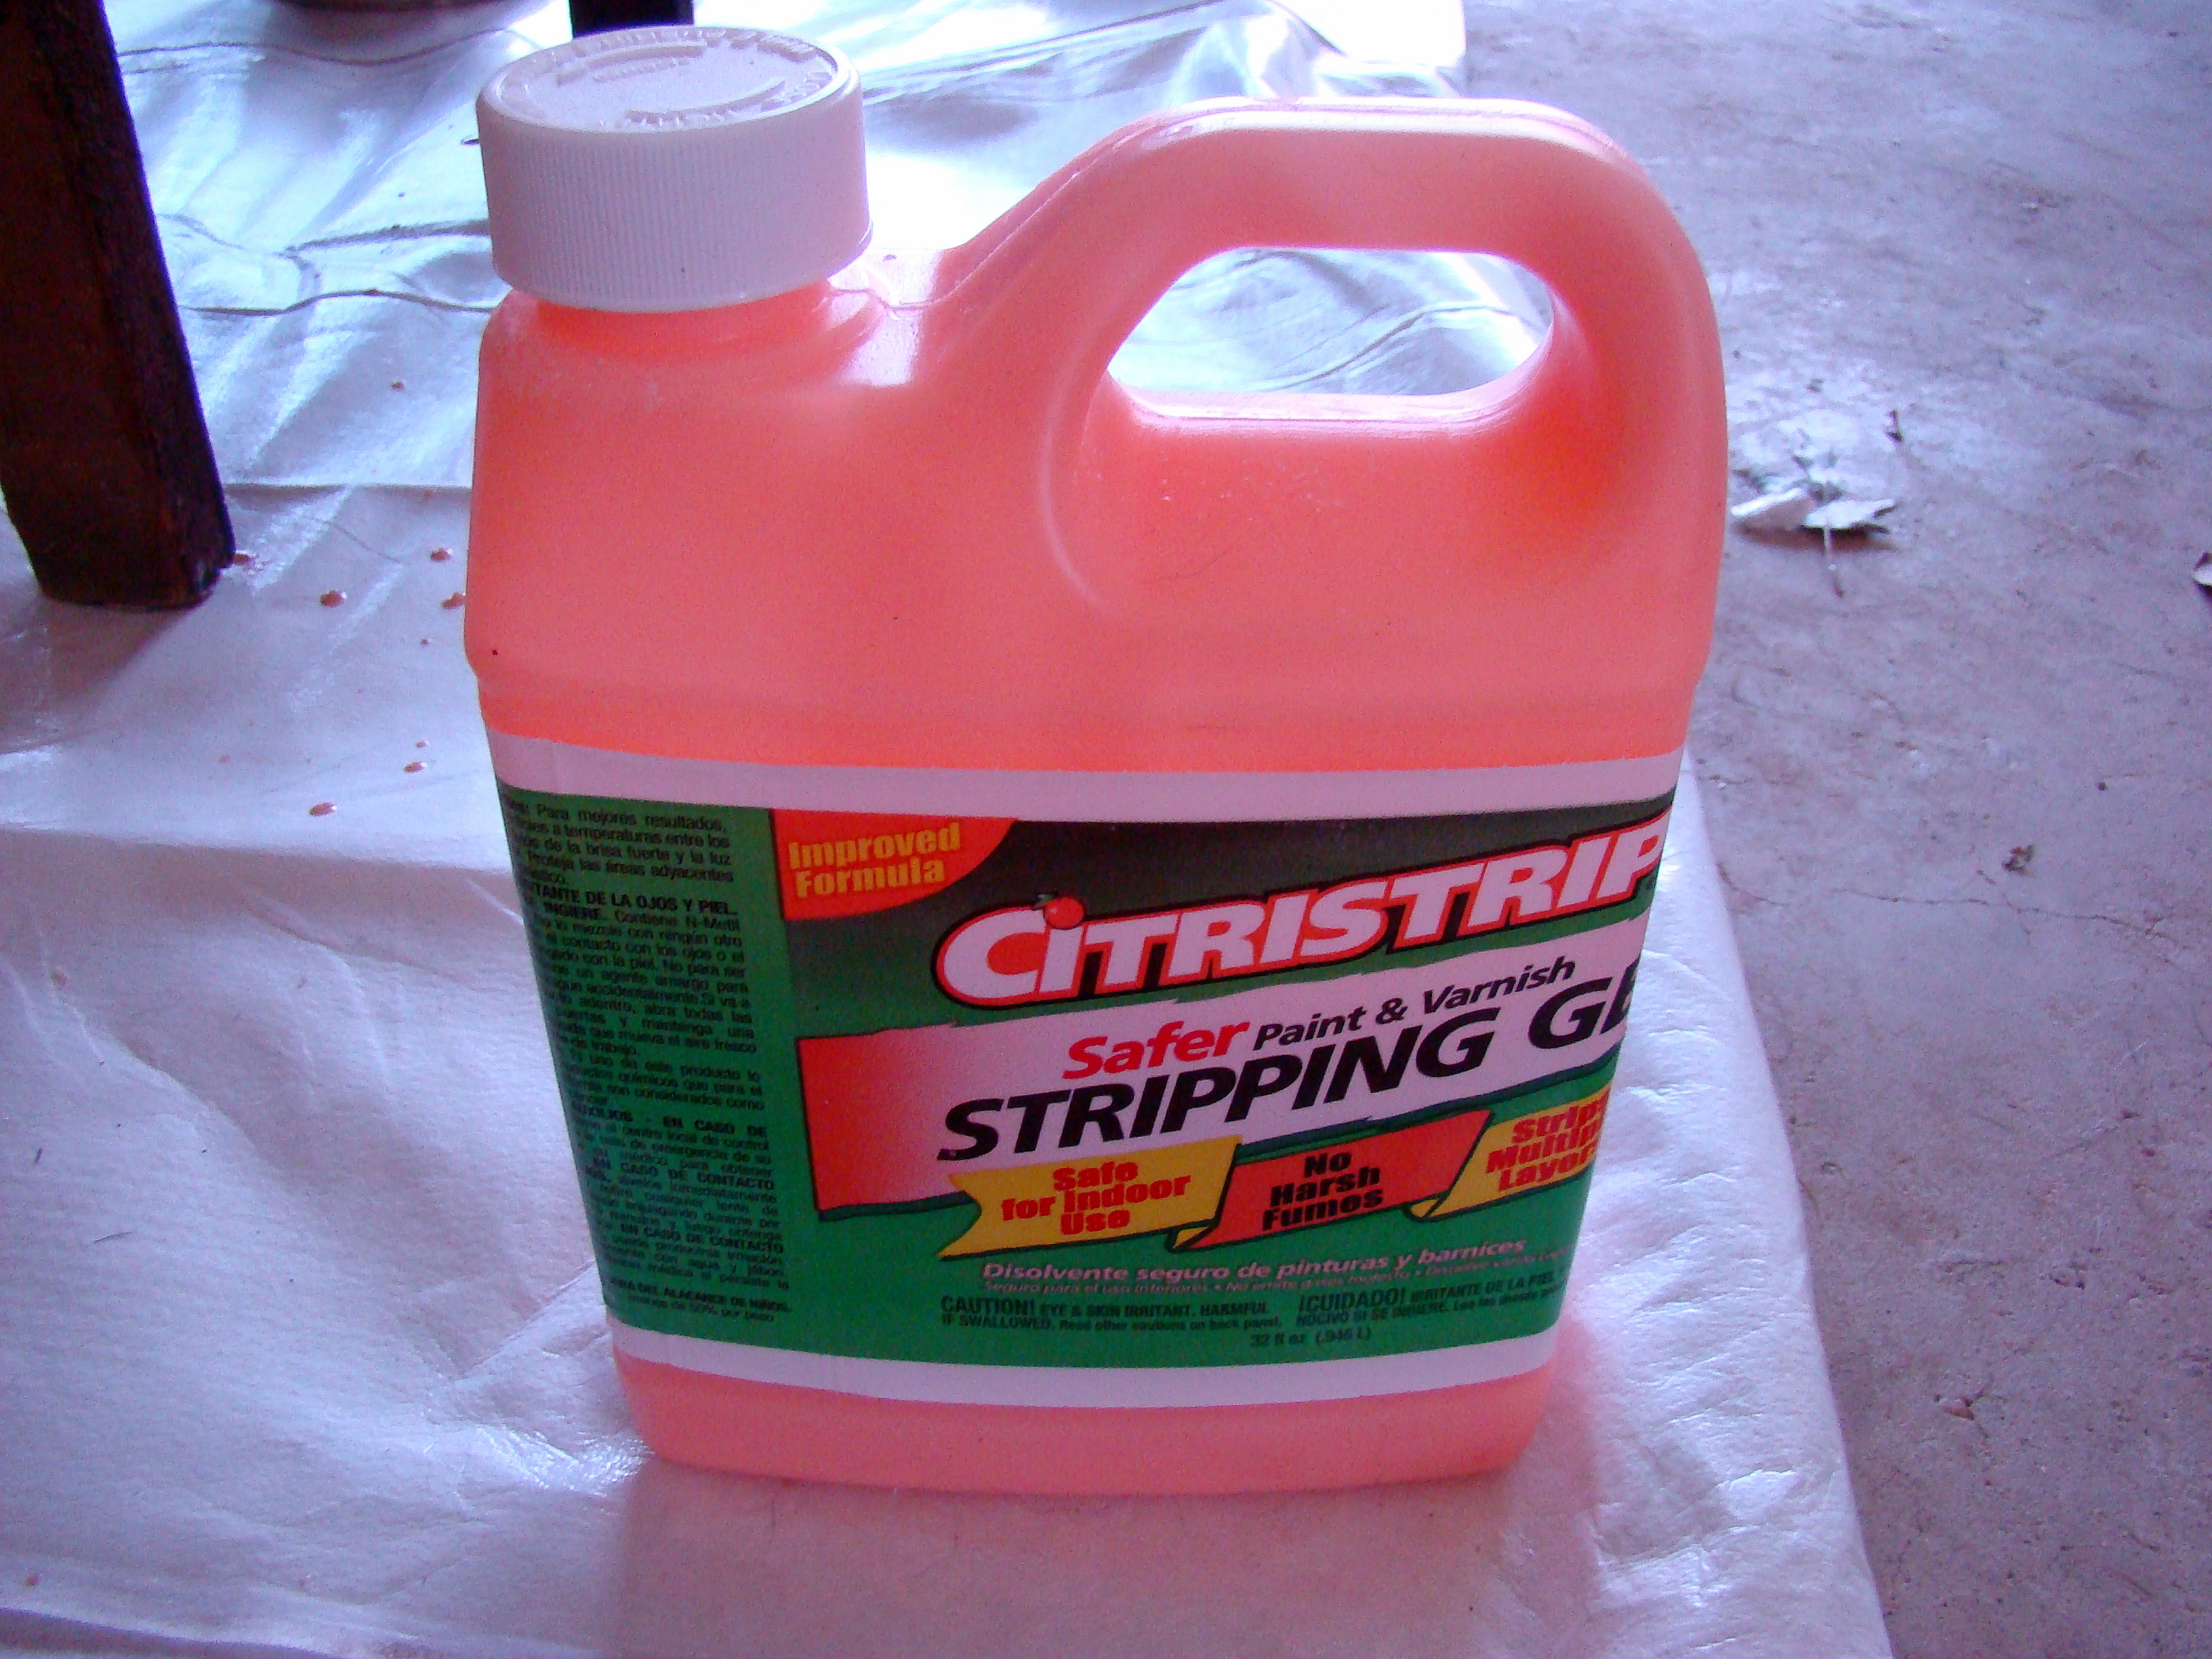
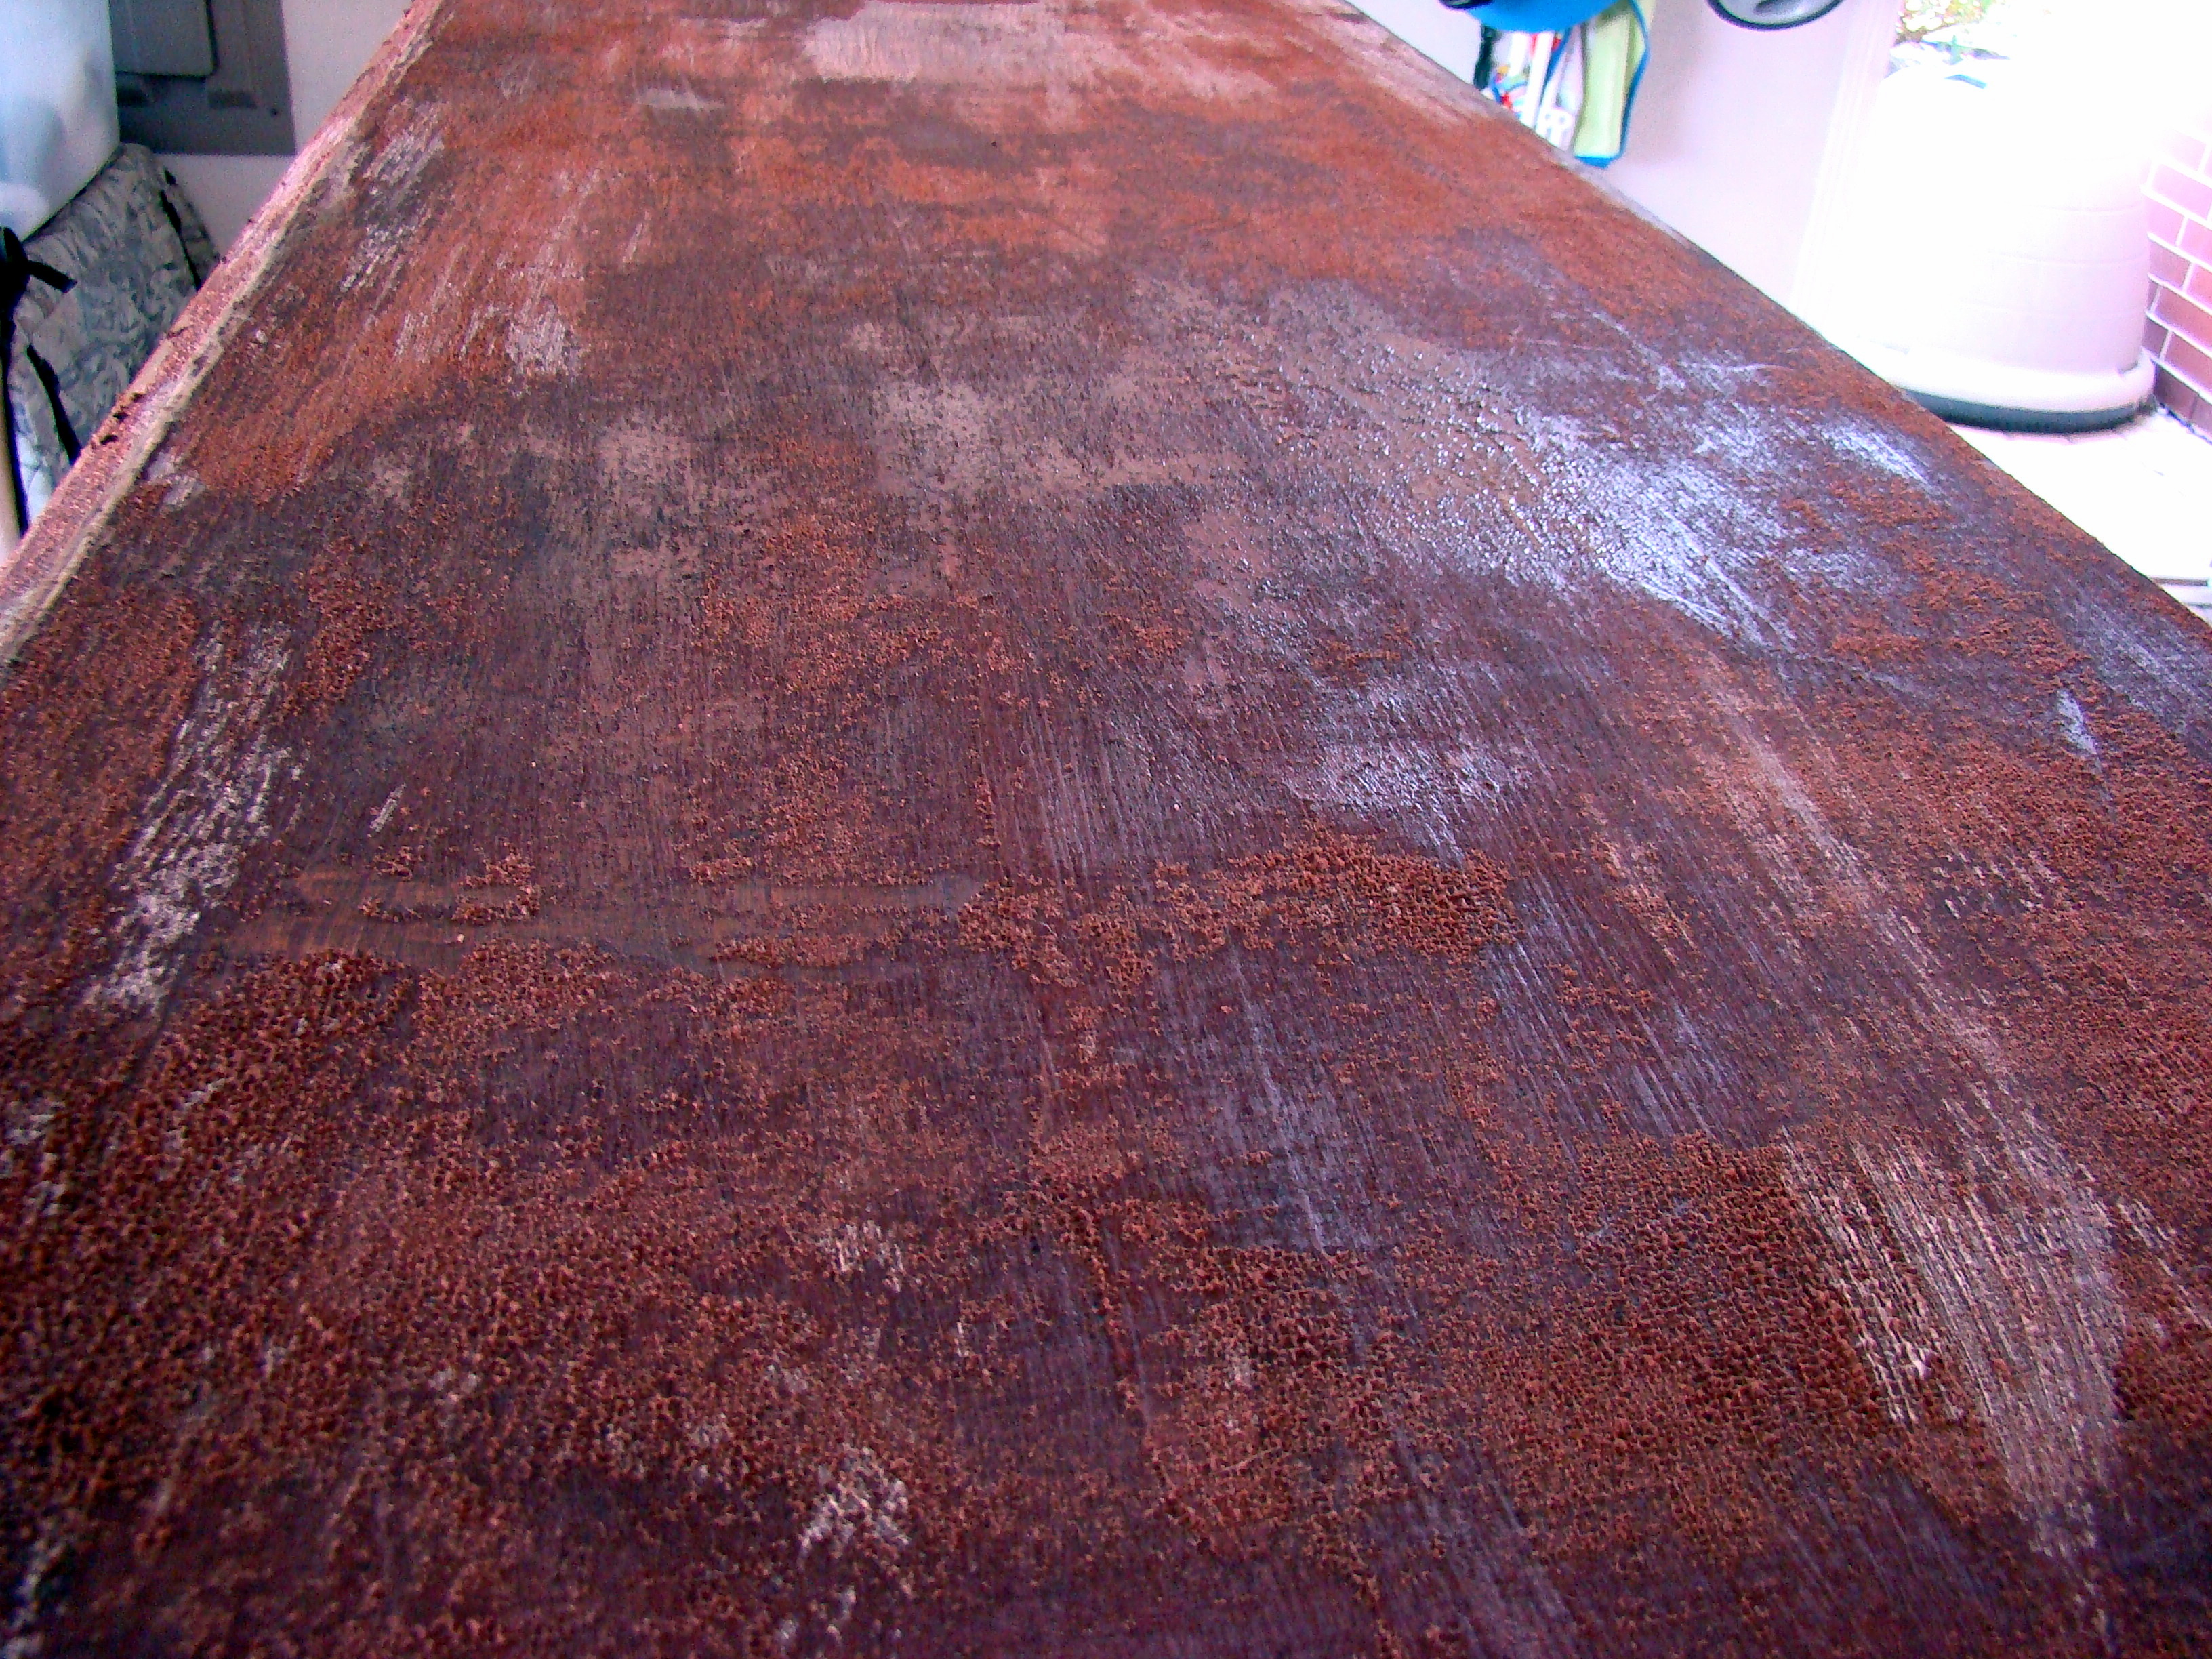
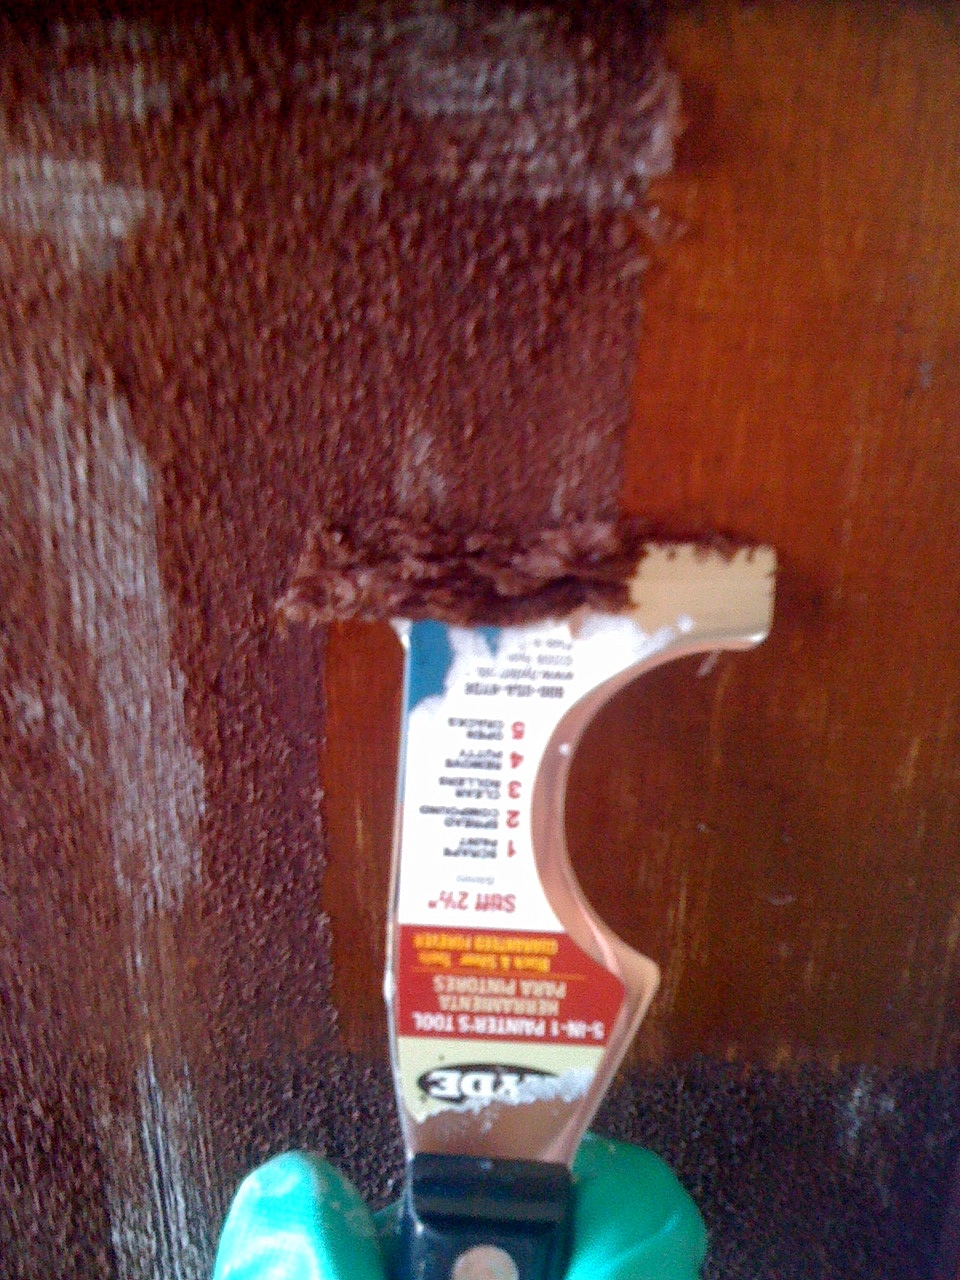
Since I don’t want to bore you to tears, I won’t go into each detailed step of the refinishing process (feel free to ask me questions about it, though). But, I am going to tell you Citristrip is the most amazing stuff ever. It makes removing old varnish a breeze….And I had LOTS of old varnish to remove. Let’s take a look at all of the before shots, shall we?

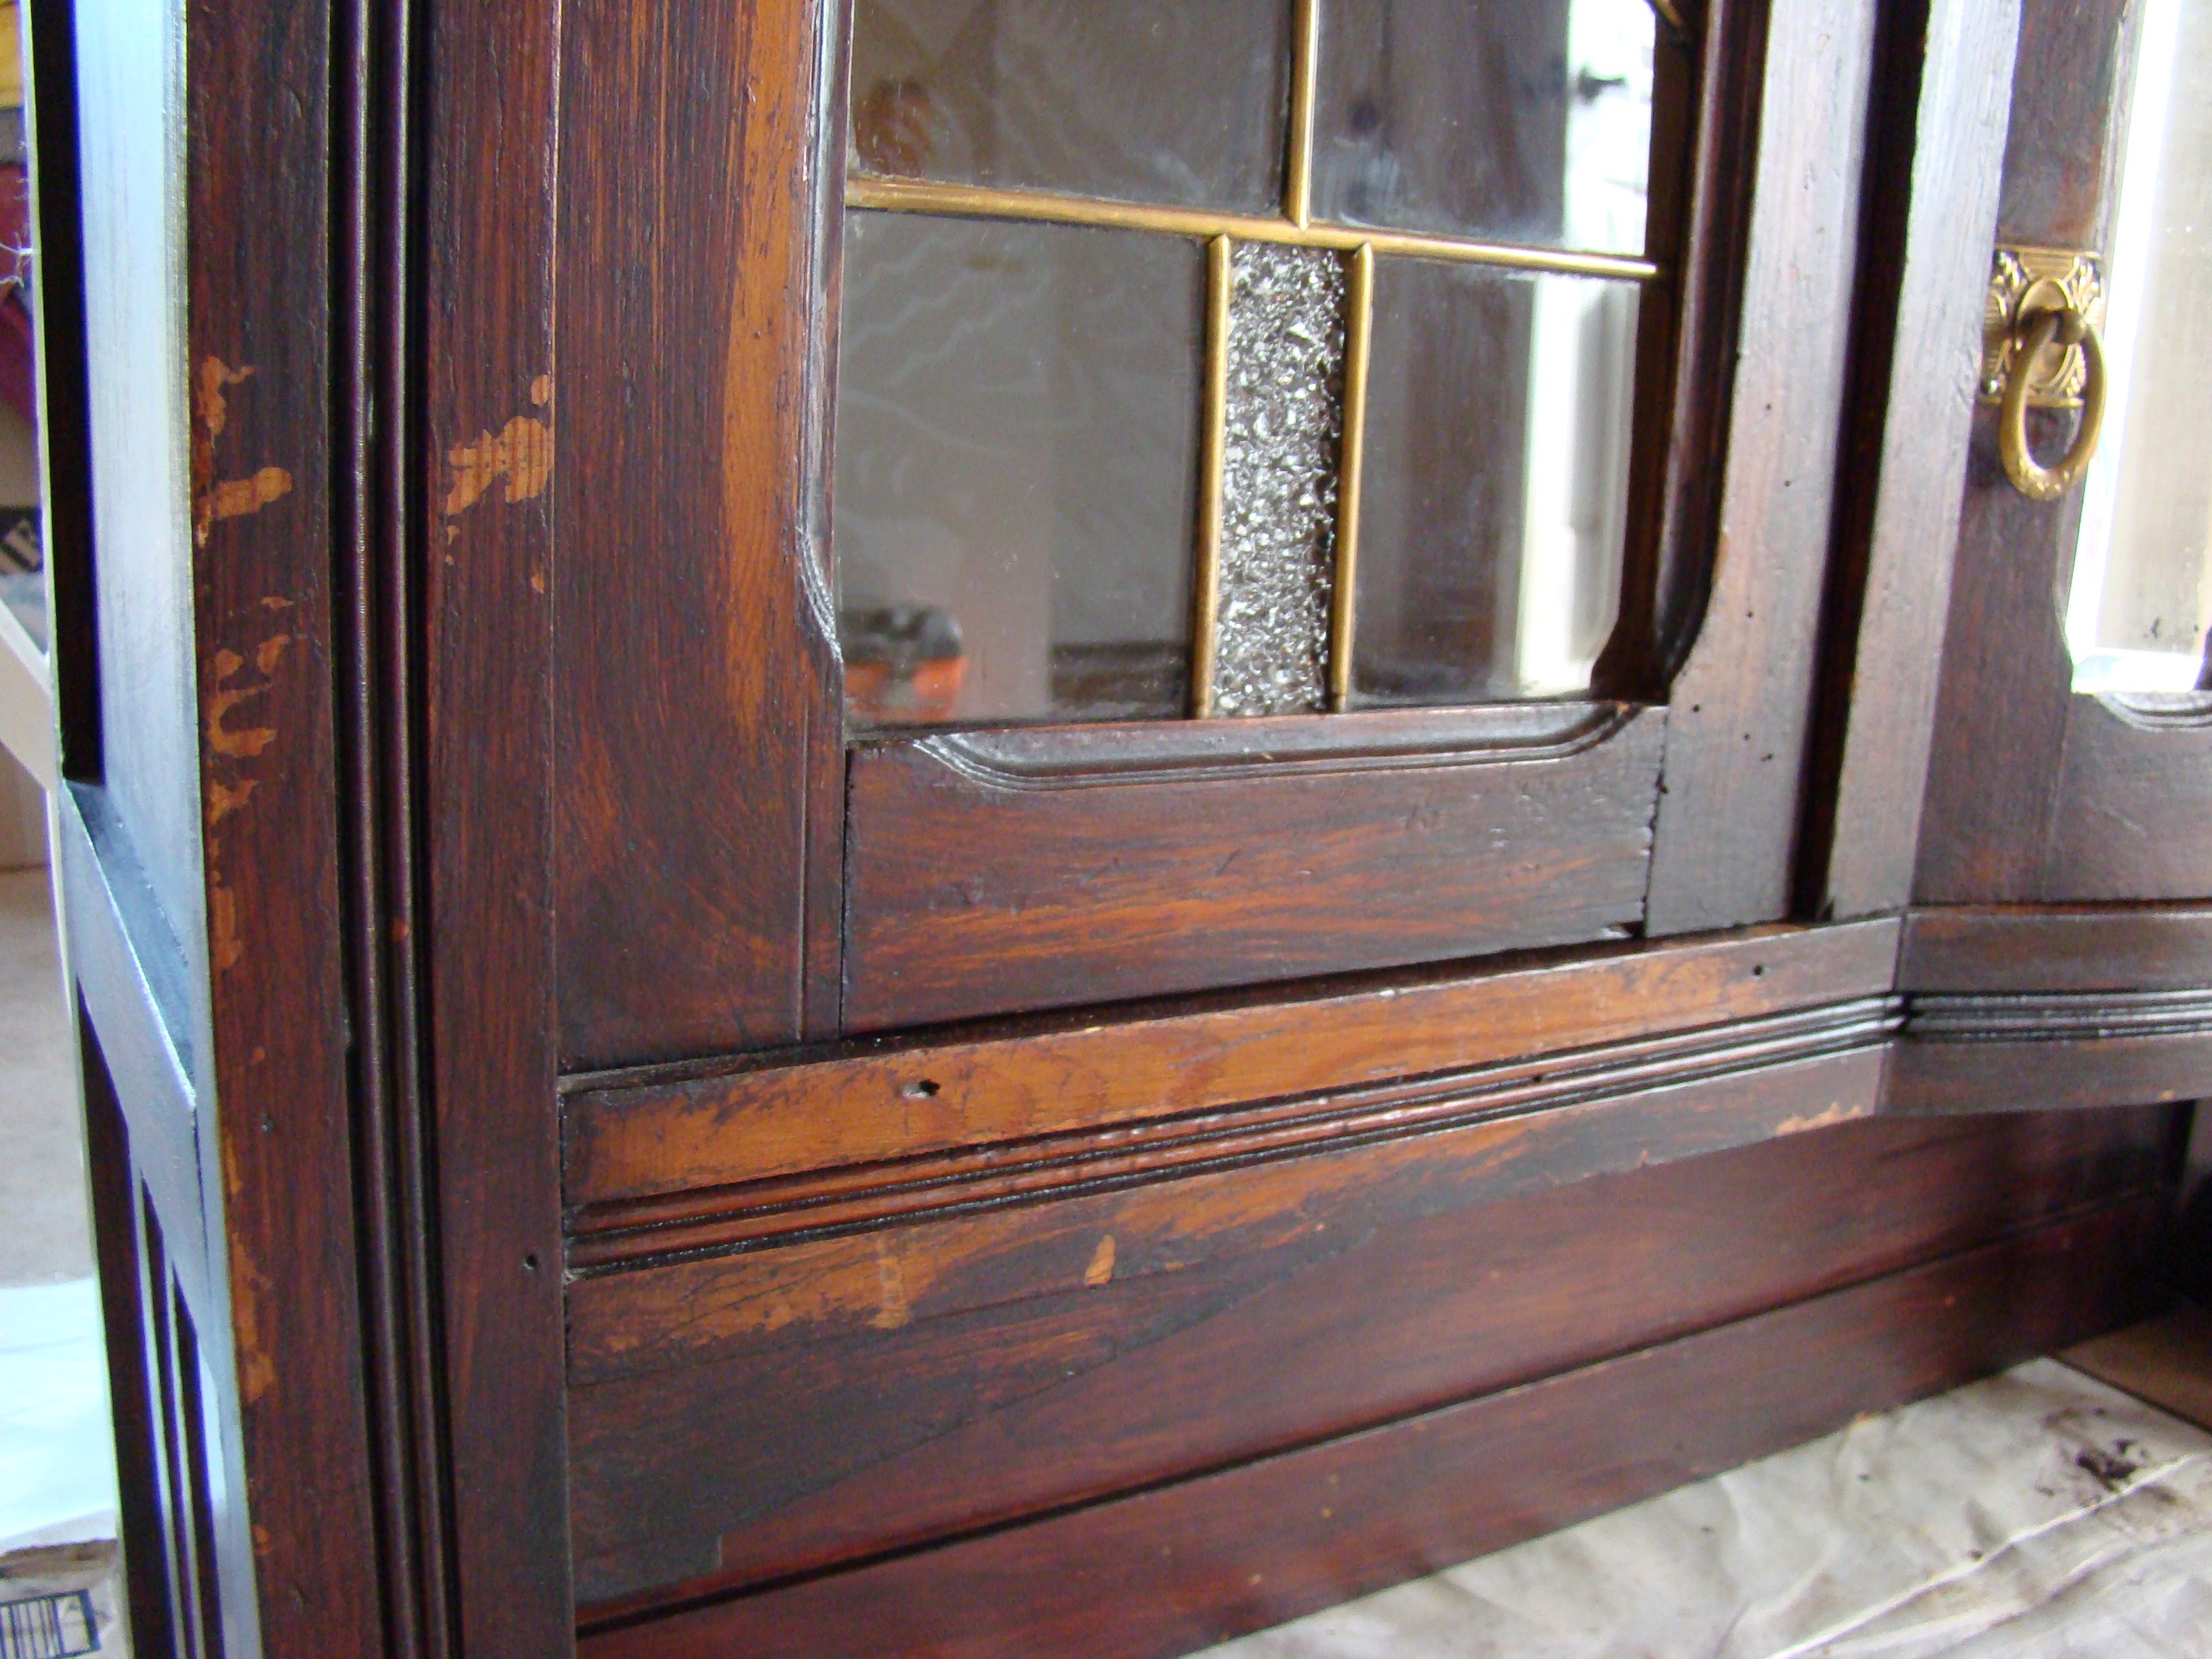

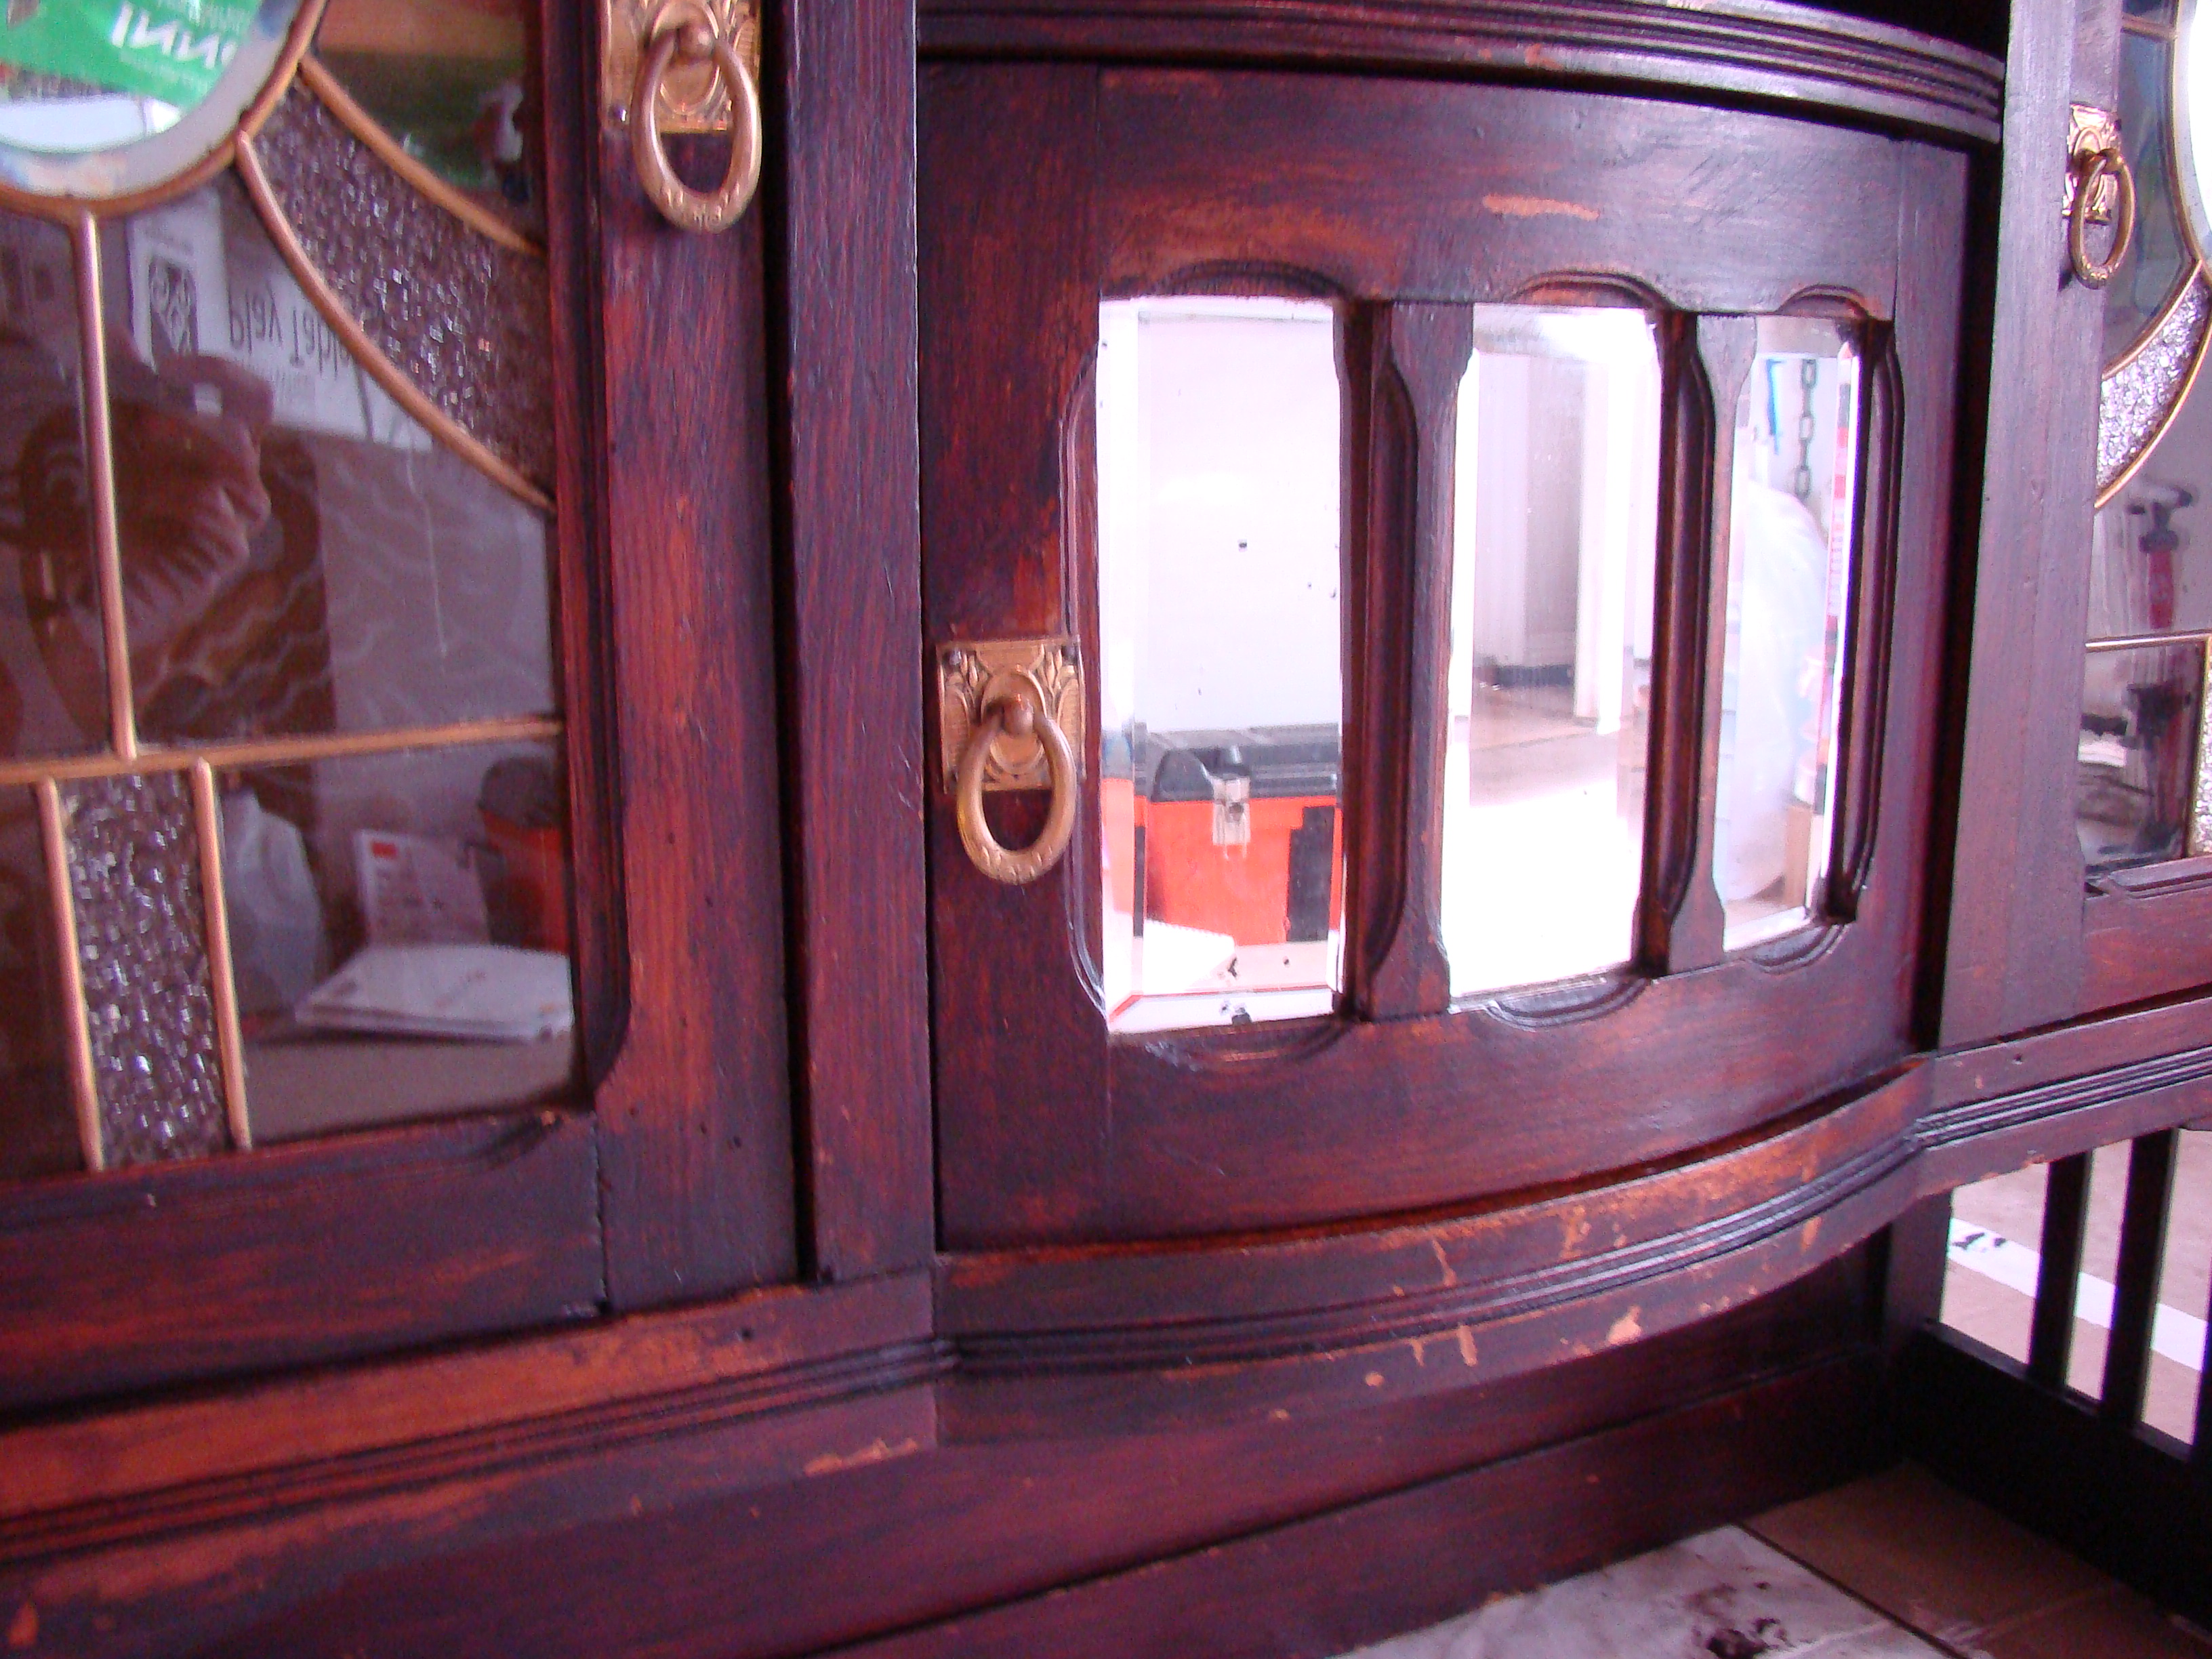
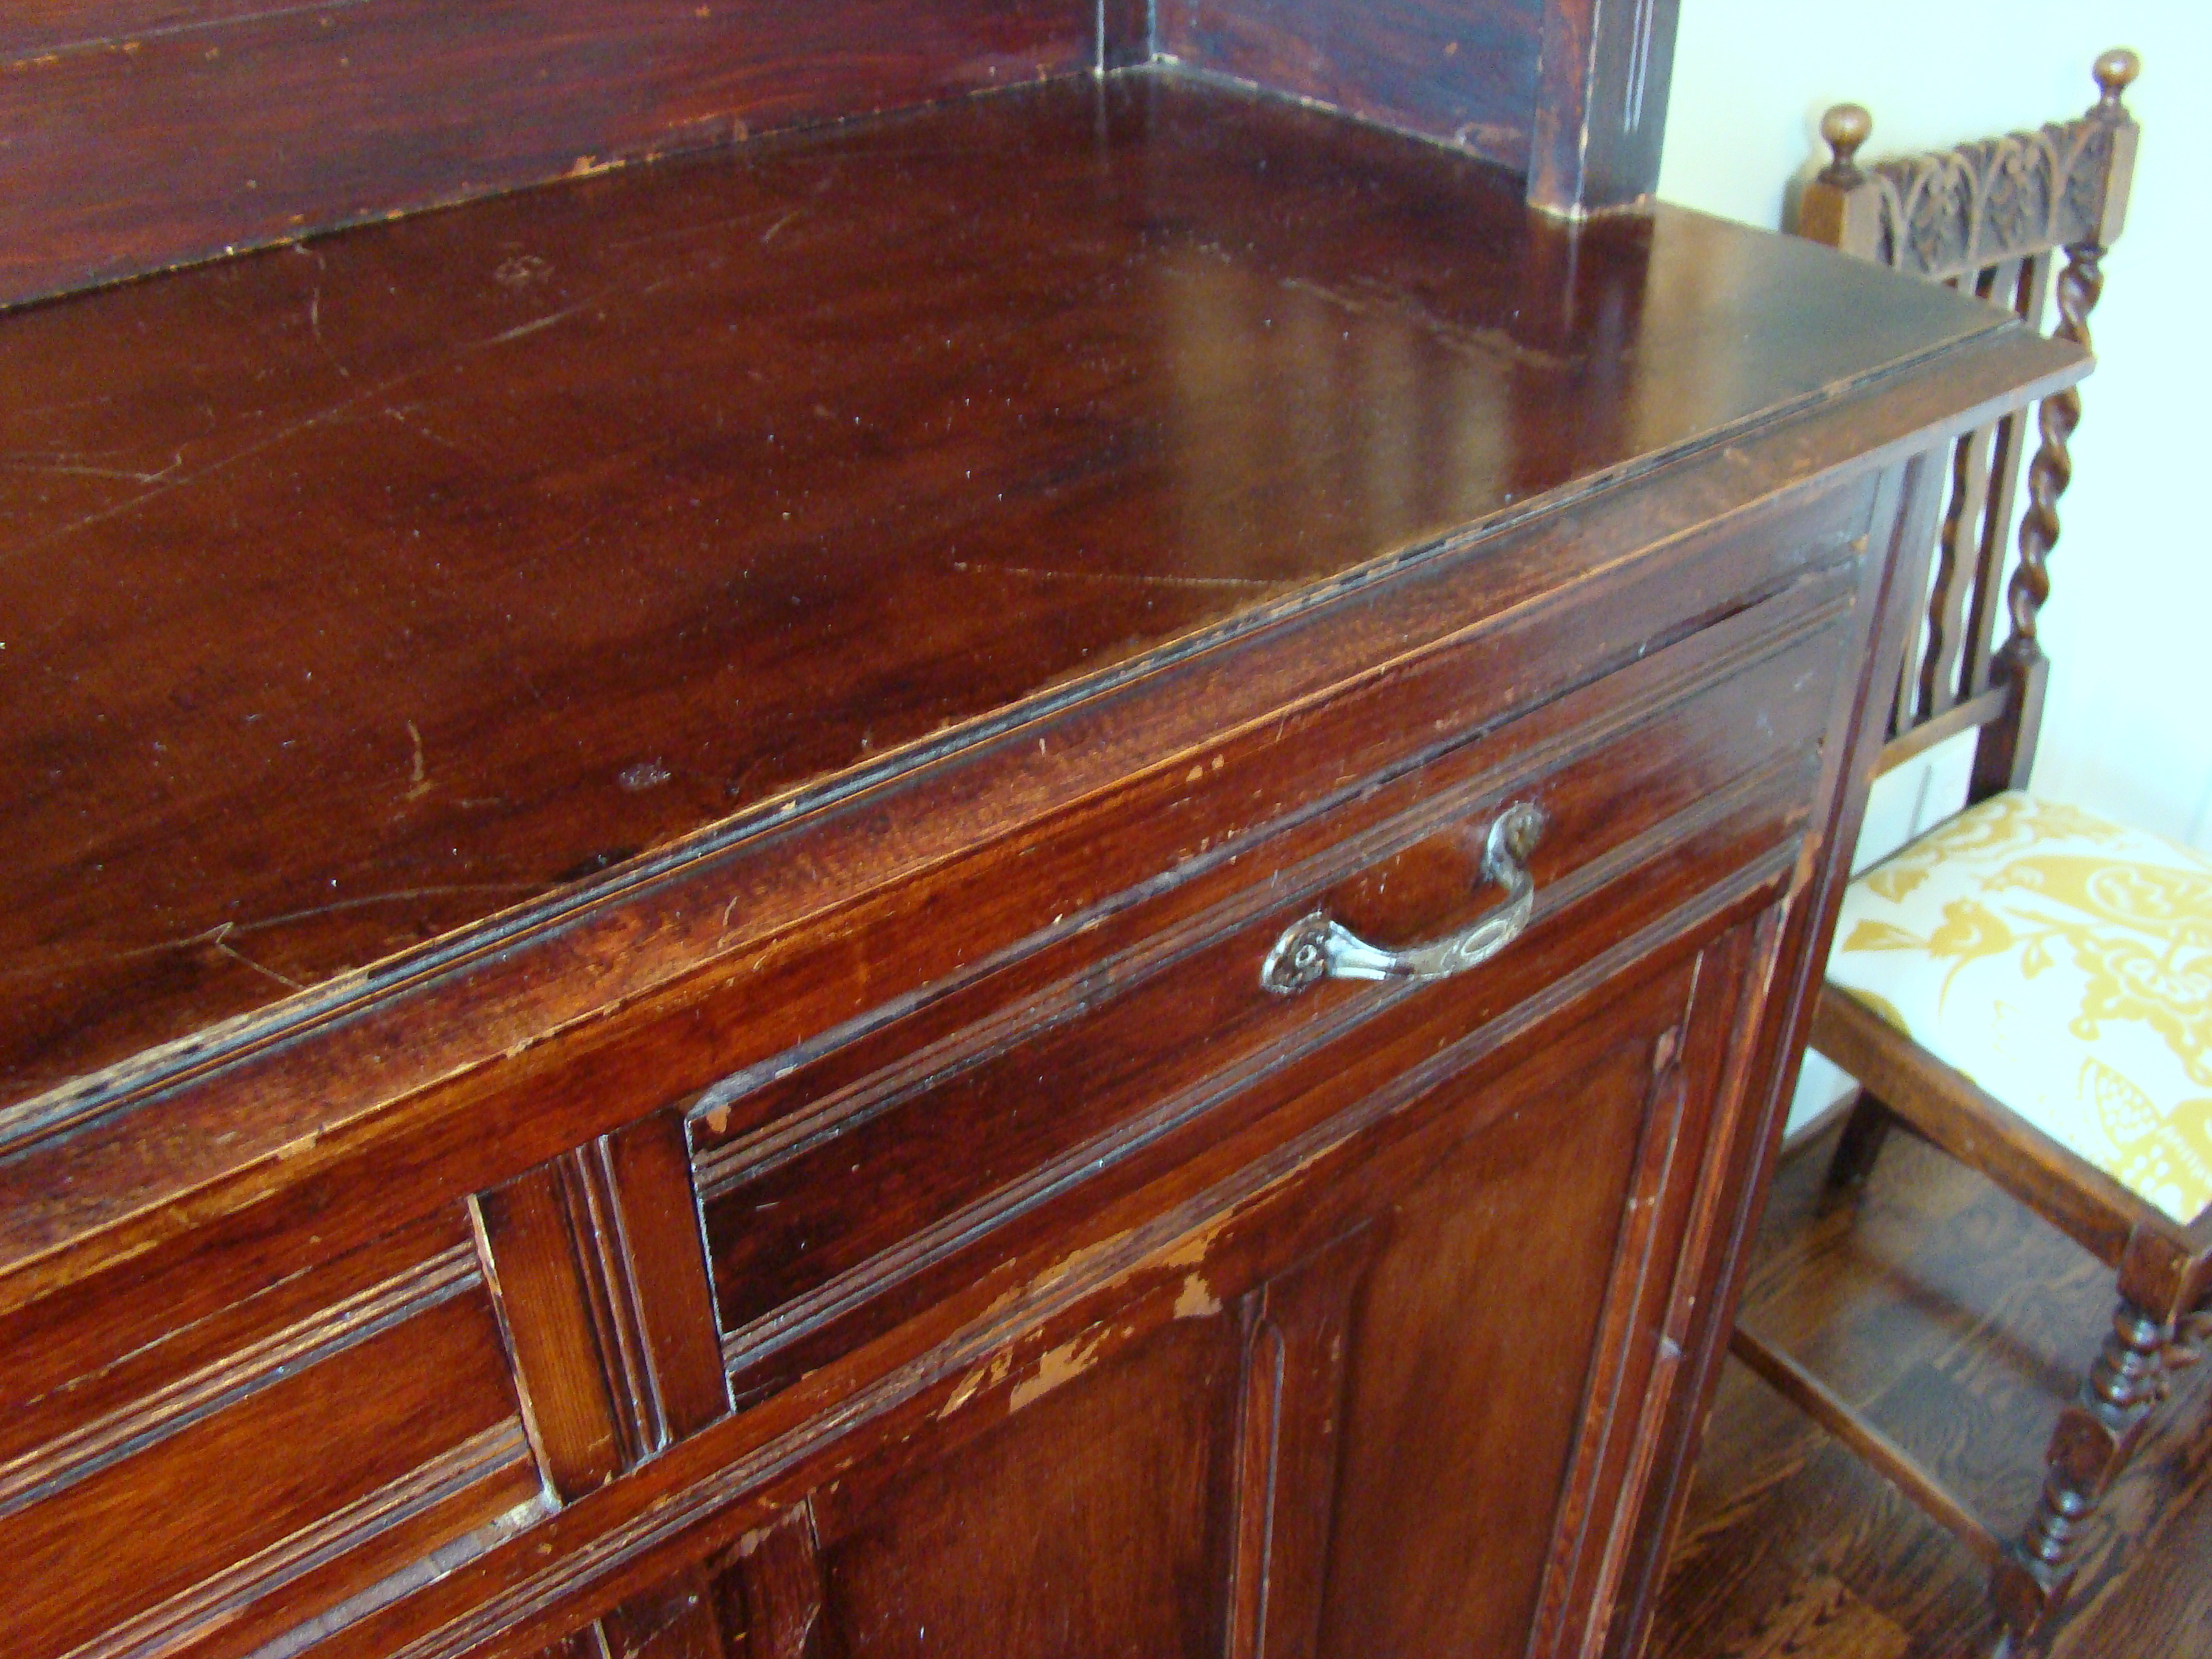

It had clearly seen better days. After stripping off the varnish, the hutch looked like this (sorry, no pics of the top half. I think it melted)…


Now, keep in mind I am in the midst of a Texas summer, with ZERO wind. At this point, I really wanted to forget the whole thing. I was in hell, dripping sweat, and my hutch was mocking me. She was the devil and I just assumed use her as firewood the next winter. Seriously. Then, I added the first coat of gel stain. Hmmm, did I just feel the hint of a breeze?
So, I carried on and am so glad I did. After a week in the heat, this was my end result…
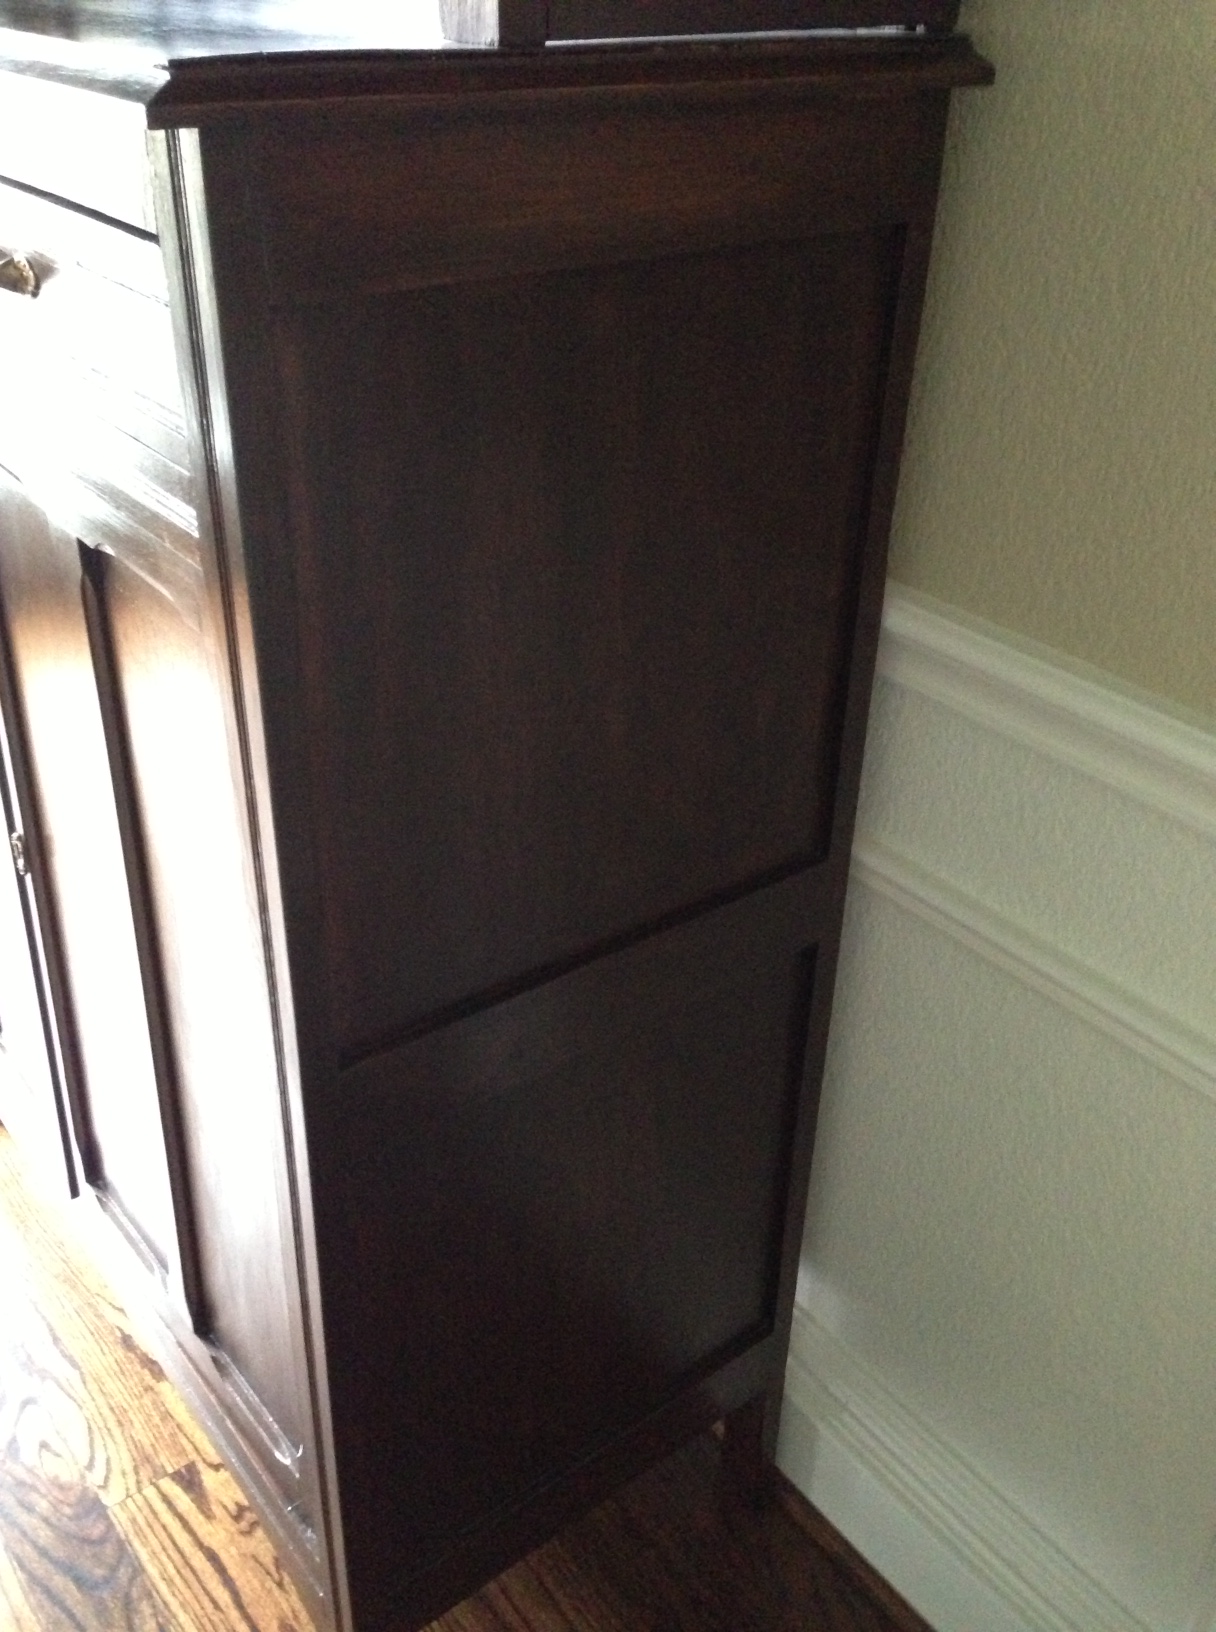

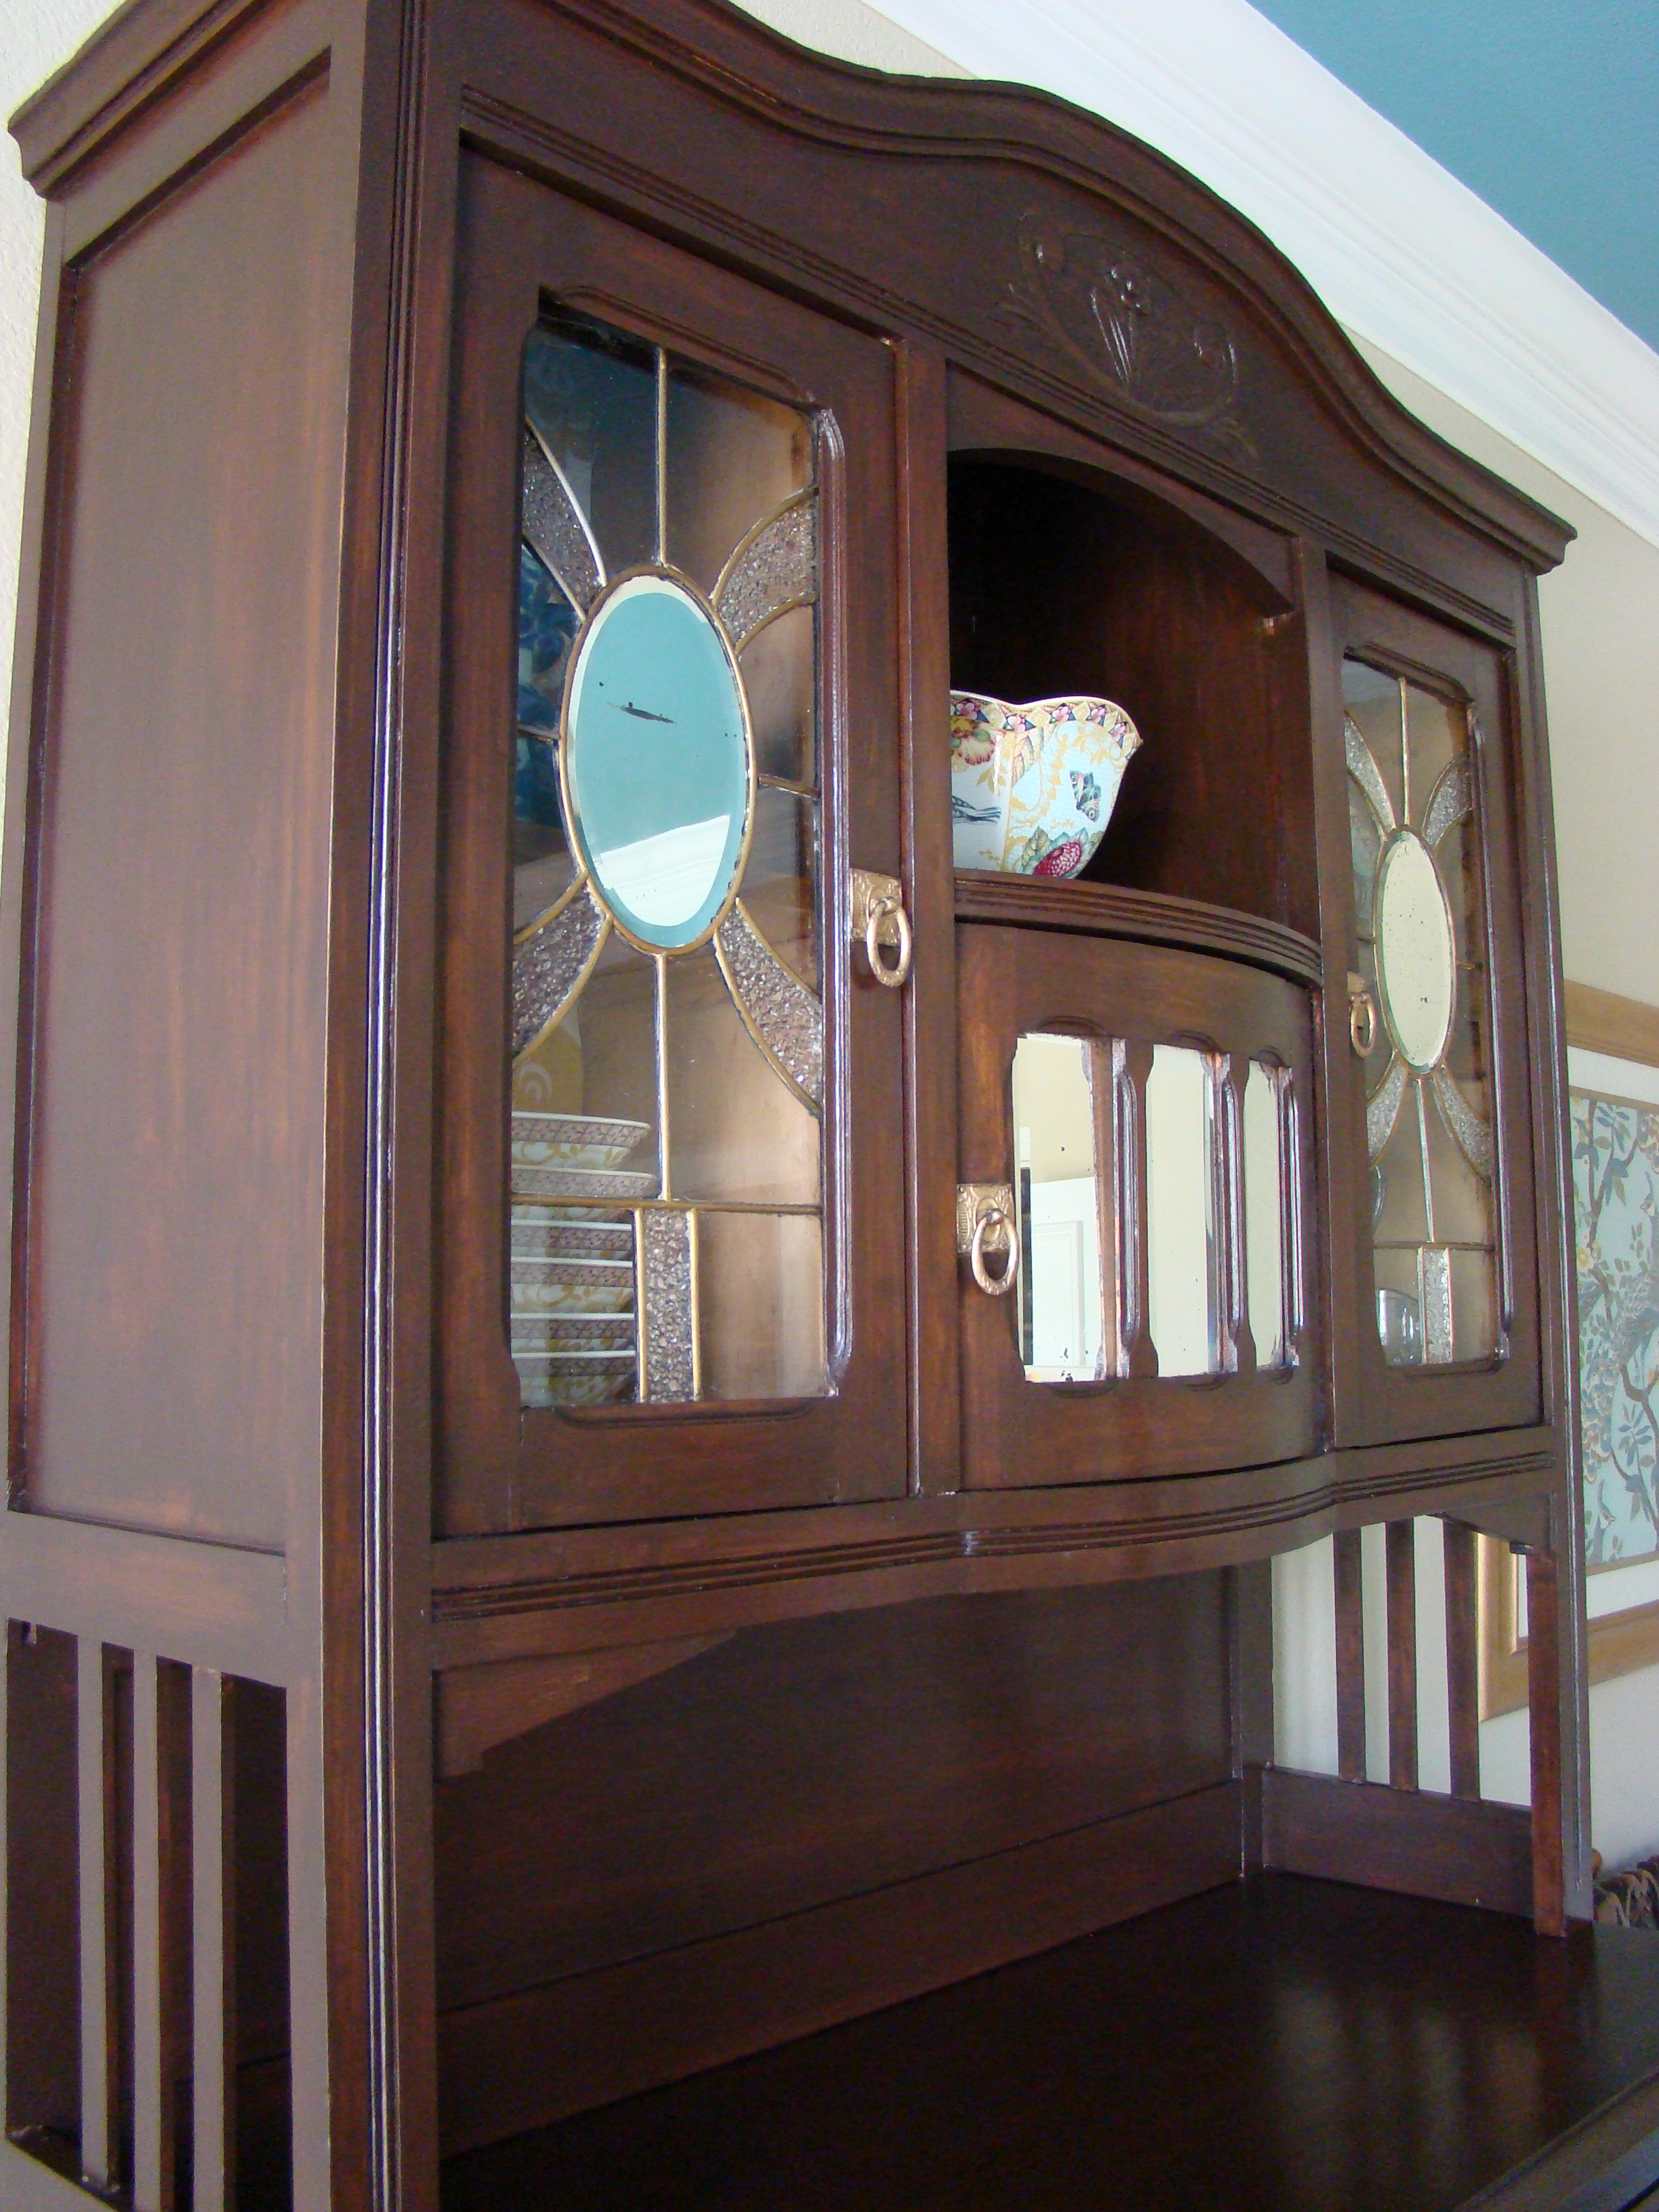
No more reddish, uneven, chipped, neglected finish. My hutch is now a rich, even chocolaty brown. Here is a side by side before and after comparison…
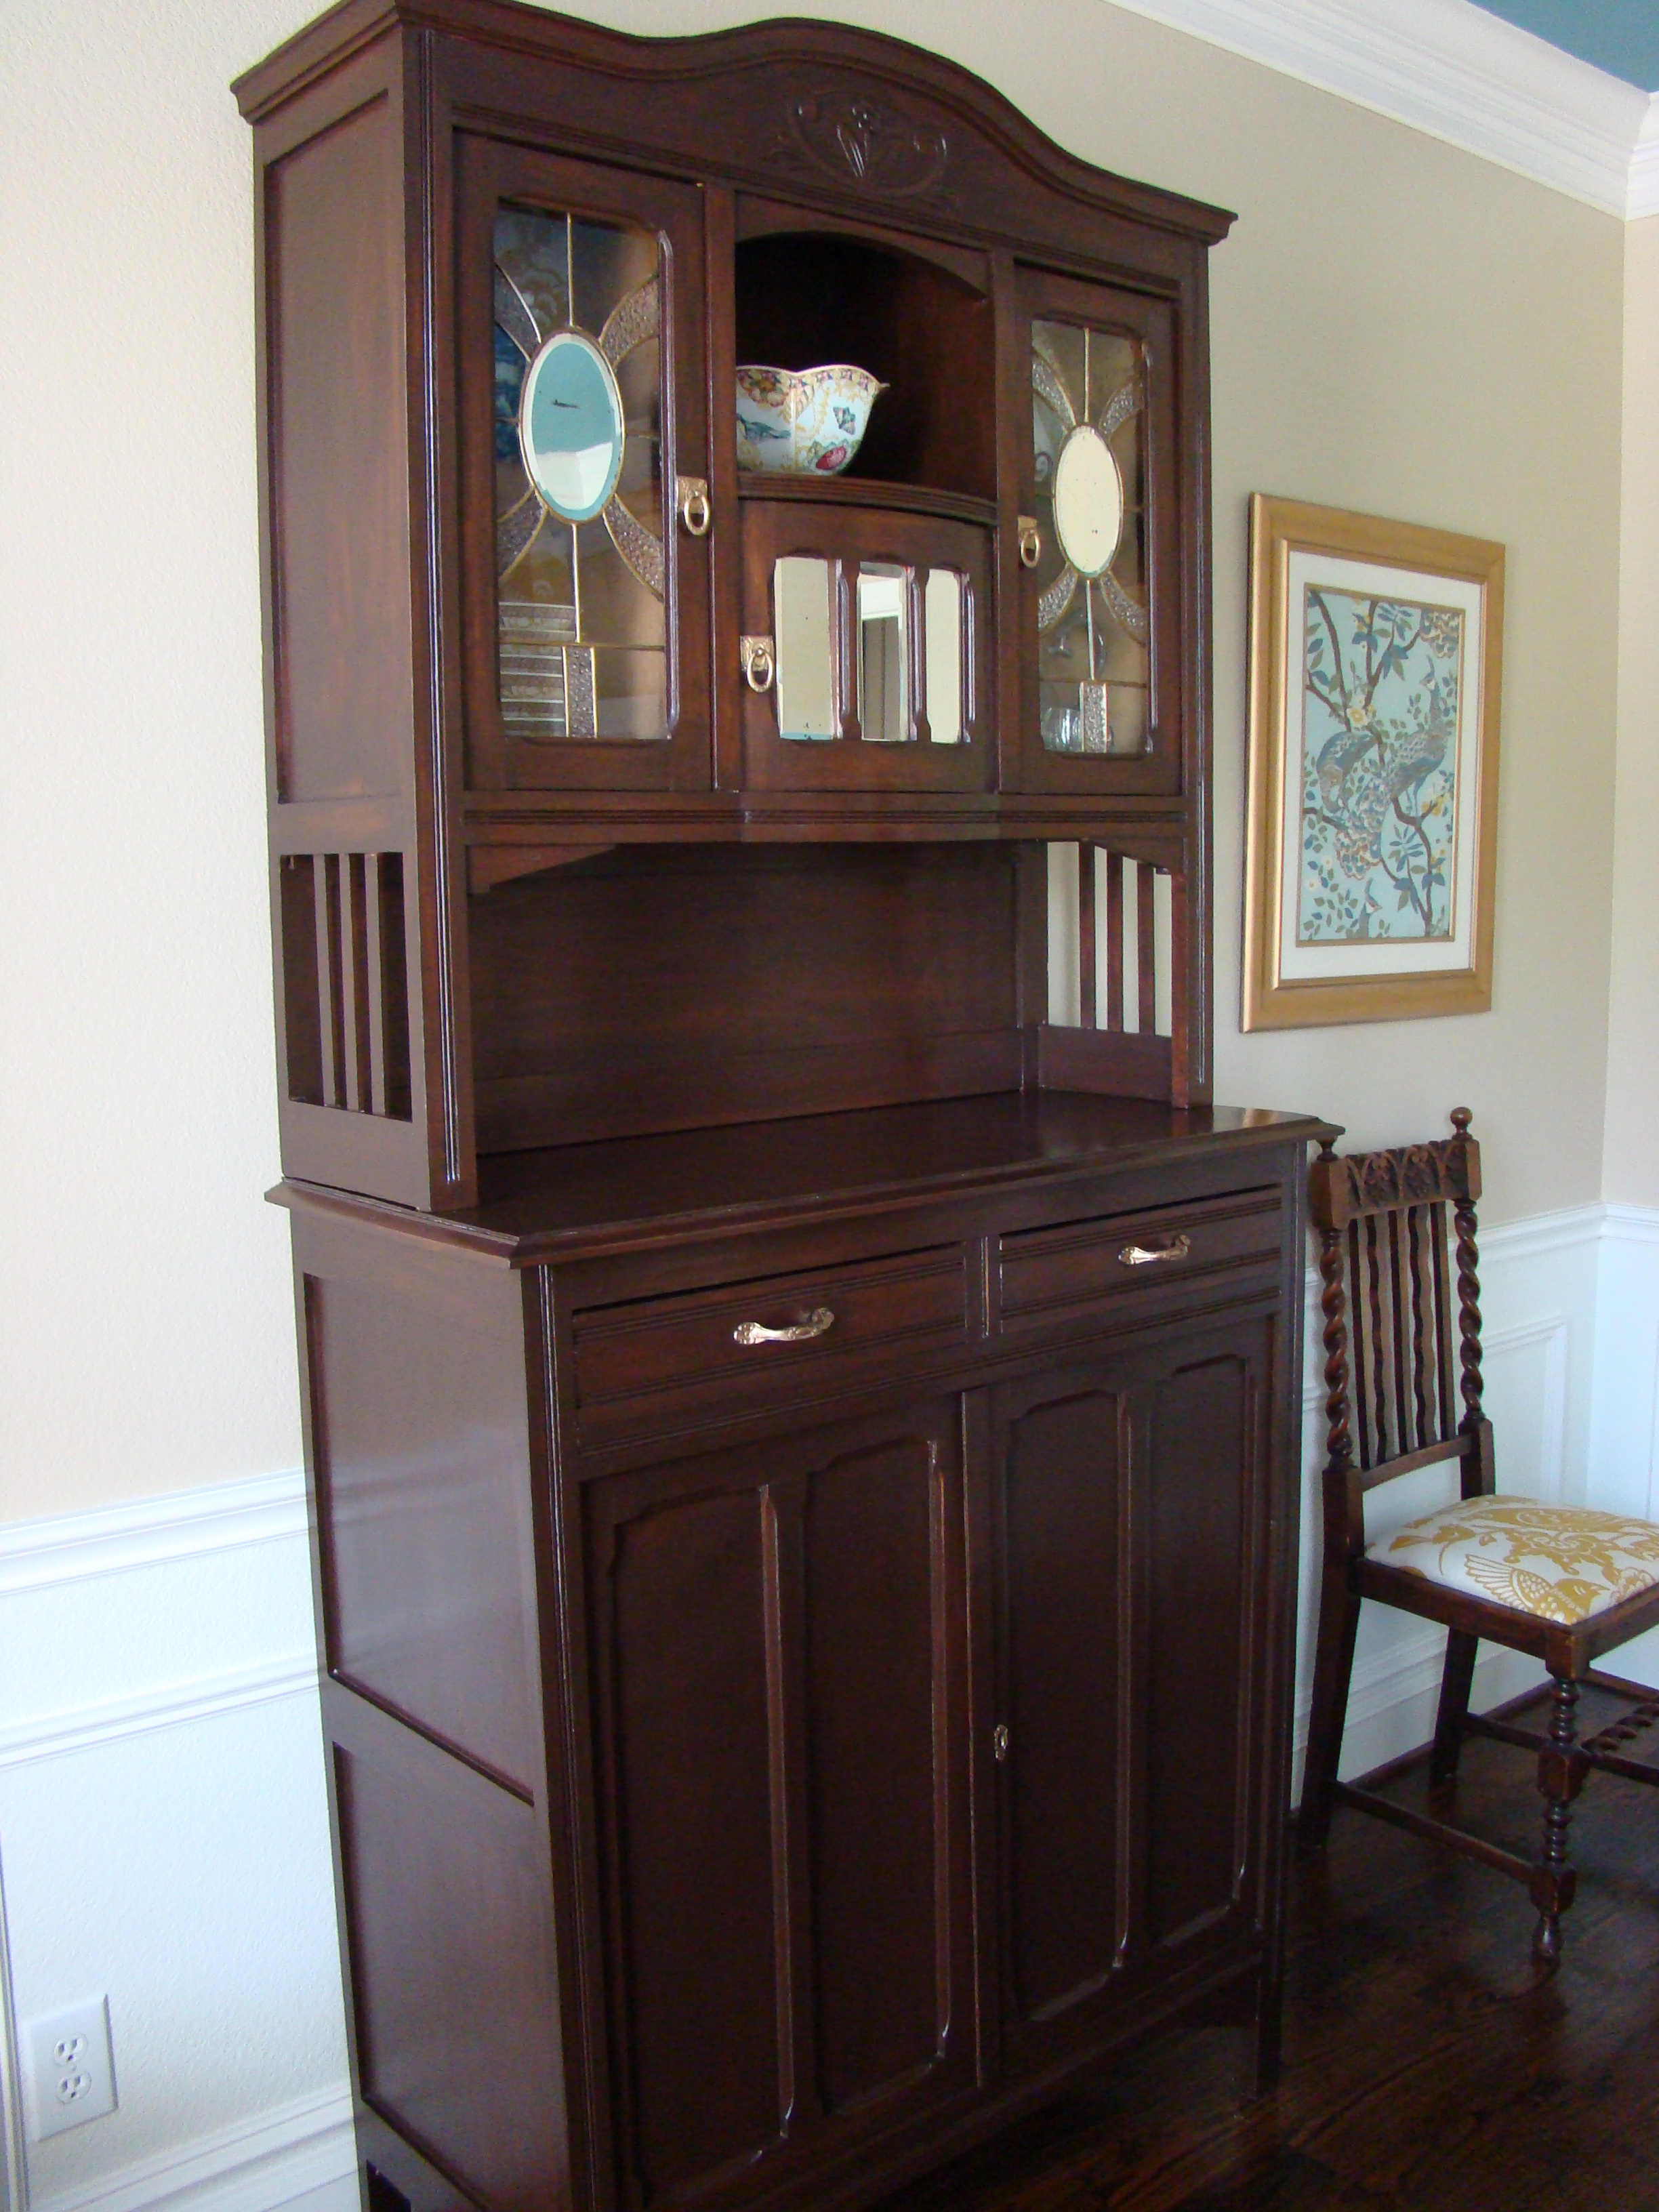
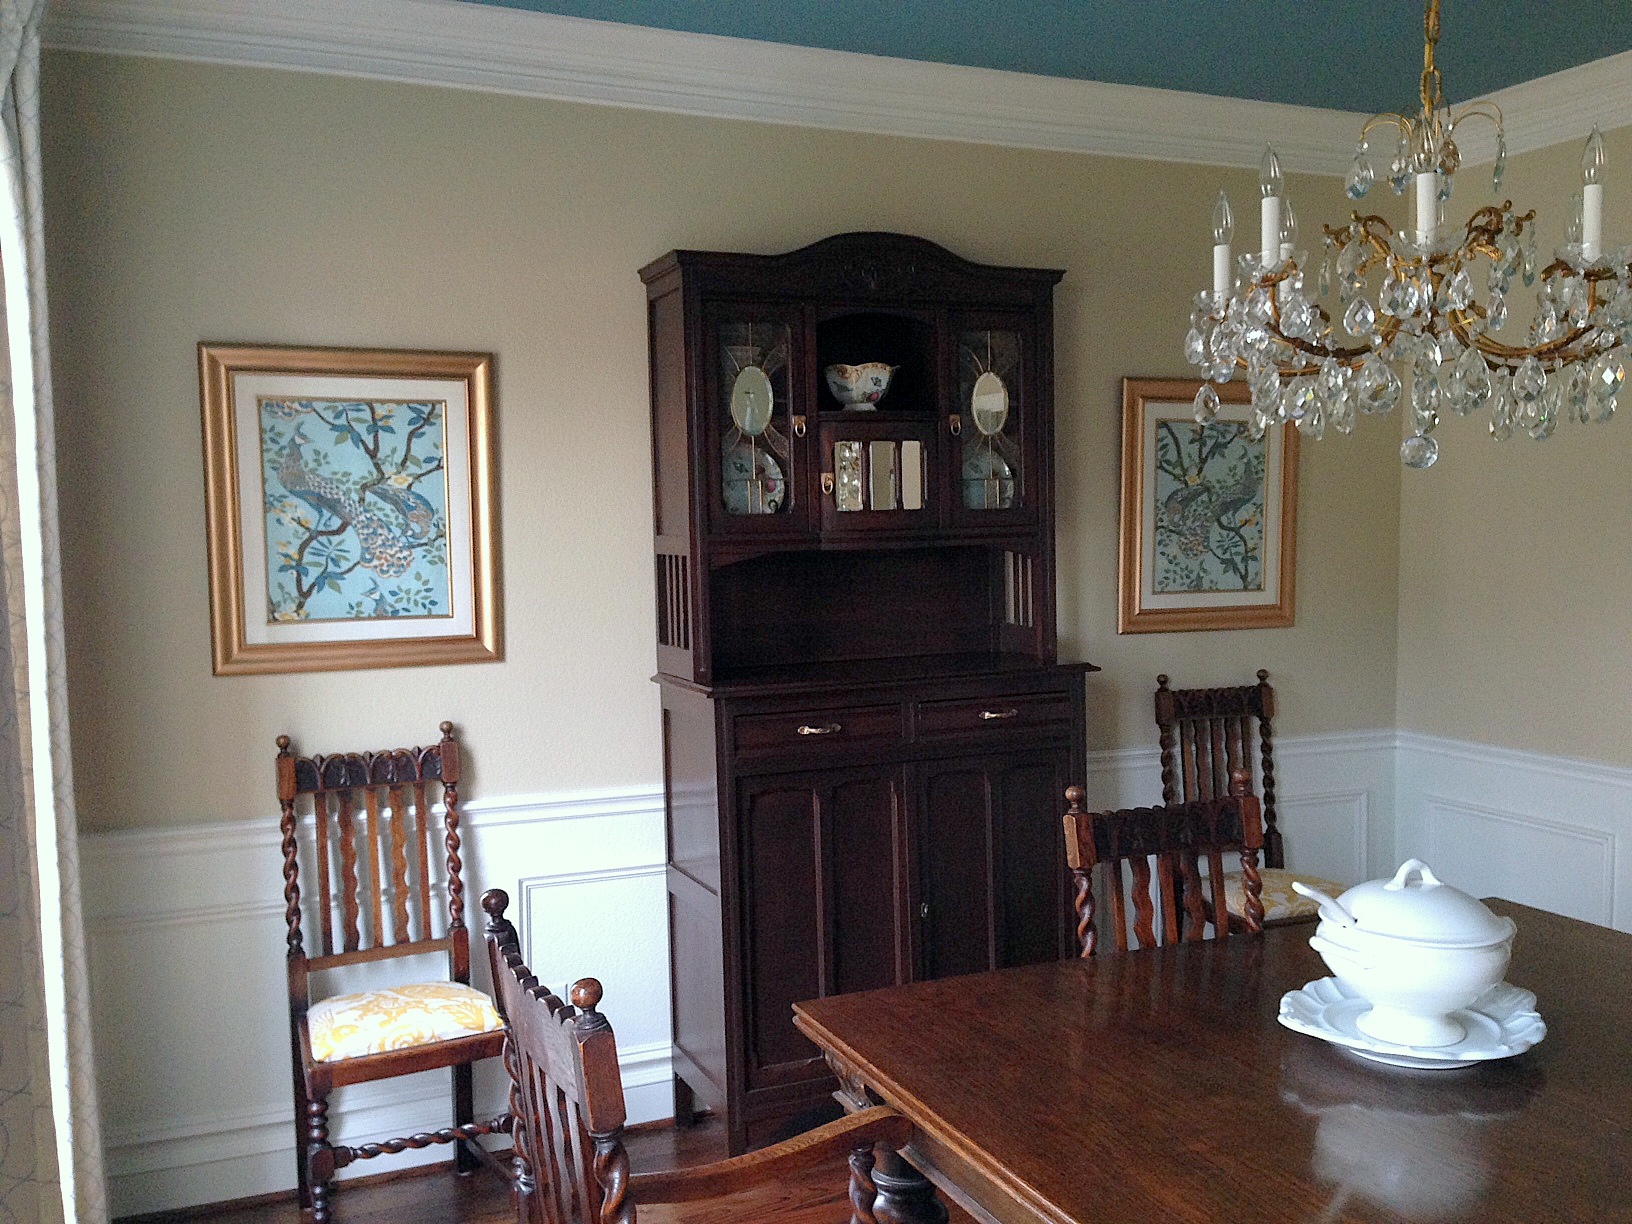
Isn’t she beautiful?! So, was refinishing this piece in a garage when it was eleventy billion degrees worth it? You bet! Not only did I sweat off 5 pounds (bonus!), but I have a piece that I will be proud of for years to come.
If any of you happened to read the “About Me” section of my blog (and who wouldn’t want to read that?), you may have noticed the mention of my father’s mother. She was a cooking, cleaning, gardening, sewing, hardware store owning, garage sale frequenting, furniture repurposing superwoman. And she still managed to have plenty of time to be a doting wife, mother and grandmother. Grandma was amazing.
On Christmas Day in 1995, Grandma gave me two antique accent chairs she lovingly restored after purchasing them at a garage sale . When she found the chairs, they were covered in chipped black paint and the seats were covered in worn gold velvet (cue the disco music). My grandmother painstakingly stripped all that nasty black paint off every crevice, sanded and restained the wood and added new fabric and nailhead trim to the seats. She must have spent hours and hours on those chairs…all just for me. Earlier this week, I was excited to find some photos she took of the transformation…
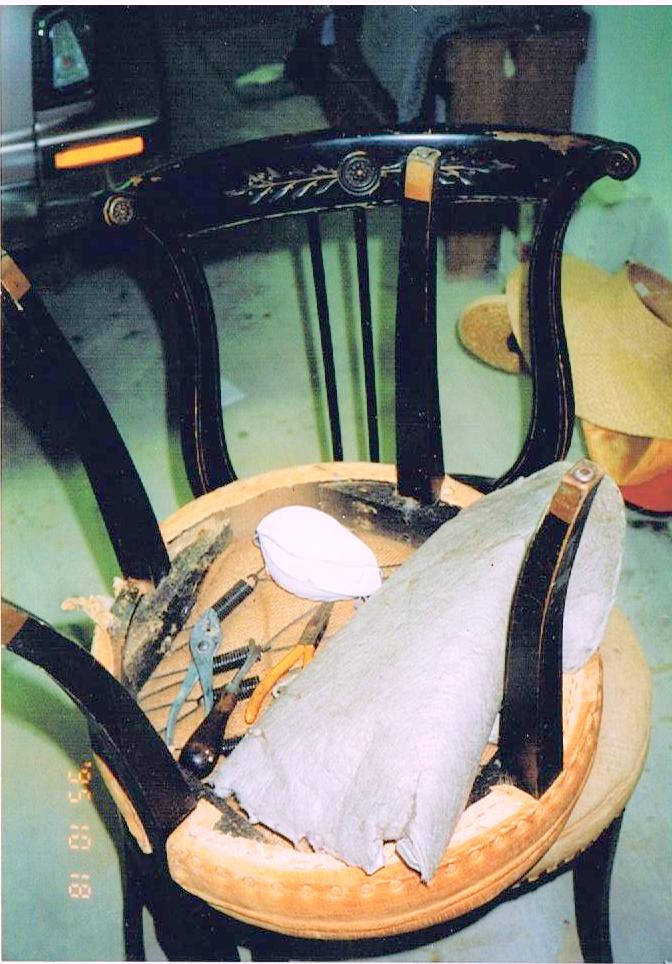

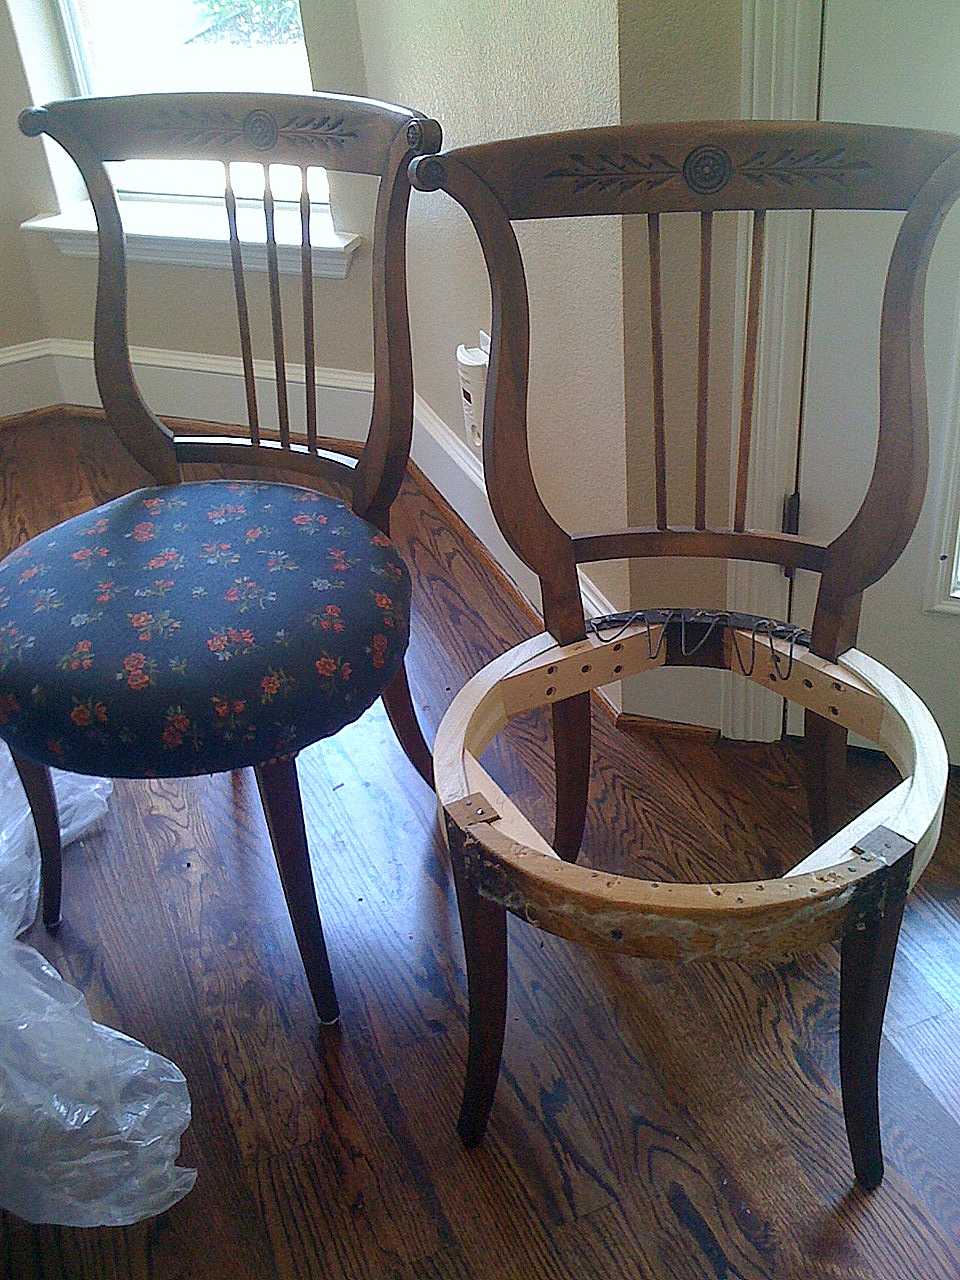
Huge difference! I was incredibly grateful for those chairs and they proceeded to follow me through my 20’s, 30’s, marriage, 2 dogs, 2 kids and at least 11 moves (yes, 11). I guess 11 moves was one too many because one of the chairs broke. I had the broken chair fixed, but for the past two years the chairs looked like this…
And why did they look like that for so long? Well, apparently I was a little stubborn over-confident in my capabilities. When I initially had the broken chair fixed, I asked that the chair not be reupholstered because I was confident I could do it myself . I remember the strange look the furniture restoration employees gave me when they handed over the bag filled with what was left of my chair. I thought nothing of it until a few months later when I decided I would do my grandmother proud by reupholstering my chairs myself. Um, not so much. I eventually opened up my bag of chair guts and found this…
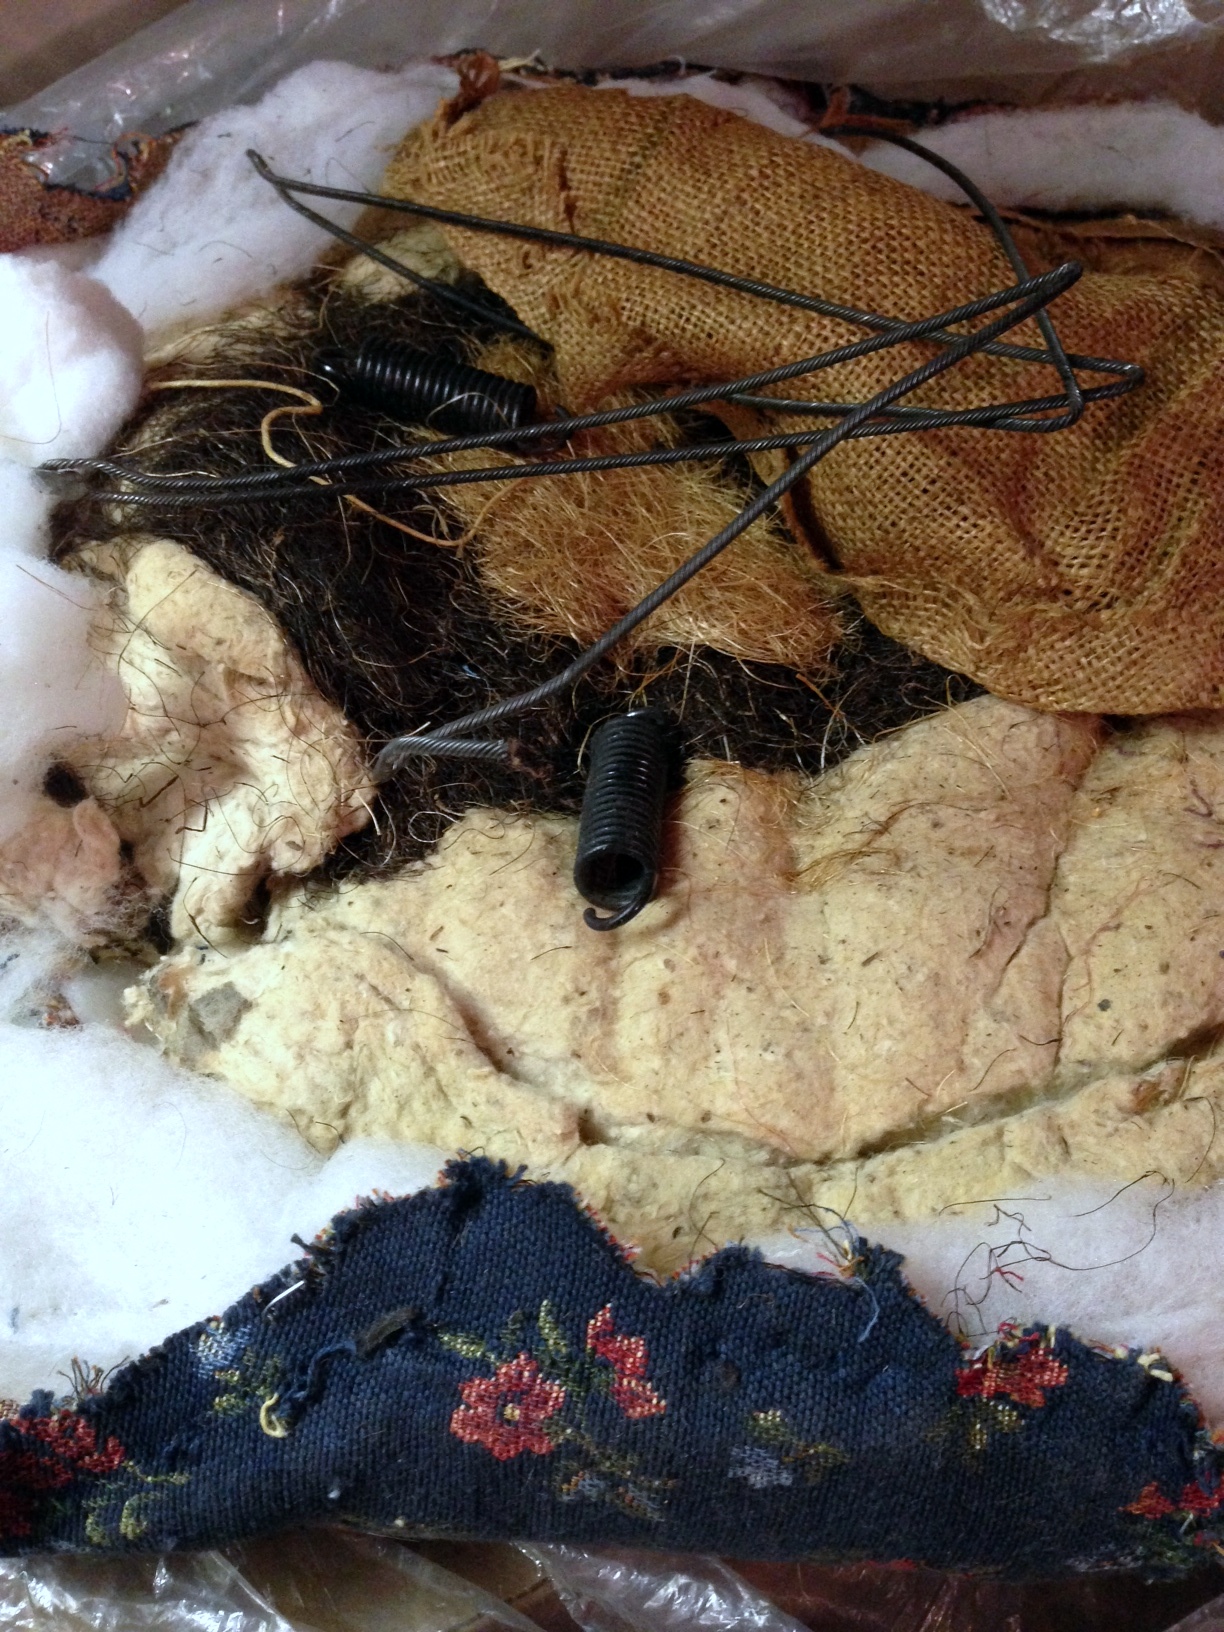
Gross. Yes folks, you are looking at a combination of 100 year old horse hair, straw, cotton, burlap, rusty wire and metal springs (and a few 100 year old dust mites to boot). Sooooo, I was just a tad in over my head (sorry Grandma!). And what did I do about it? Nothing. I just hid the chairs away.
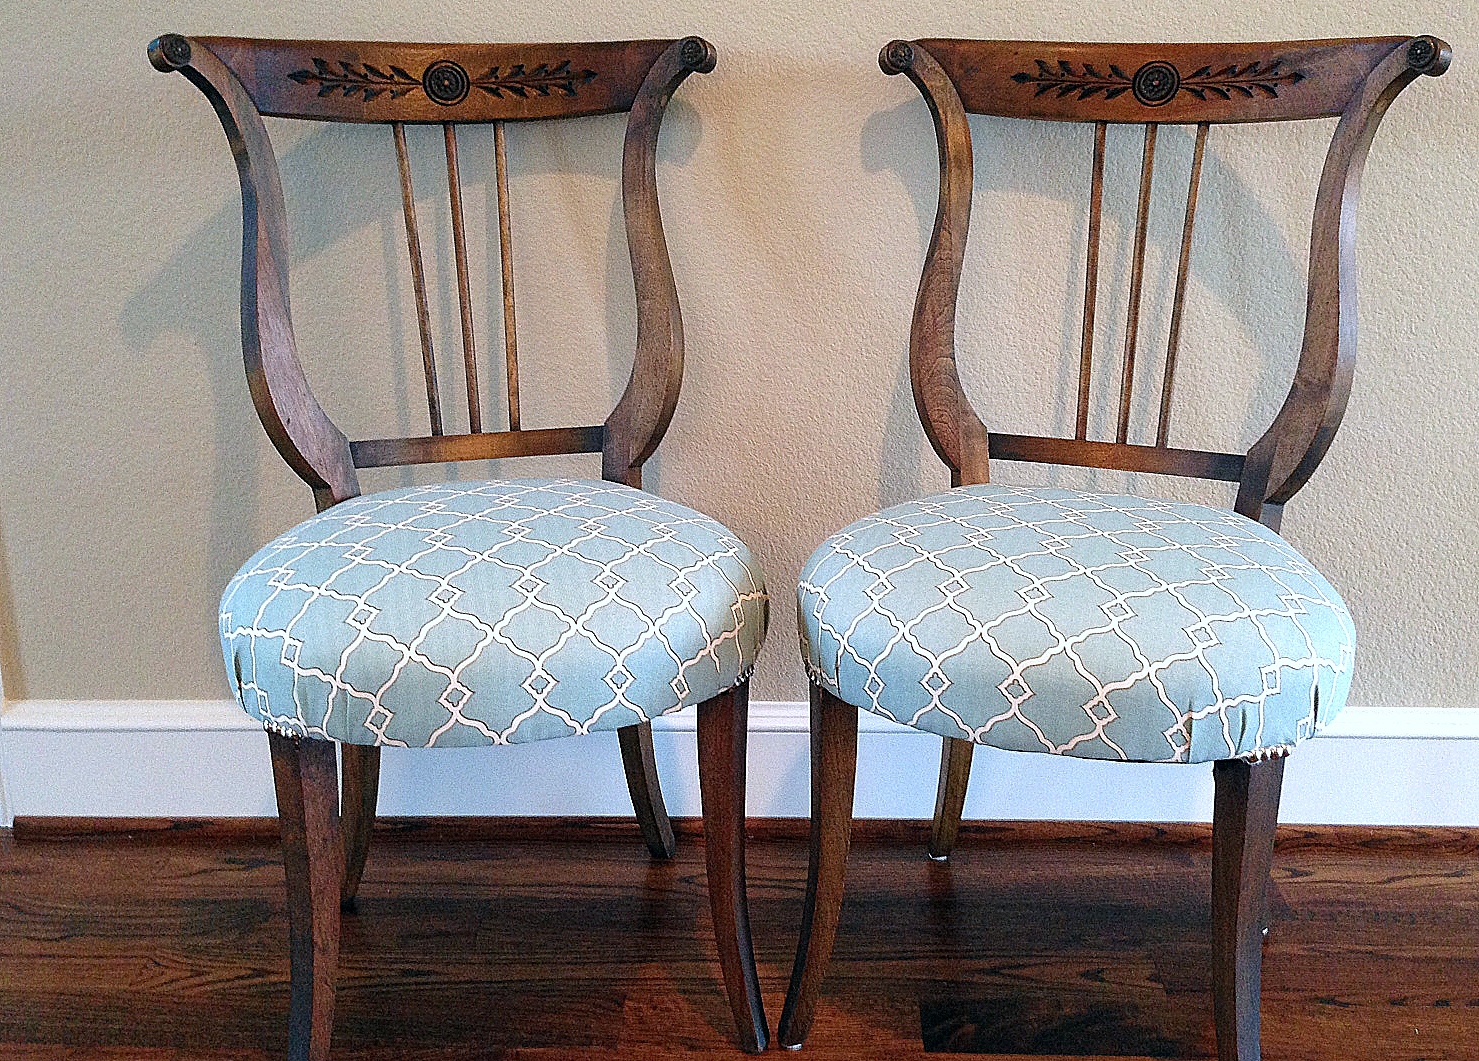
Finally, a couple of weeks ago I realized it was now or never for those chairs. I had to do something with them. My practical Grandmother would not be happy with me for letting two perfectly good chairs go to waste. Plus, she worked so hard on them! So, I took the chairs back to a furniture restoration place where they were yet again returned to their former glory (minus the 100 year old dust mites). So, here they are in their new homes …fresh and clean and with new upholstery…
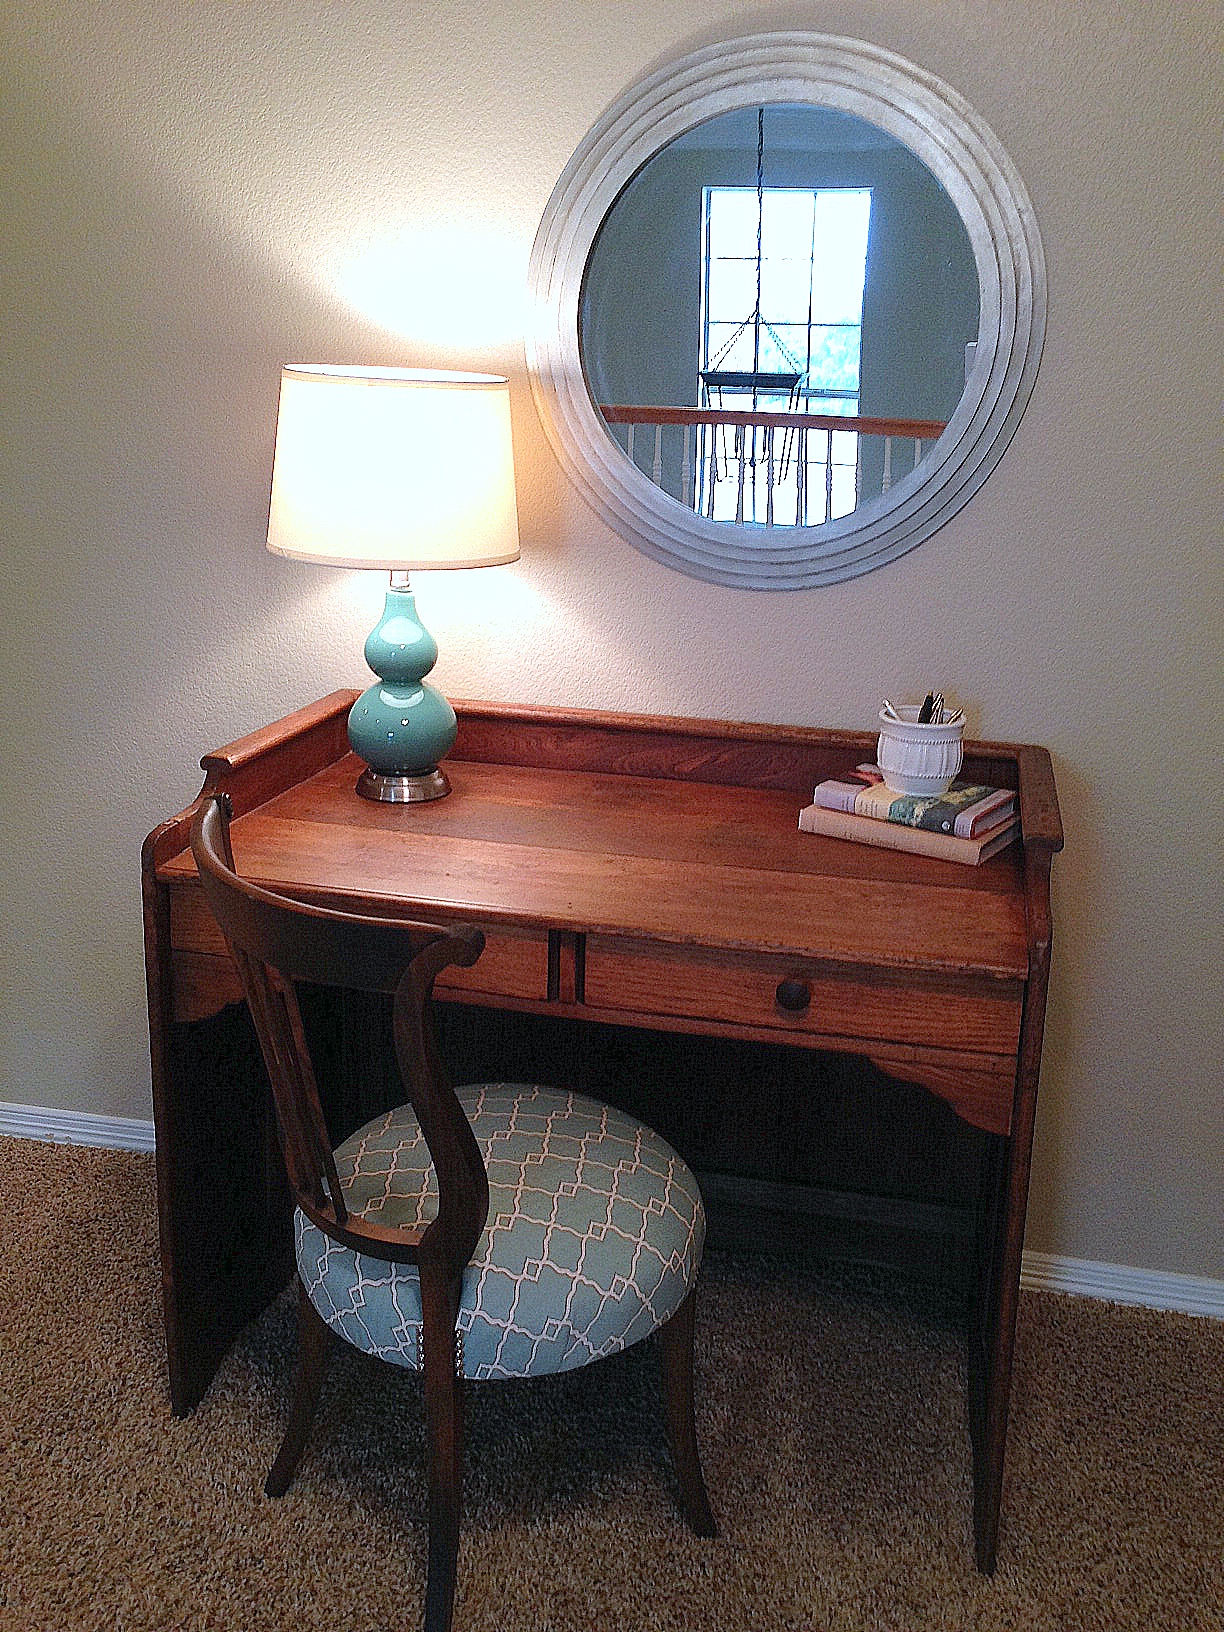

The chair on the left now lives in my landing and sits near my freshly painted armoire (you can read about that project here). The chair on the right now lives next to my bed (ignore the paint chip you spy on tucked in one of the frames – yes, that paint chip makes my husband very nervous). Also, if anyone is curious, the fabric is Waverly’s Chippendale Fretwork in Mineral. It’s an outdoor fabric that is made to withstand sun, mold, mildew and sippy cups.
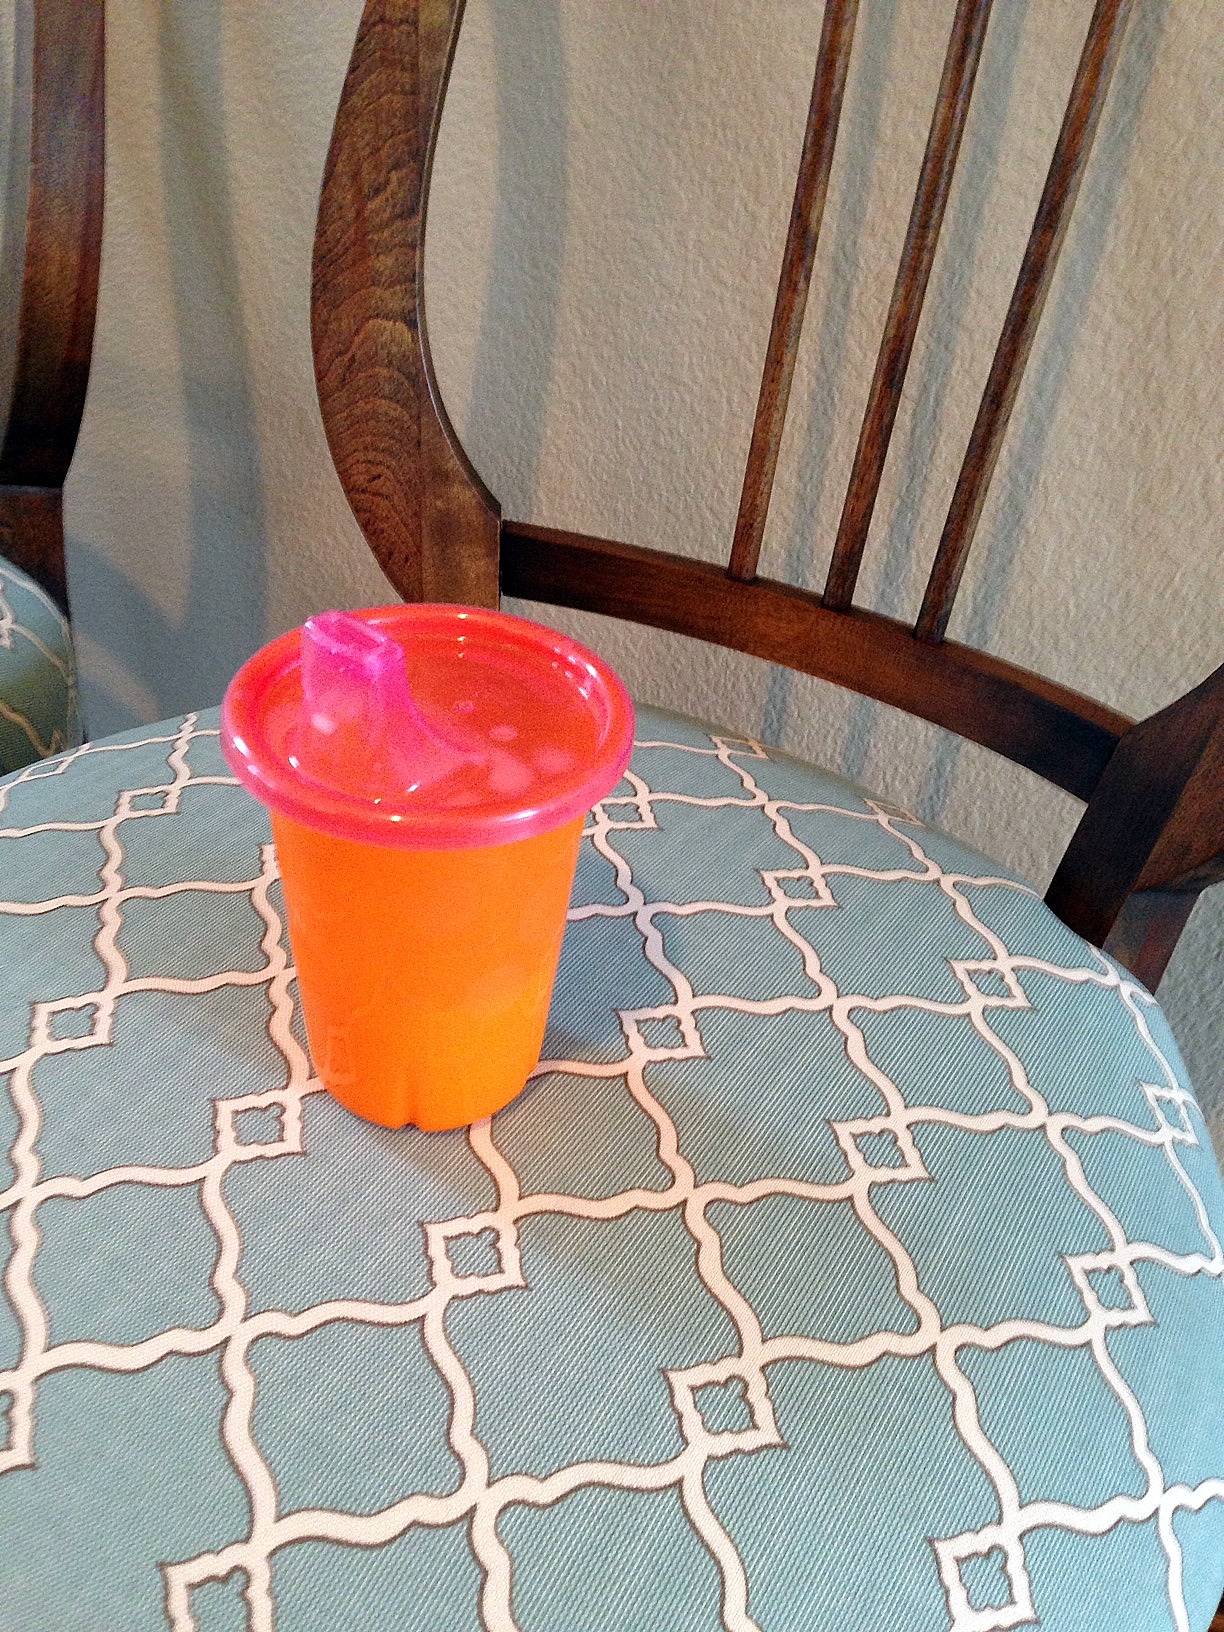
Grandma would appreciate the durability of this fabric immensely. Oh, and just so I can say I didn’t completely cheat by having someone else do the reupholstering, I did freshen up the wood by giving it a much needed “drink” of Feed-N-Wax. It’s an excellent product that protects and brings out the natural beauty of wood. All you have to do is apply it with a clean cloth, leave it on for twenty minutes, then buff it with another clean cloth. Super easy…and fast (Note: This is my own opinion. I am definitely not getting paid for any endorsements).
Anyway, Grandma, thank you for your inspiration and for giving me my beloved chairs. They make me smile and I think of you each time I see them. I hope they will continue to have tales to tell as I one day pass them on to my girls. I love and miss you to pieces!
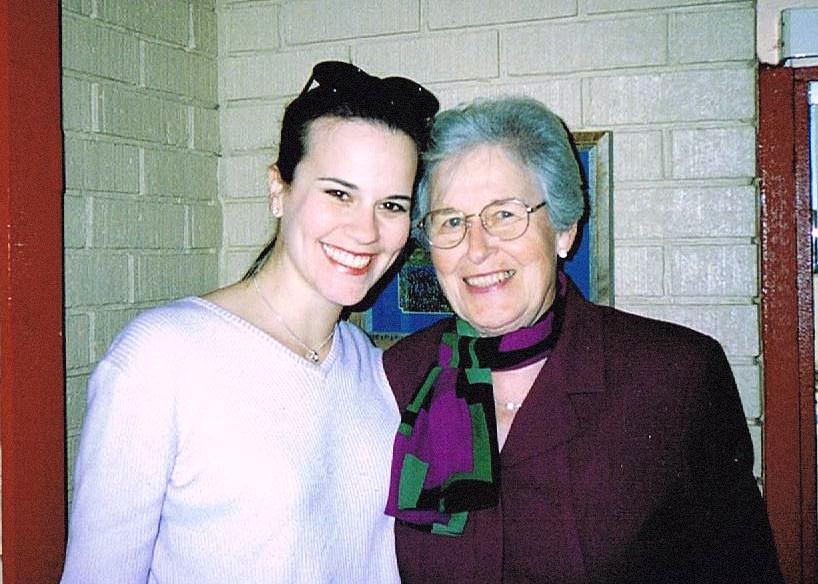
My grandmother and me circa 1998
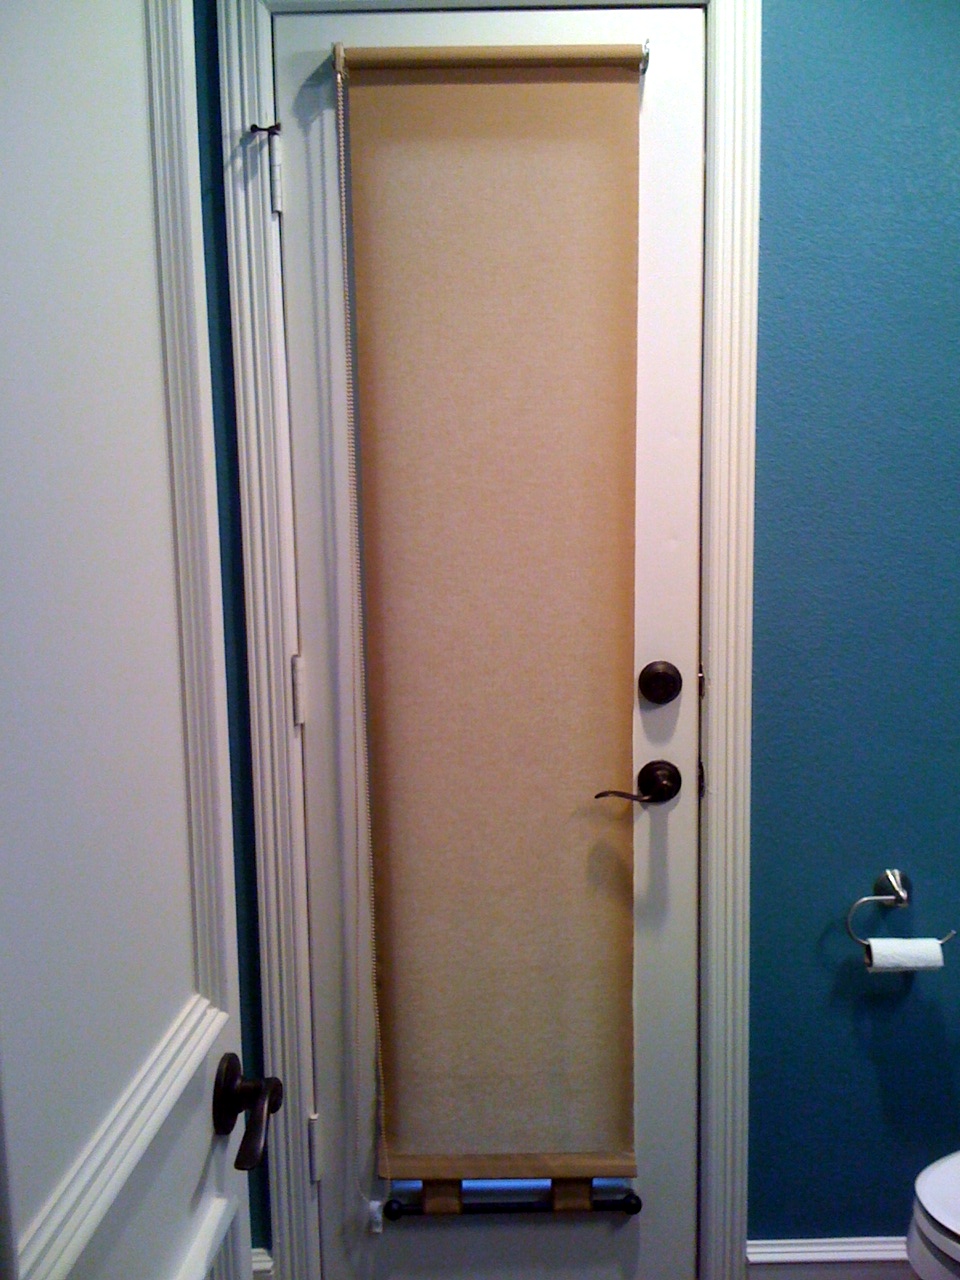
Okay, so not really. But, I have one. It’s in my half bath downstairs and leads to my backyard. To make things even more interesting the door has a full length window with clear glass (you’d think it would at least be frosted or something). I can only assume the previous owners of our house had it installed under the assumption they would also install a pool. Sadly, a pool never transpired, but the door was left to potentially freak out my guests and add a nice draft in the winter. That being said, custom window shades are crazy expensive, so the ugly, stained, 16 year old existing shade is here to stay.
Blah.
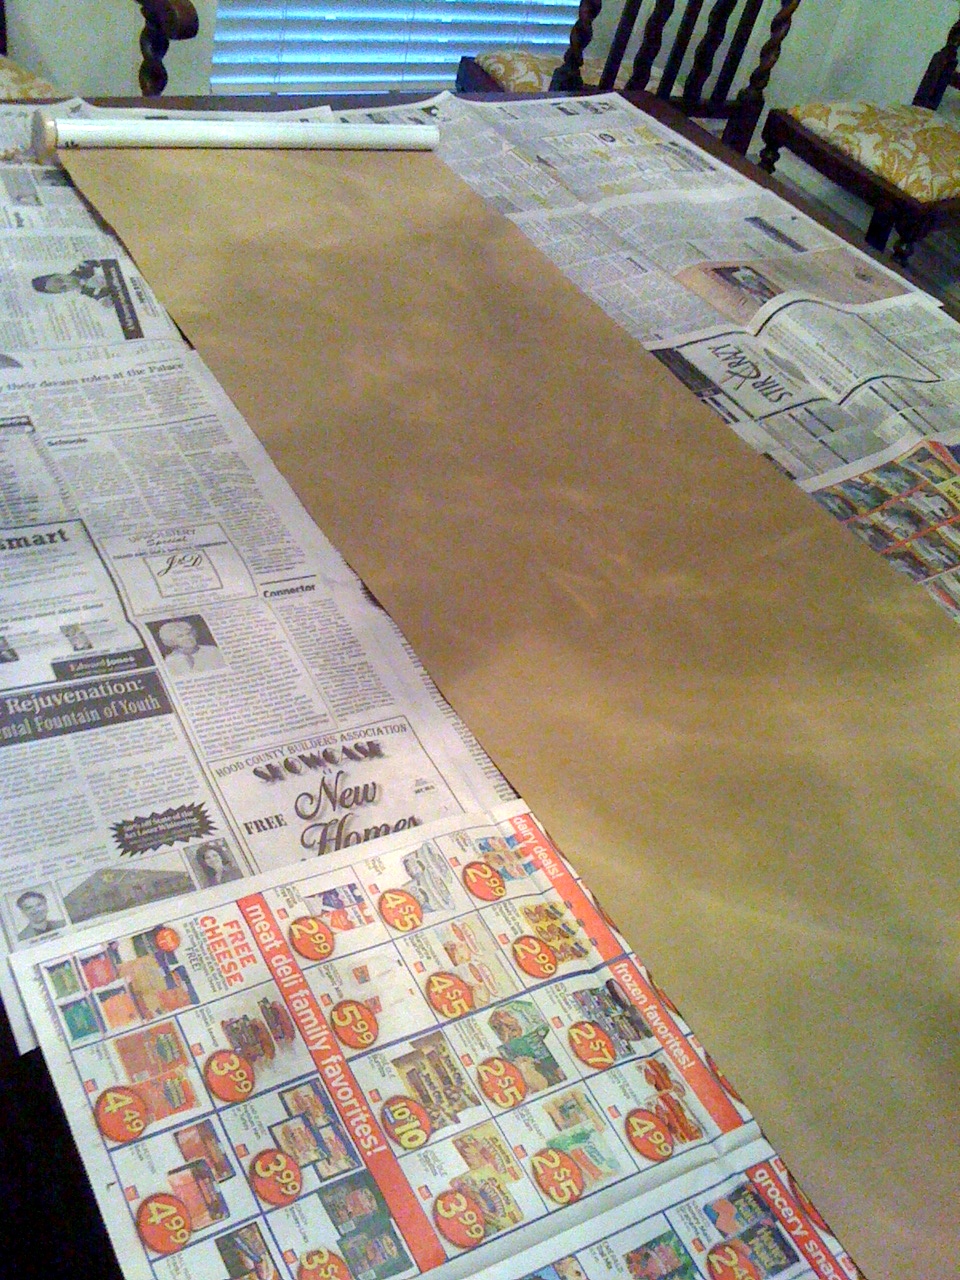
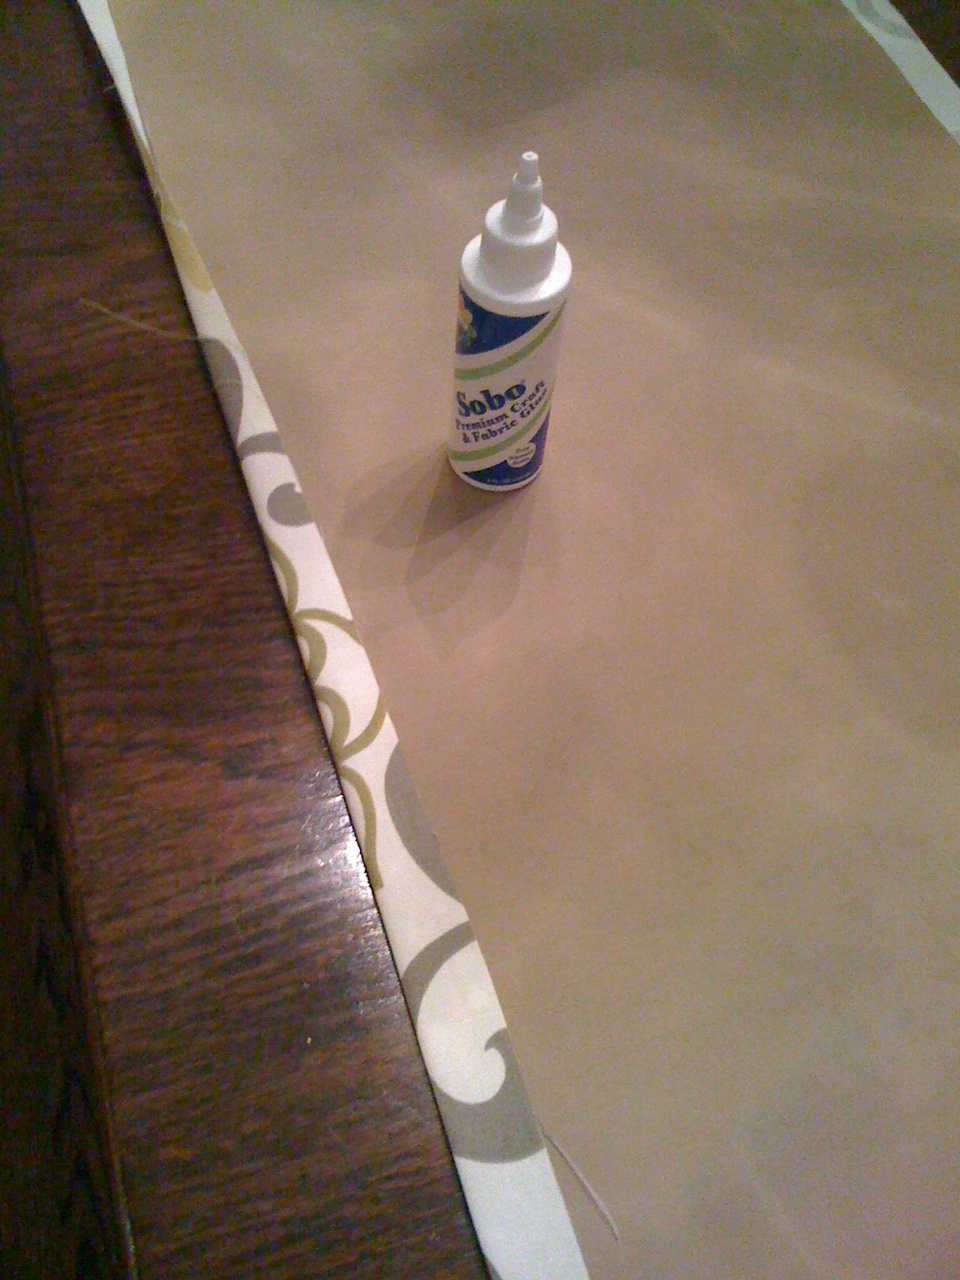
What to do? What to do? Why, add fabric of course (I chose a Waverly pattern called Pom Pon Play)! Here are the steps I used:
So easy! I’d have to say the hardest part was centering the fabric the way I wanted. I’m very pleased with the end result, but I must tell you weight of the added fabric did affect the functionality a bit (makes the shade more difficult to roll). Of course, this doesn’t bother me because I have a sneaking suspicion none of my house guests have any interest in opening the window shade while the bathroom is in use.
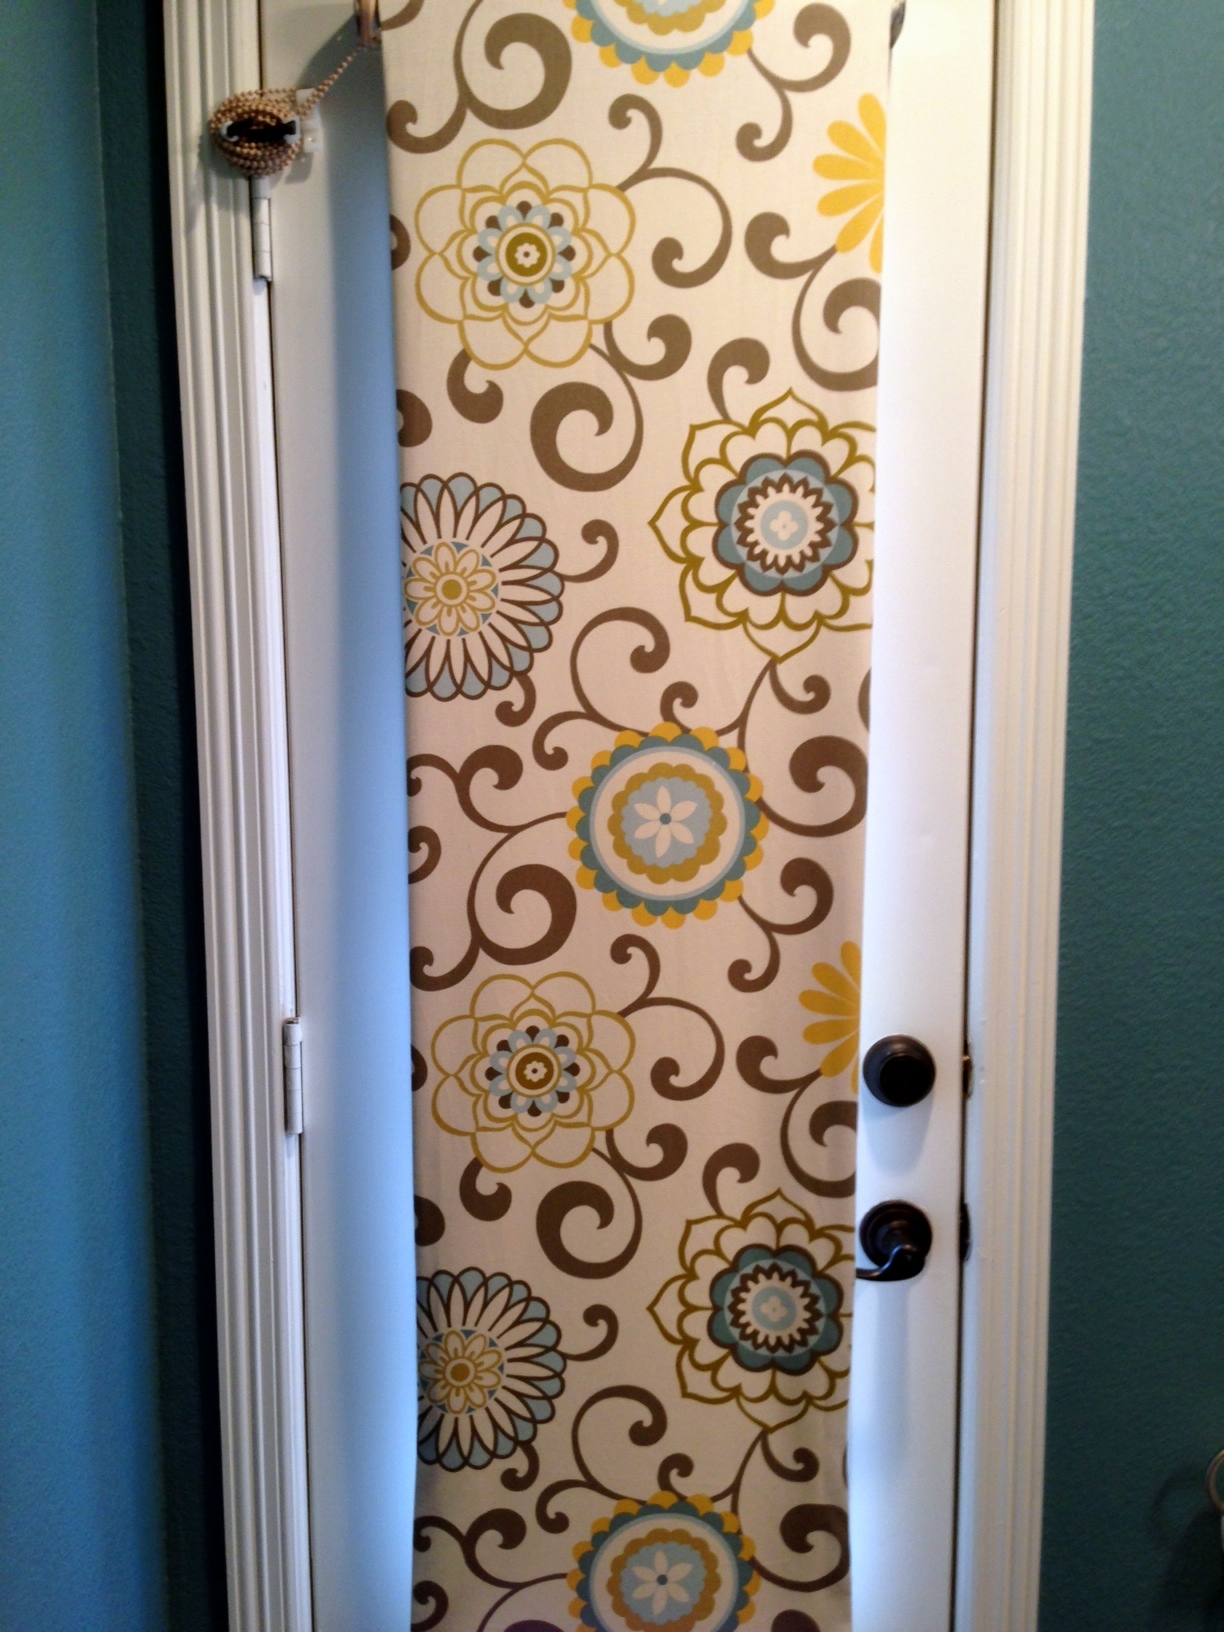
I think the entire project cost me less than $20 in materials. A custom shade at that price almost makes me like having a creepy exterior door in the bathroom. Almost.
fashion by sarah marcella
All Things Quilty
US History on a personal level
Re-Imagine Your Furniture
Remodeling, decorating and updating at home and in the garden
A WEST KNOXVILLE MARKET
one girl trying to paint herself out of a corner
