

In my last post I mentioned I would post pictures of the “Before and After” process of my dining room. Sorry it took me longer to post than I originally intended. Apparently, I have the same attention span as my 2 kiddos because it took me forever to choose which photos to post.
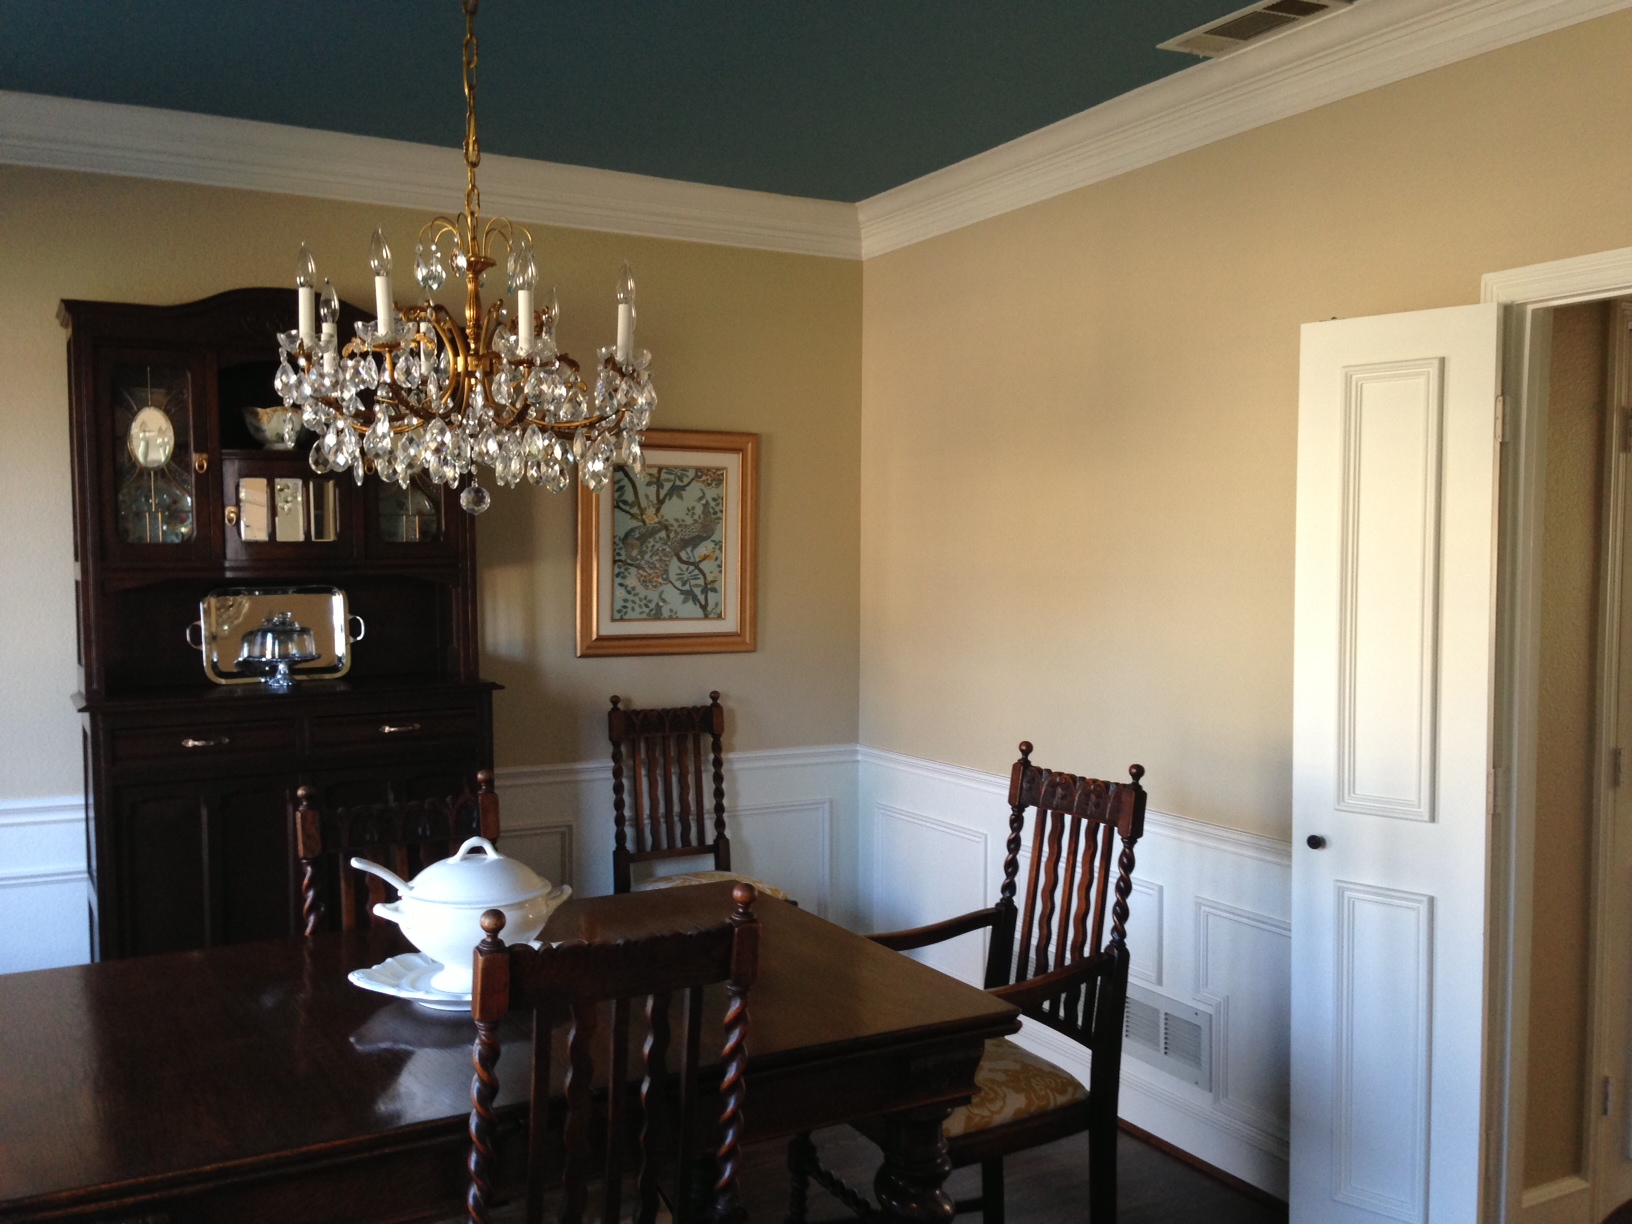
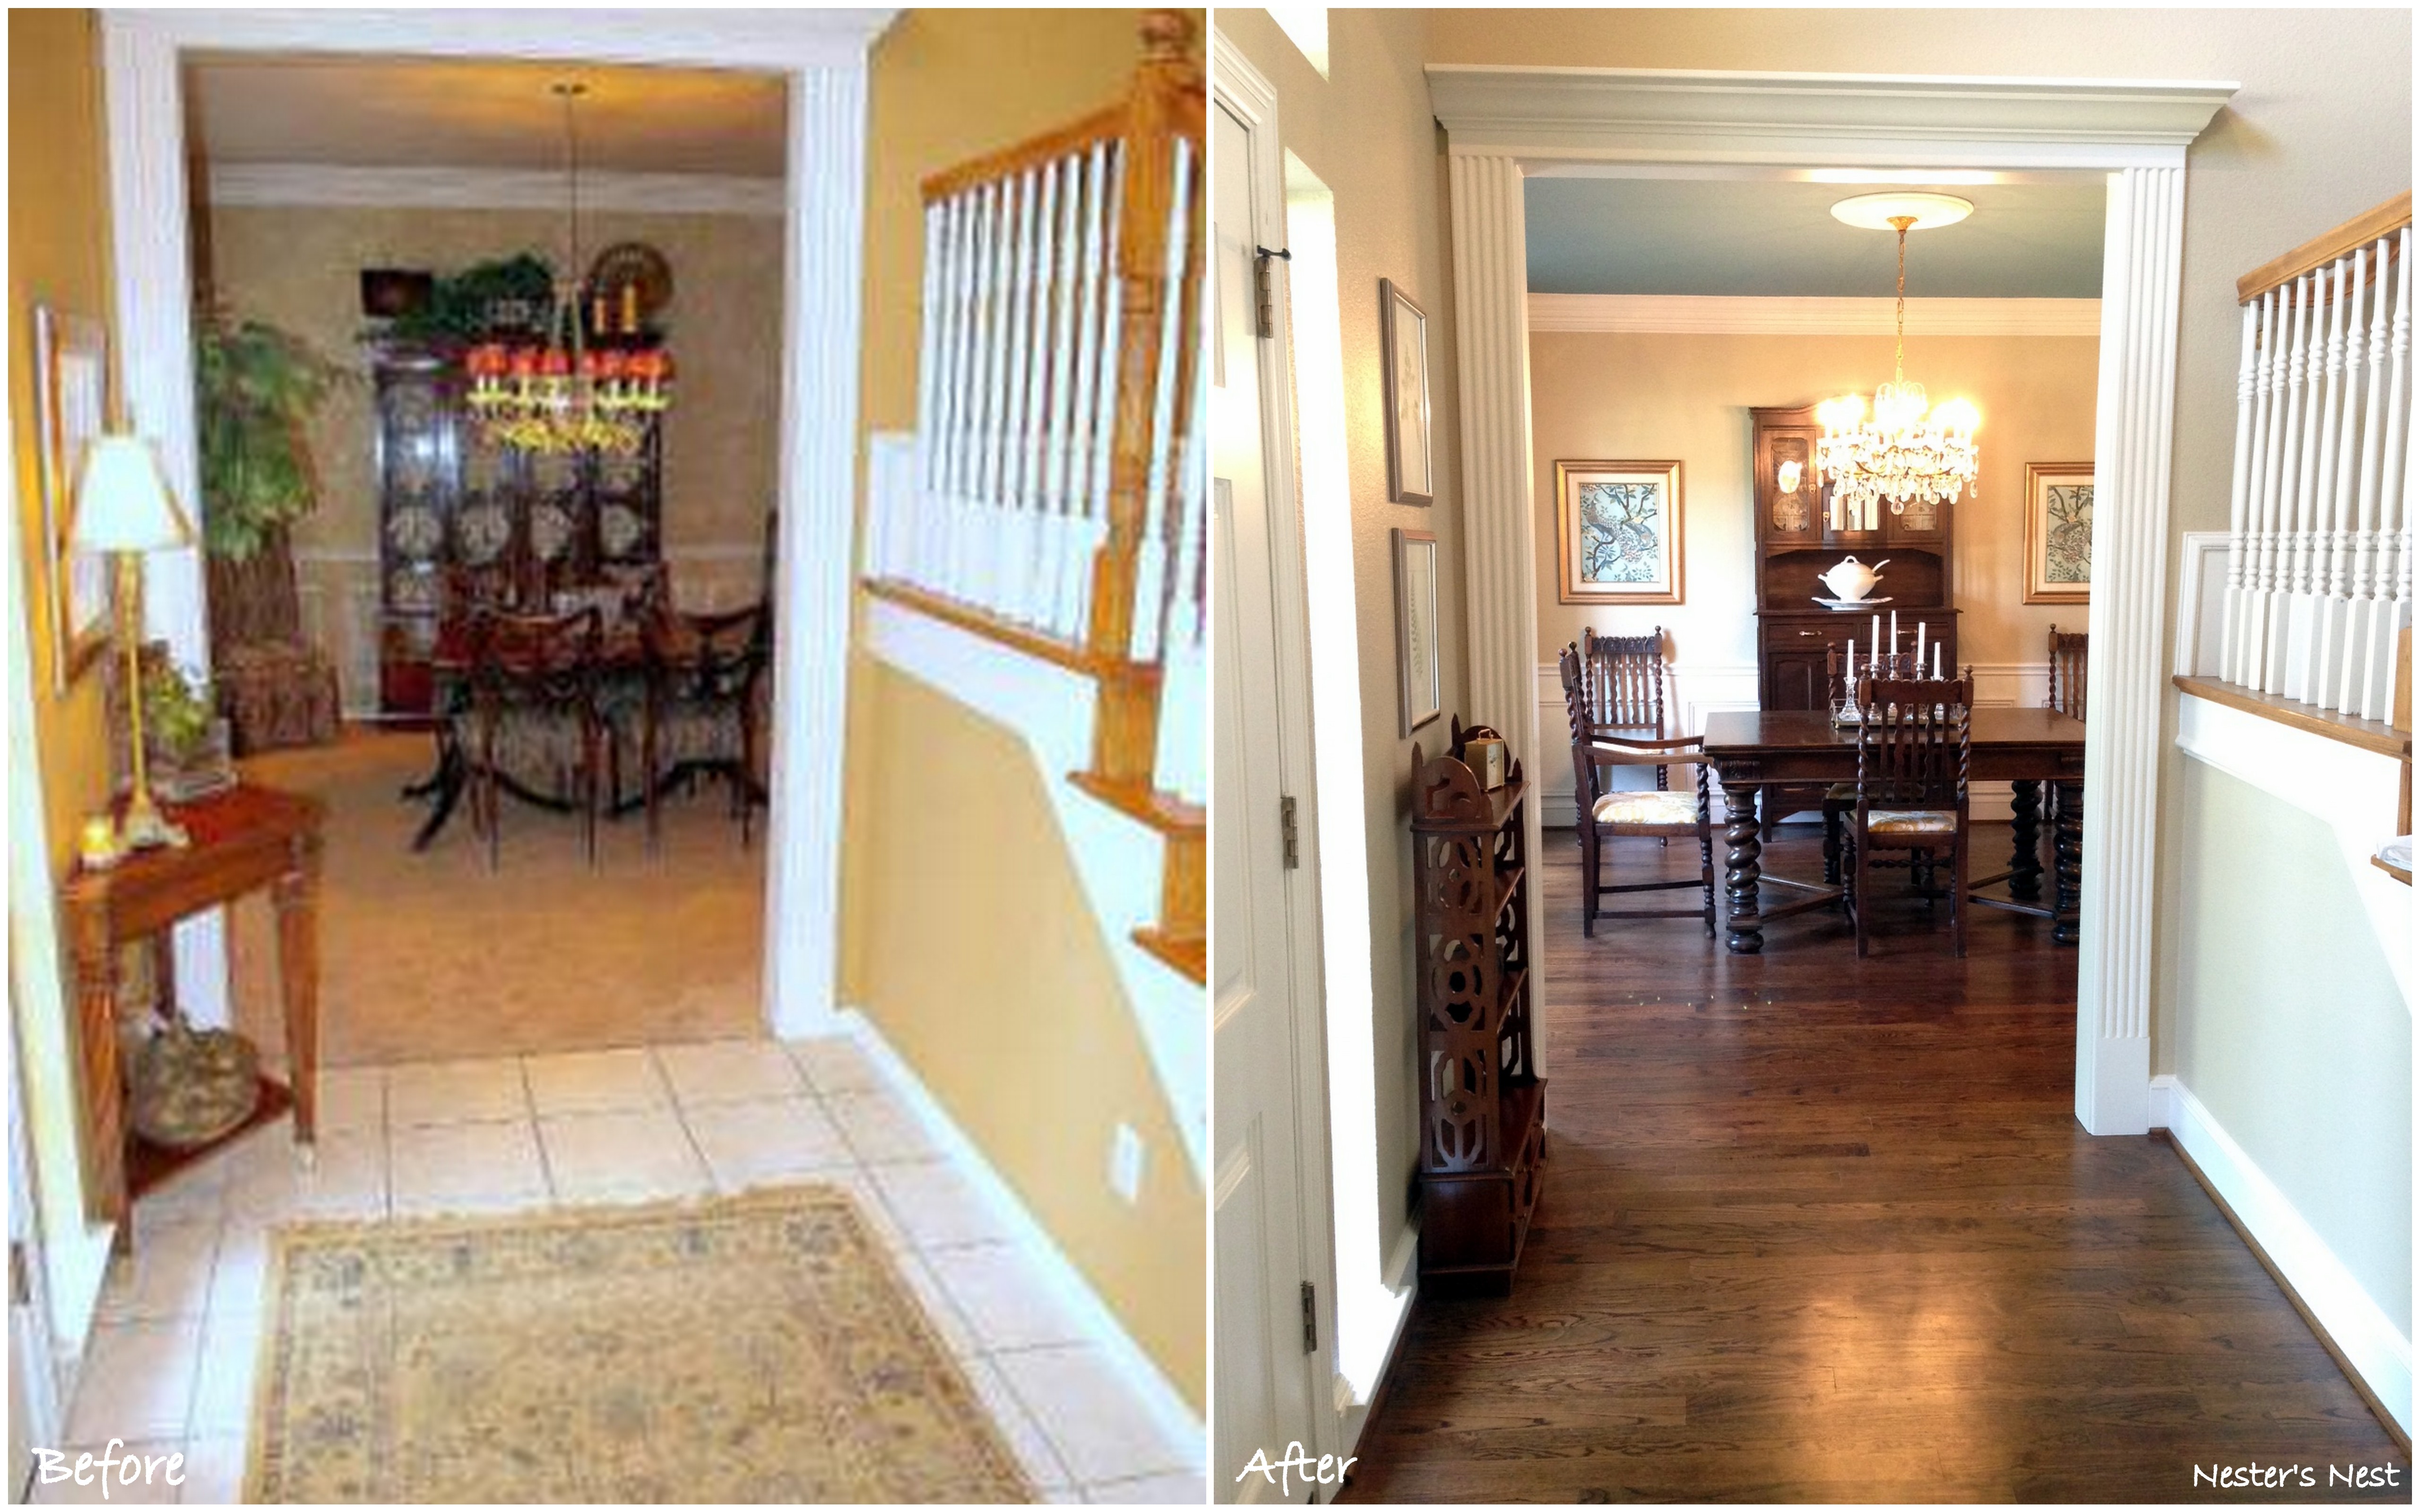
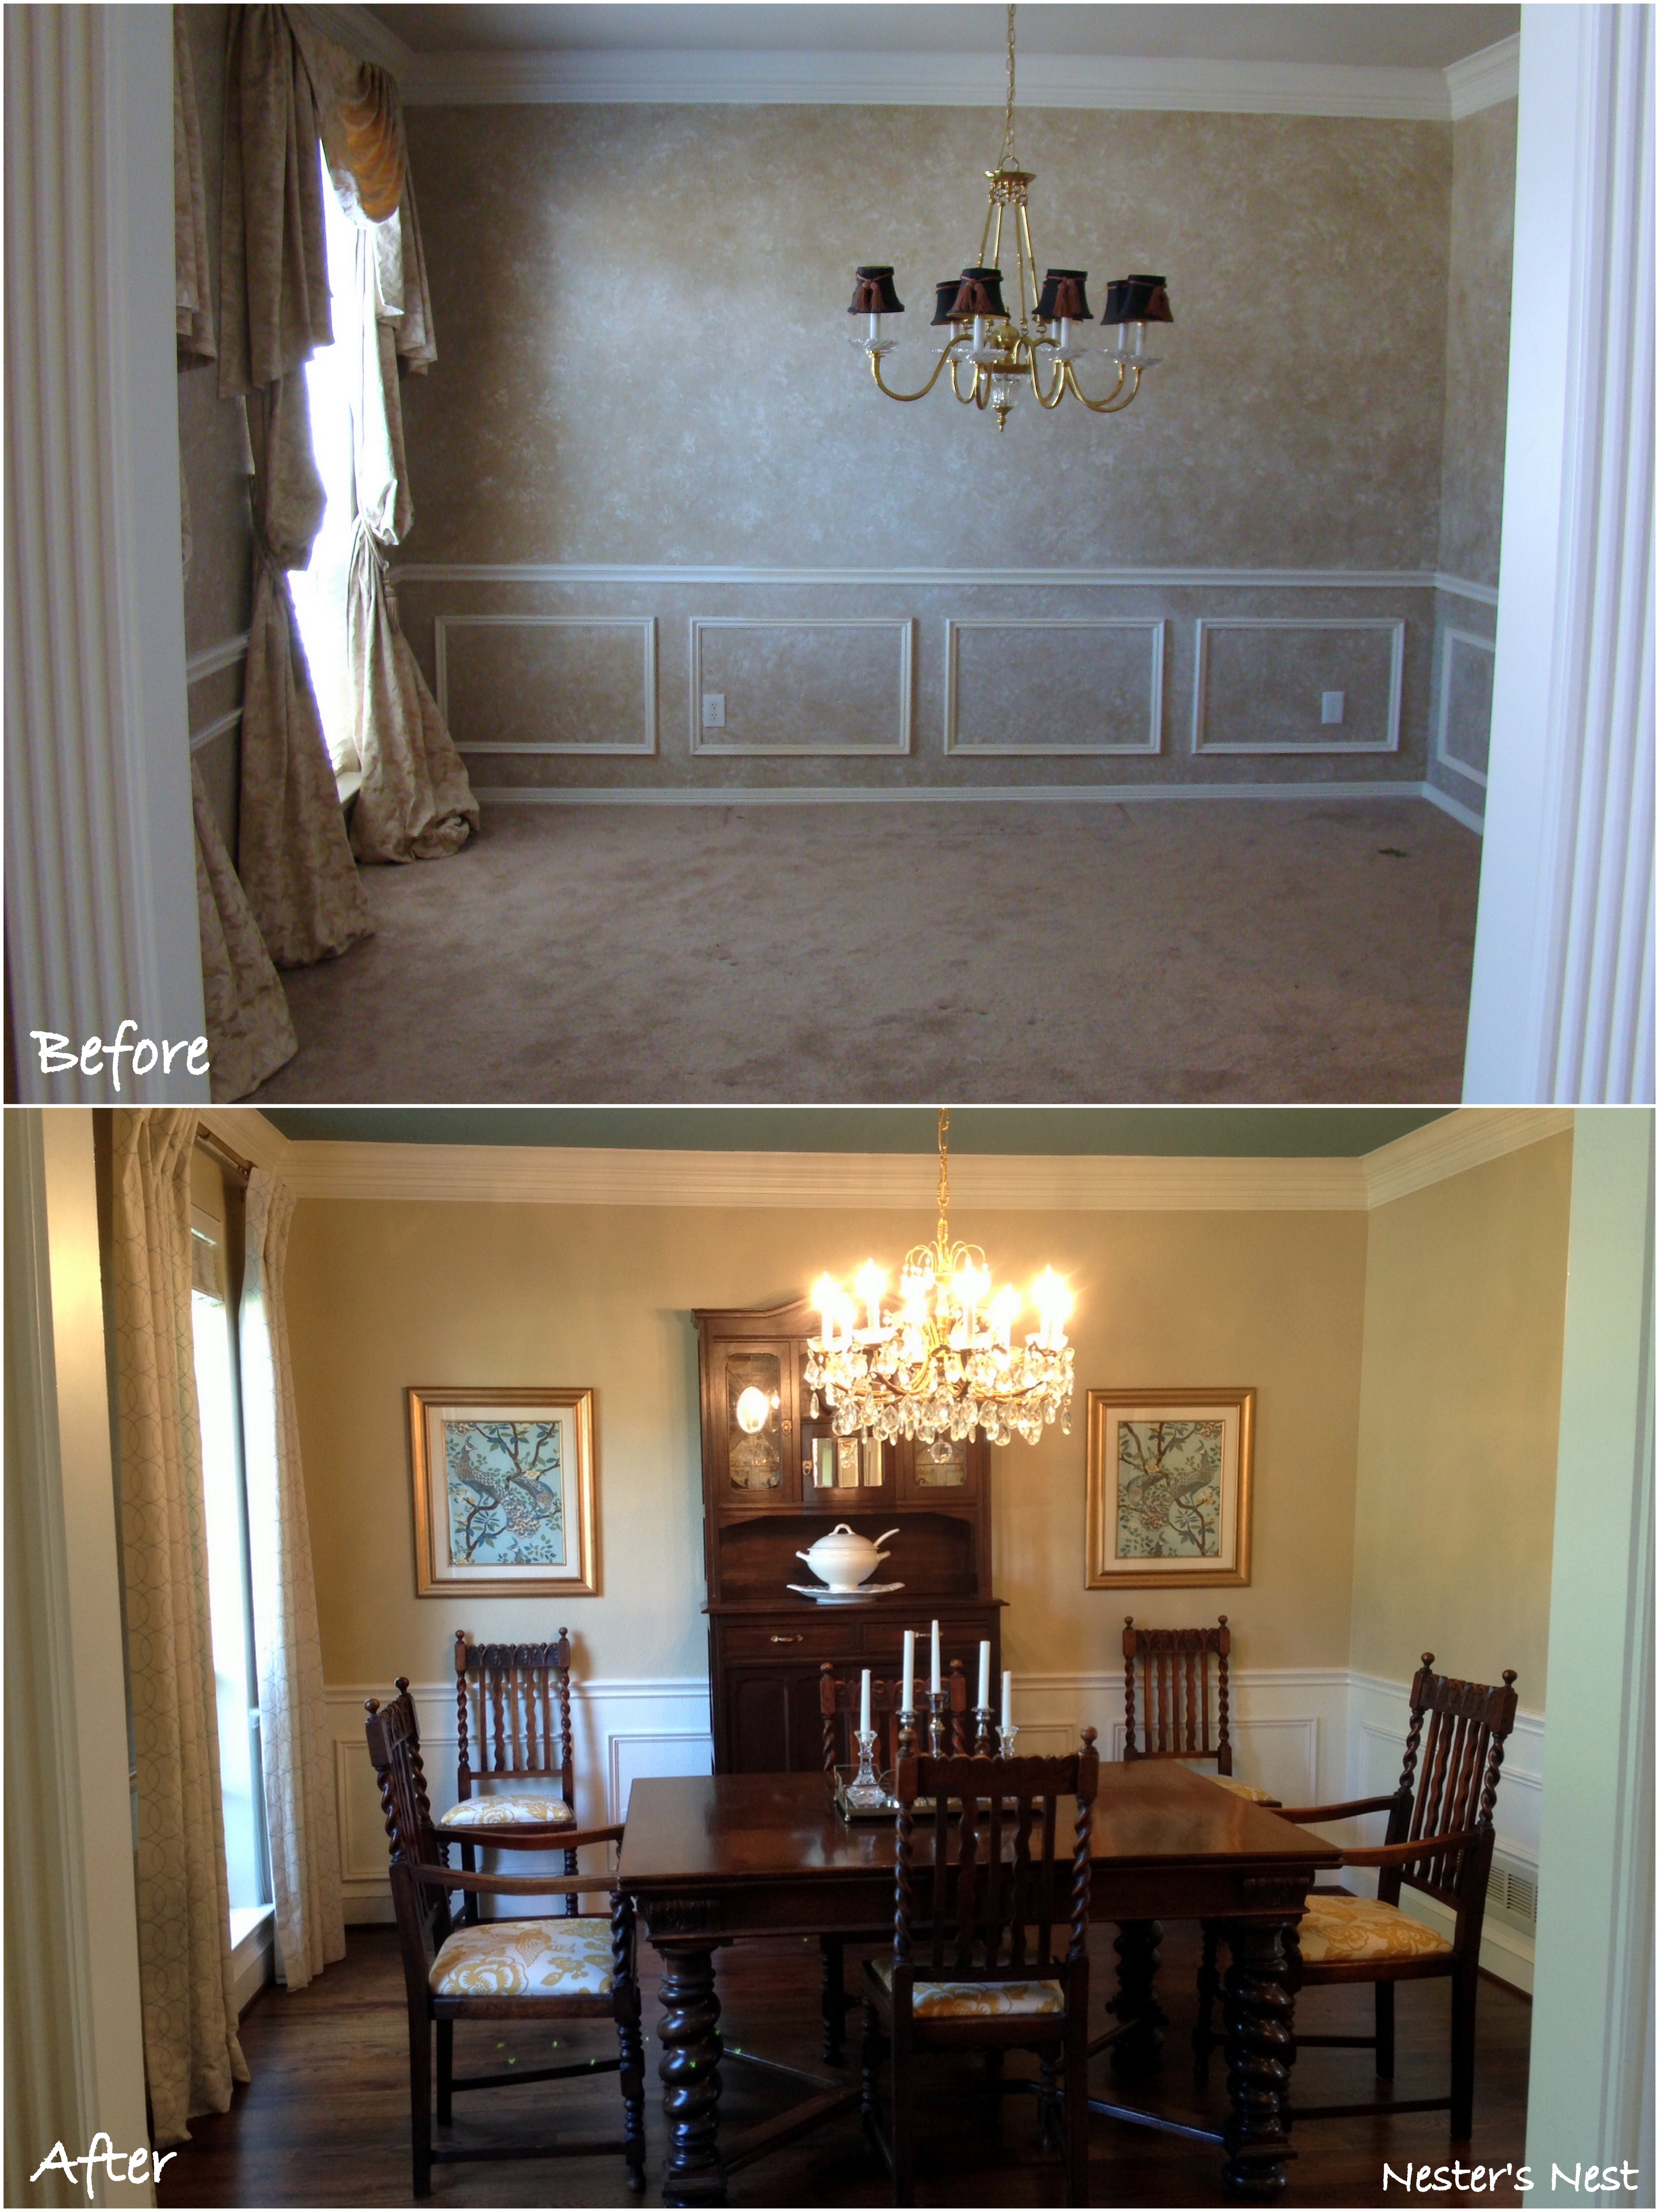
So, let’s get right to it. “Before” photos are on the left. “After” photos are on the right.
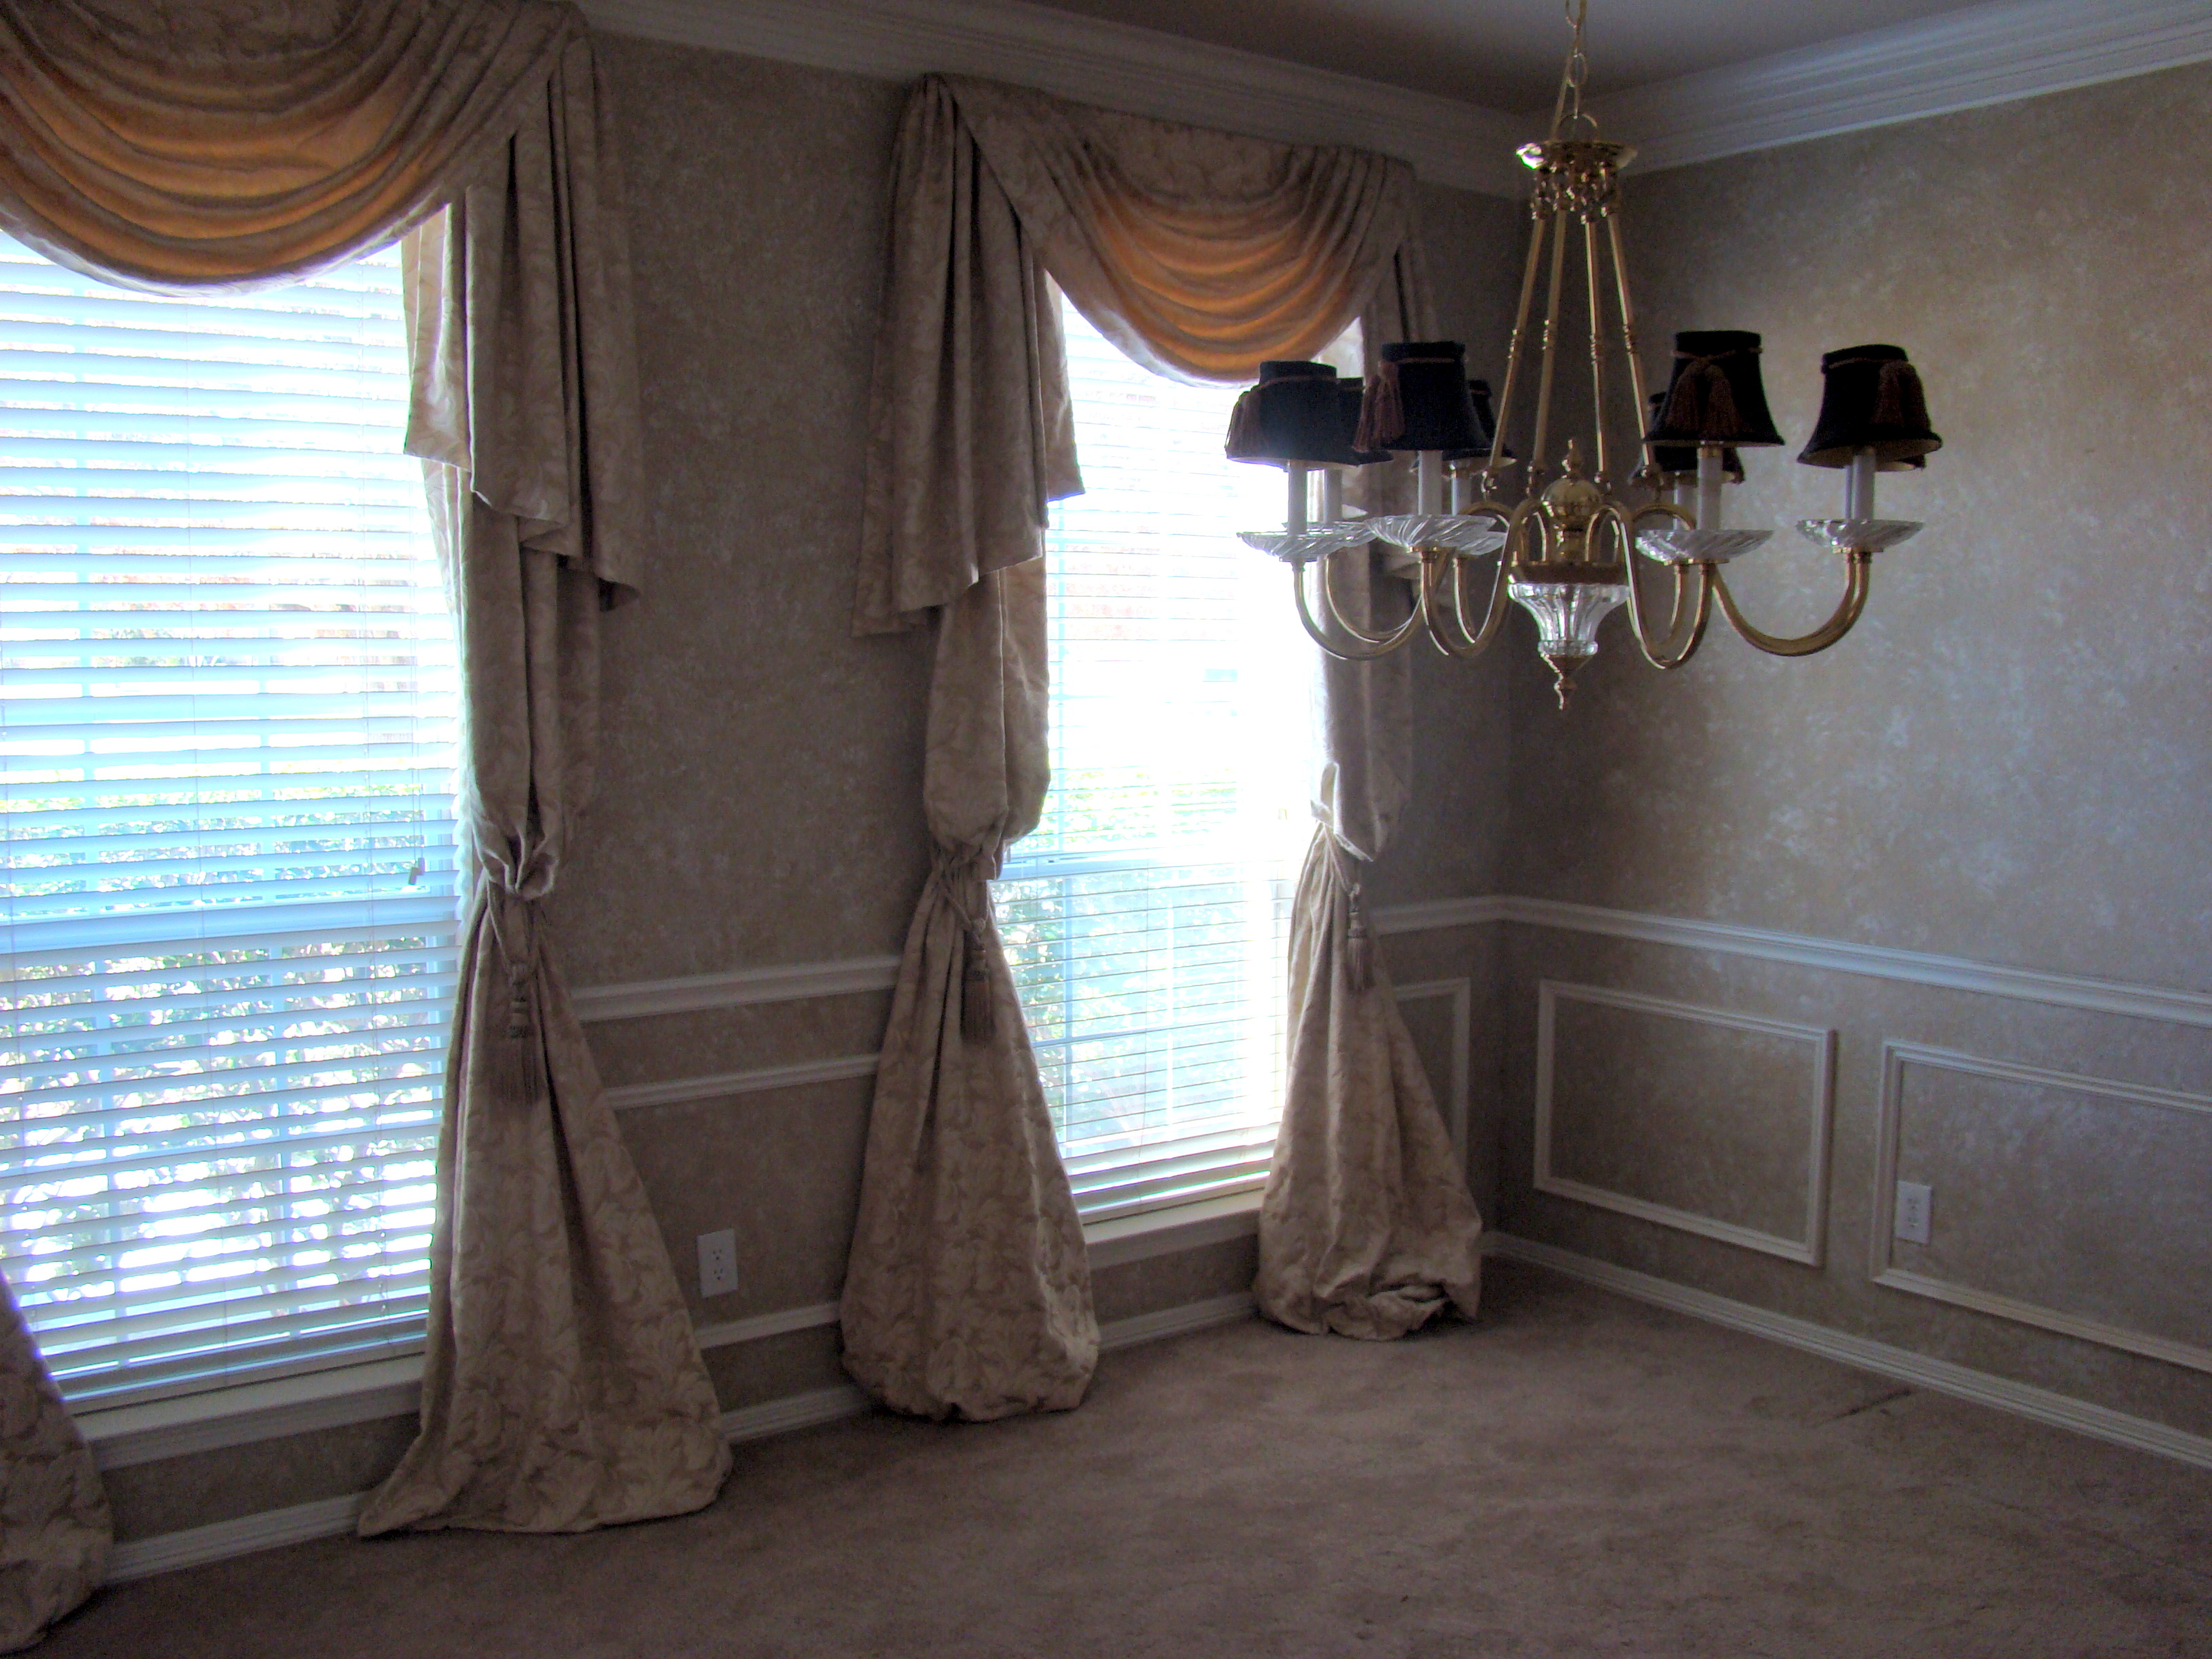

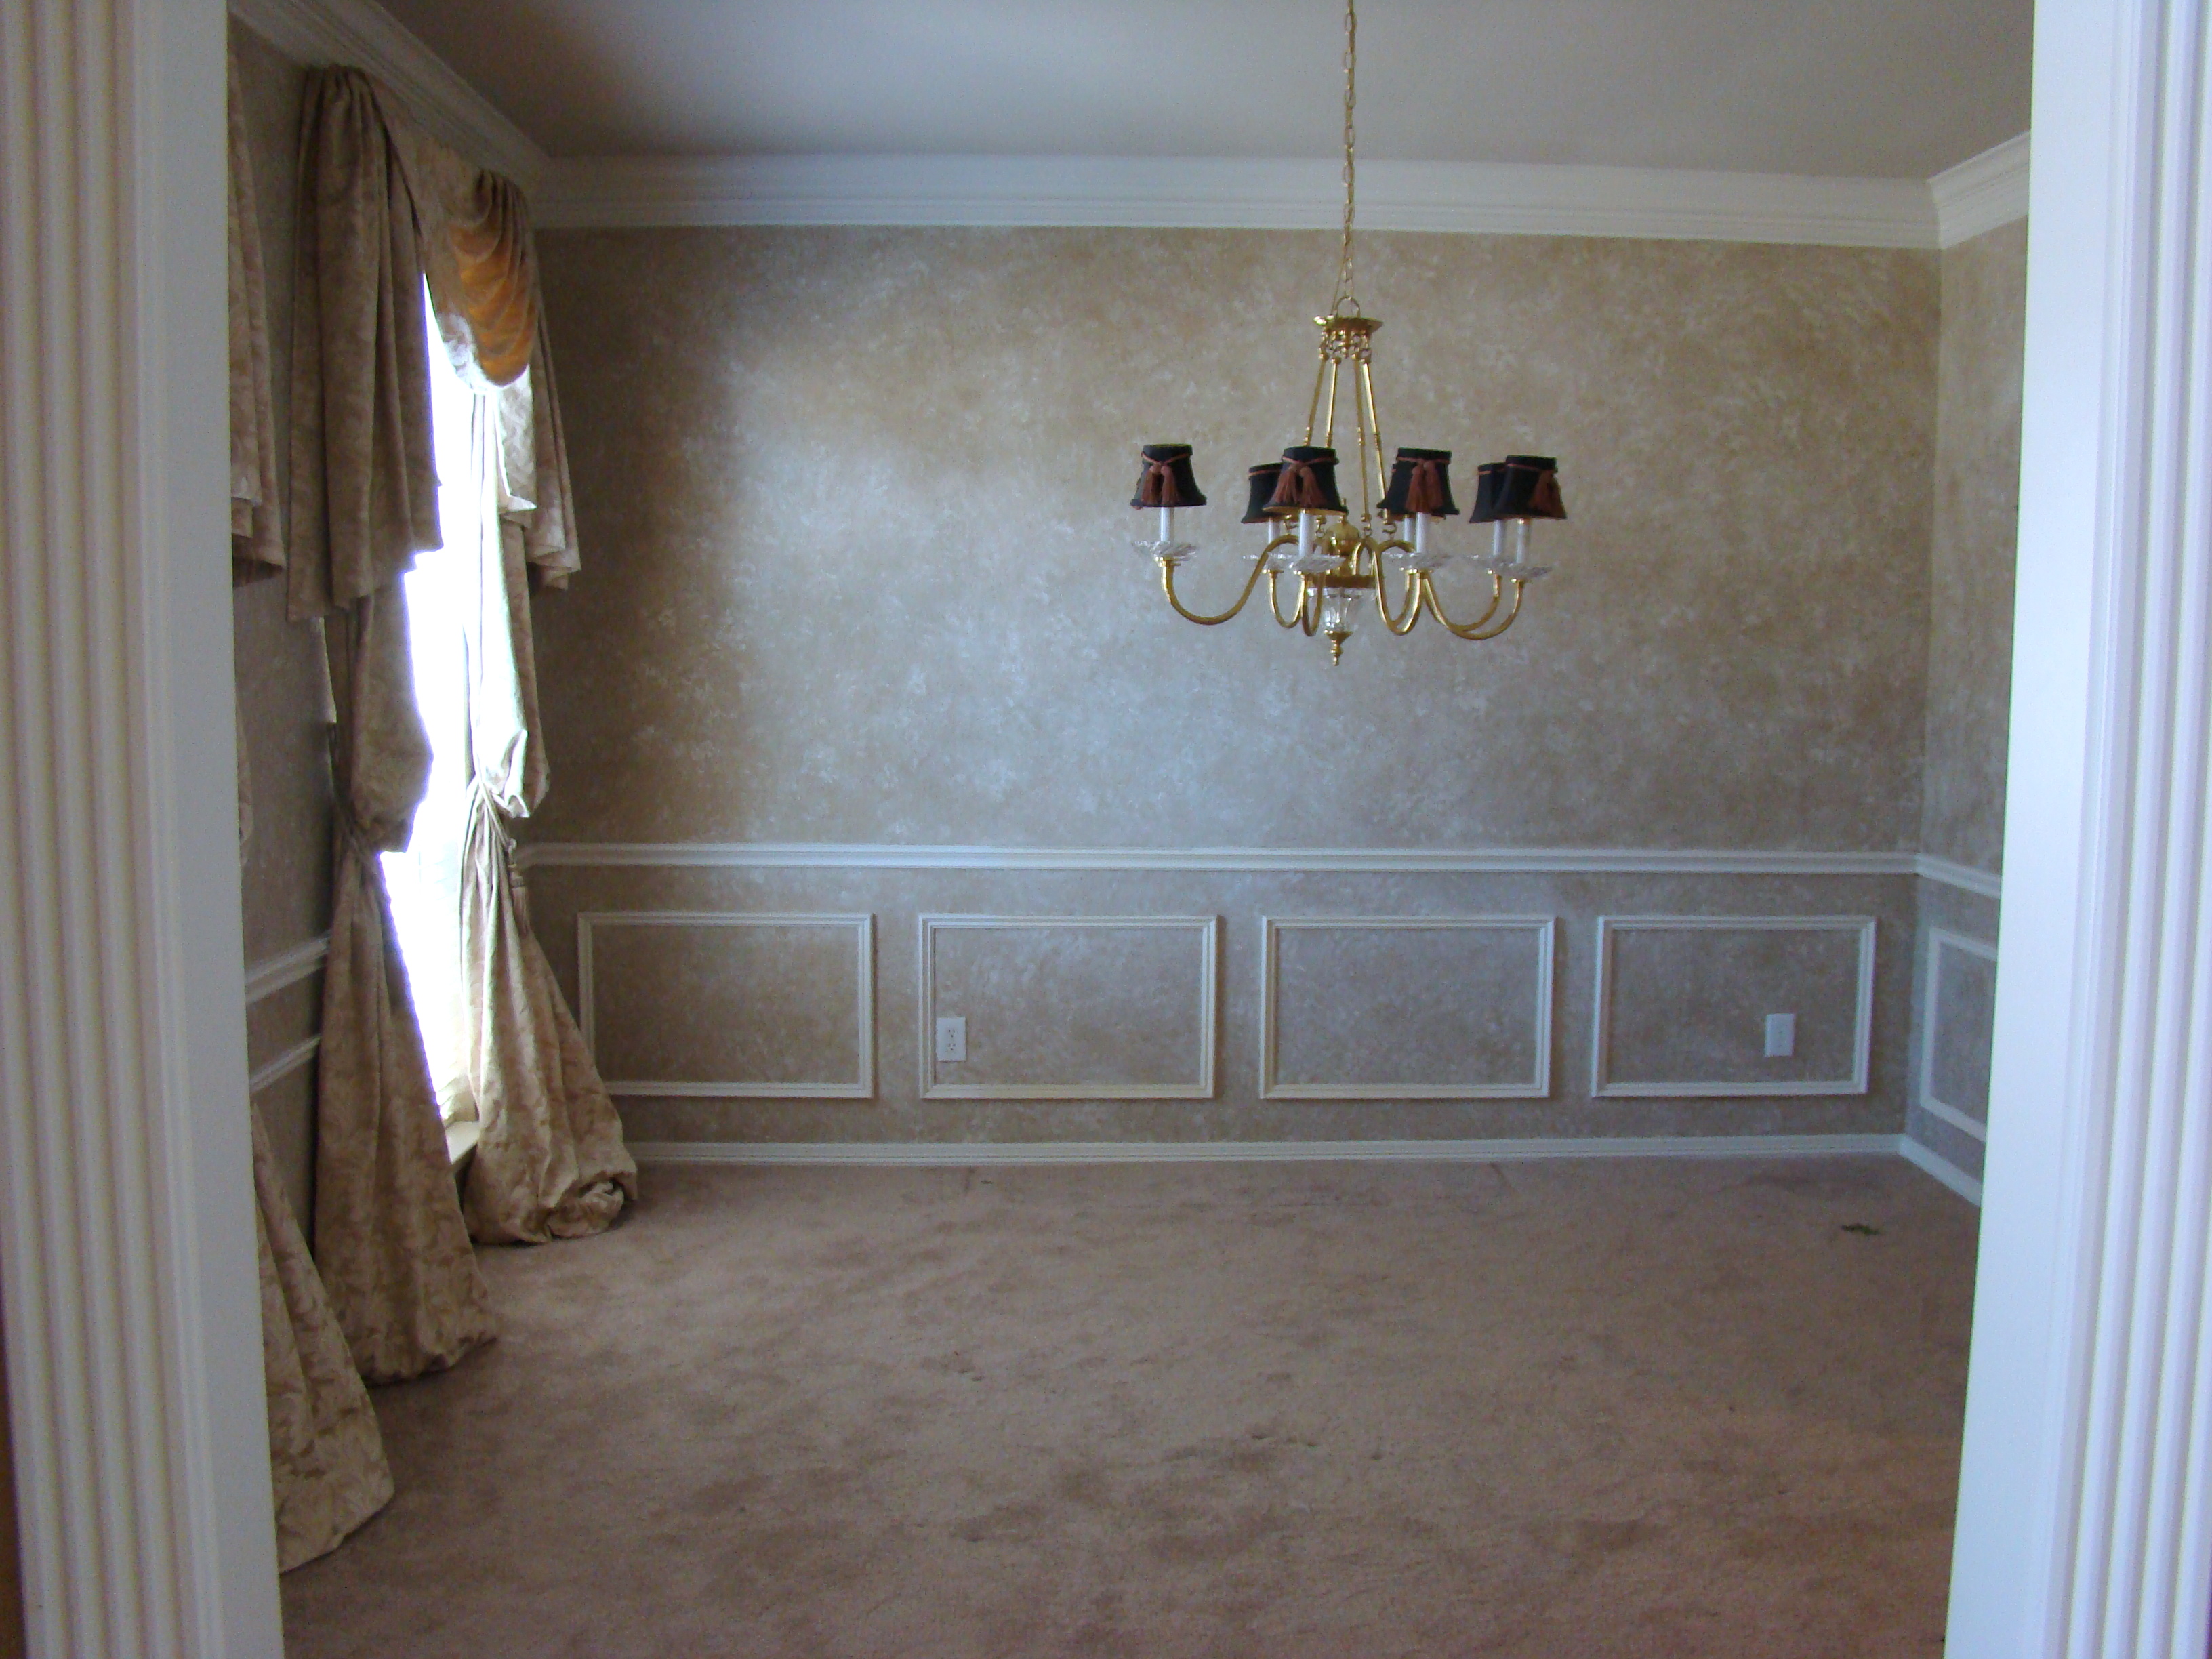

Isn’t it amazing how paint can transform a room? The original paint was a faux finish which I believe used a “sponge technique” from the ’90’s. I’m sure it was lovely in its day, but it was time for it to go.
Now, on to the details….
1. Paint Colors:
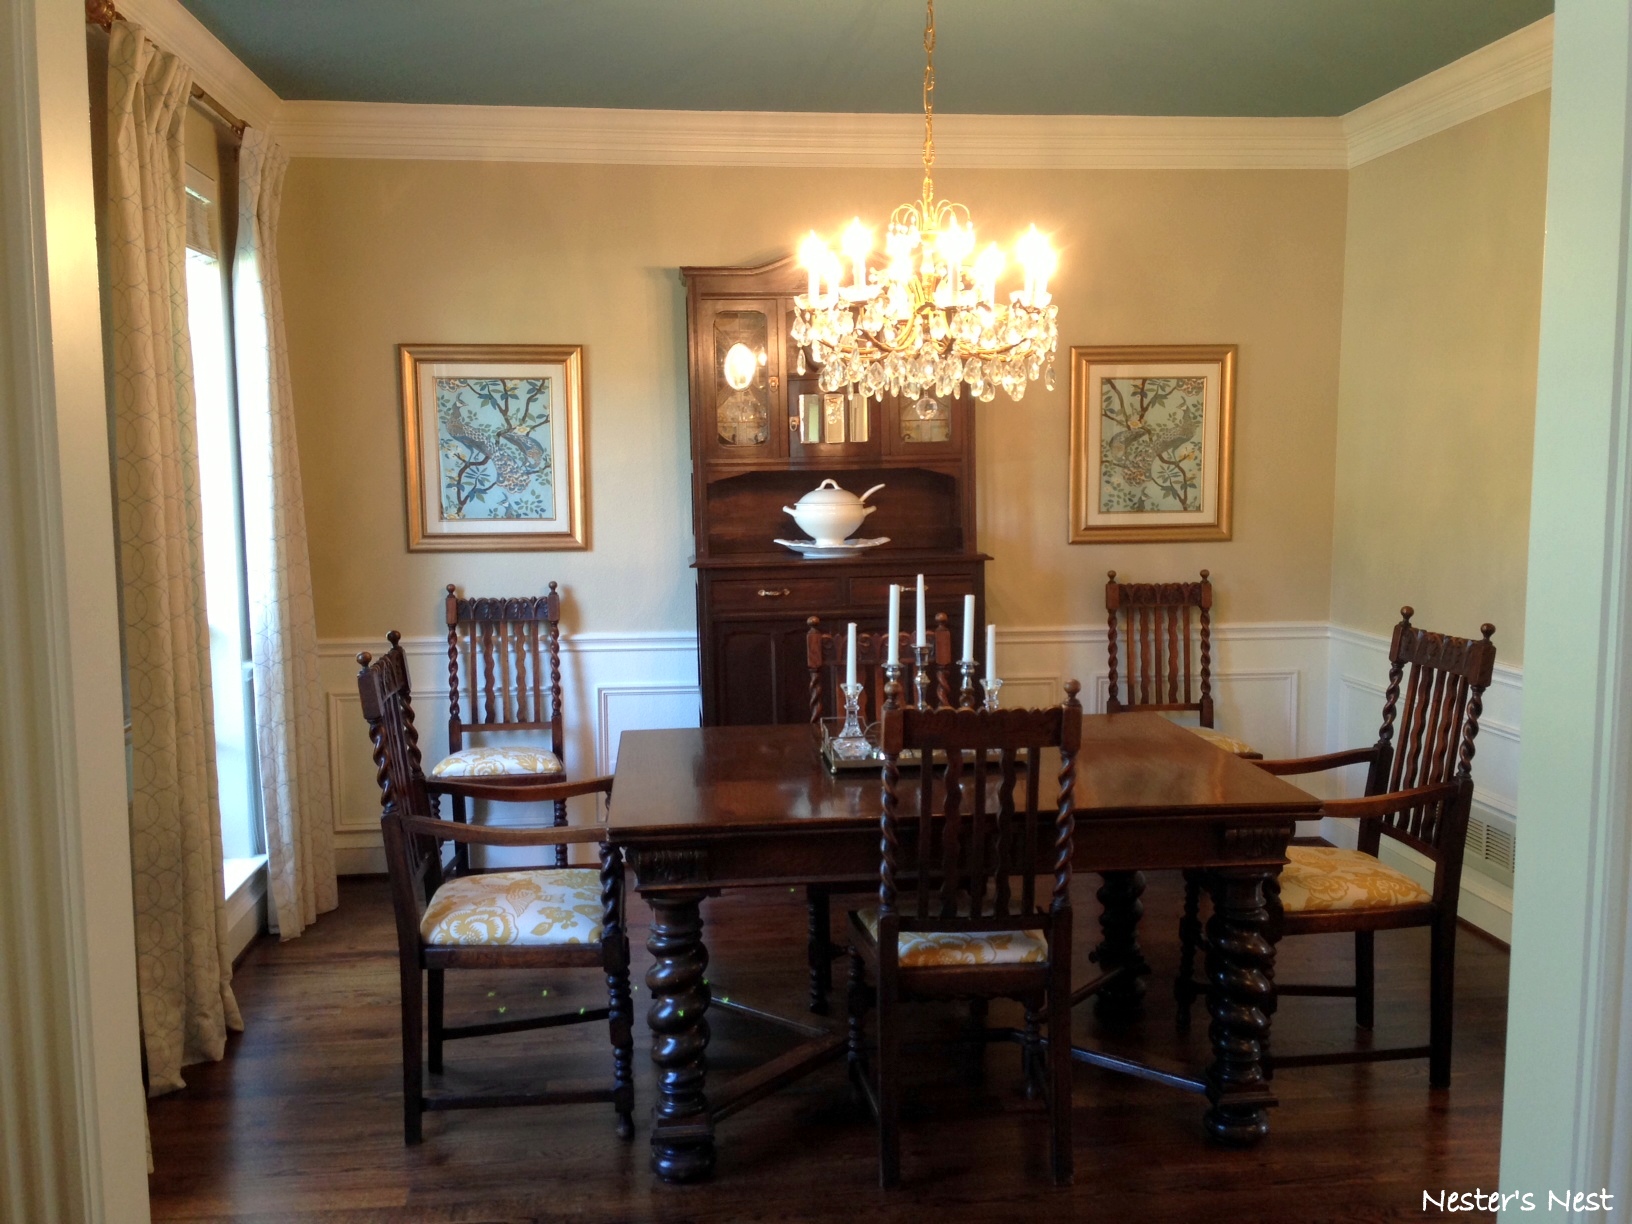
Walls: Gobi Desert – Behr
Wainscoting and trim: Alabaster – Sherwin Williams
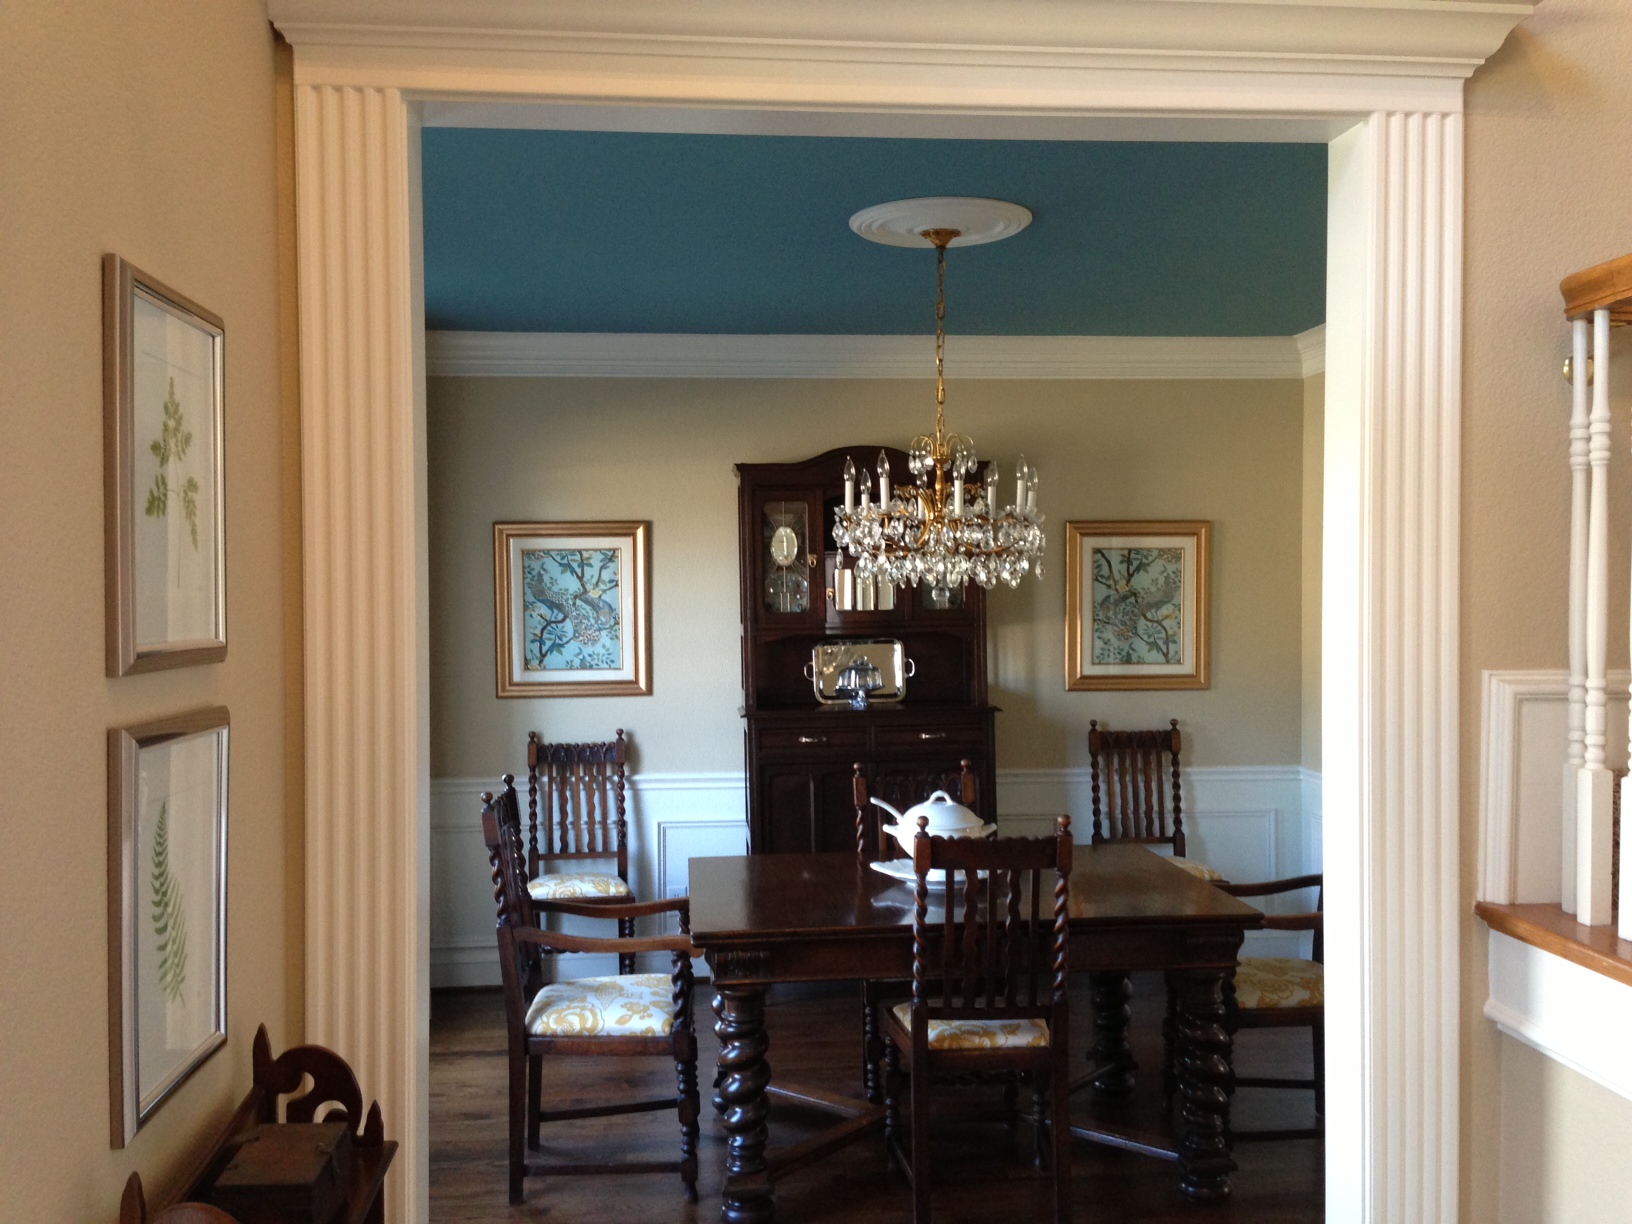
Ceiling: Mountain Stream – Sherwin Williams
Let me first point out the “wainscoting.” I’ll let you in on a secret. It’s not real. It’s just pieces of decorative molding on top of drywall. I painted the molding and the walls beneath the chair rail the same shade of white to give the illusion of being real wainscoting. Tricky, huh?
Additionally, a few of you asked me how I determined that particular shade of blue for my ceiling. One can find their design inspiration from so many different things whether it be a pillow, a picture, a vase, or colors you find at your favorite vacation destination (blue of the ocean, wildflowers, etc…). My particular inspiration for this room happened to come from my wedding china. My pattern isn’t for everyone, but I’ve always loved the details and colors. For this reason, I chose a blue that compliments my china. I tracked down a couple of photos from when I hosted Thanksgiving at our home in 2011 so you can see how it ties together.

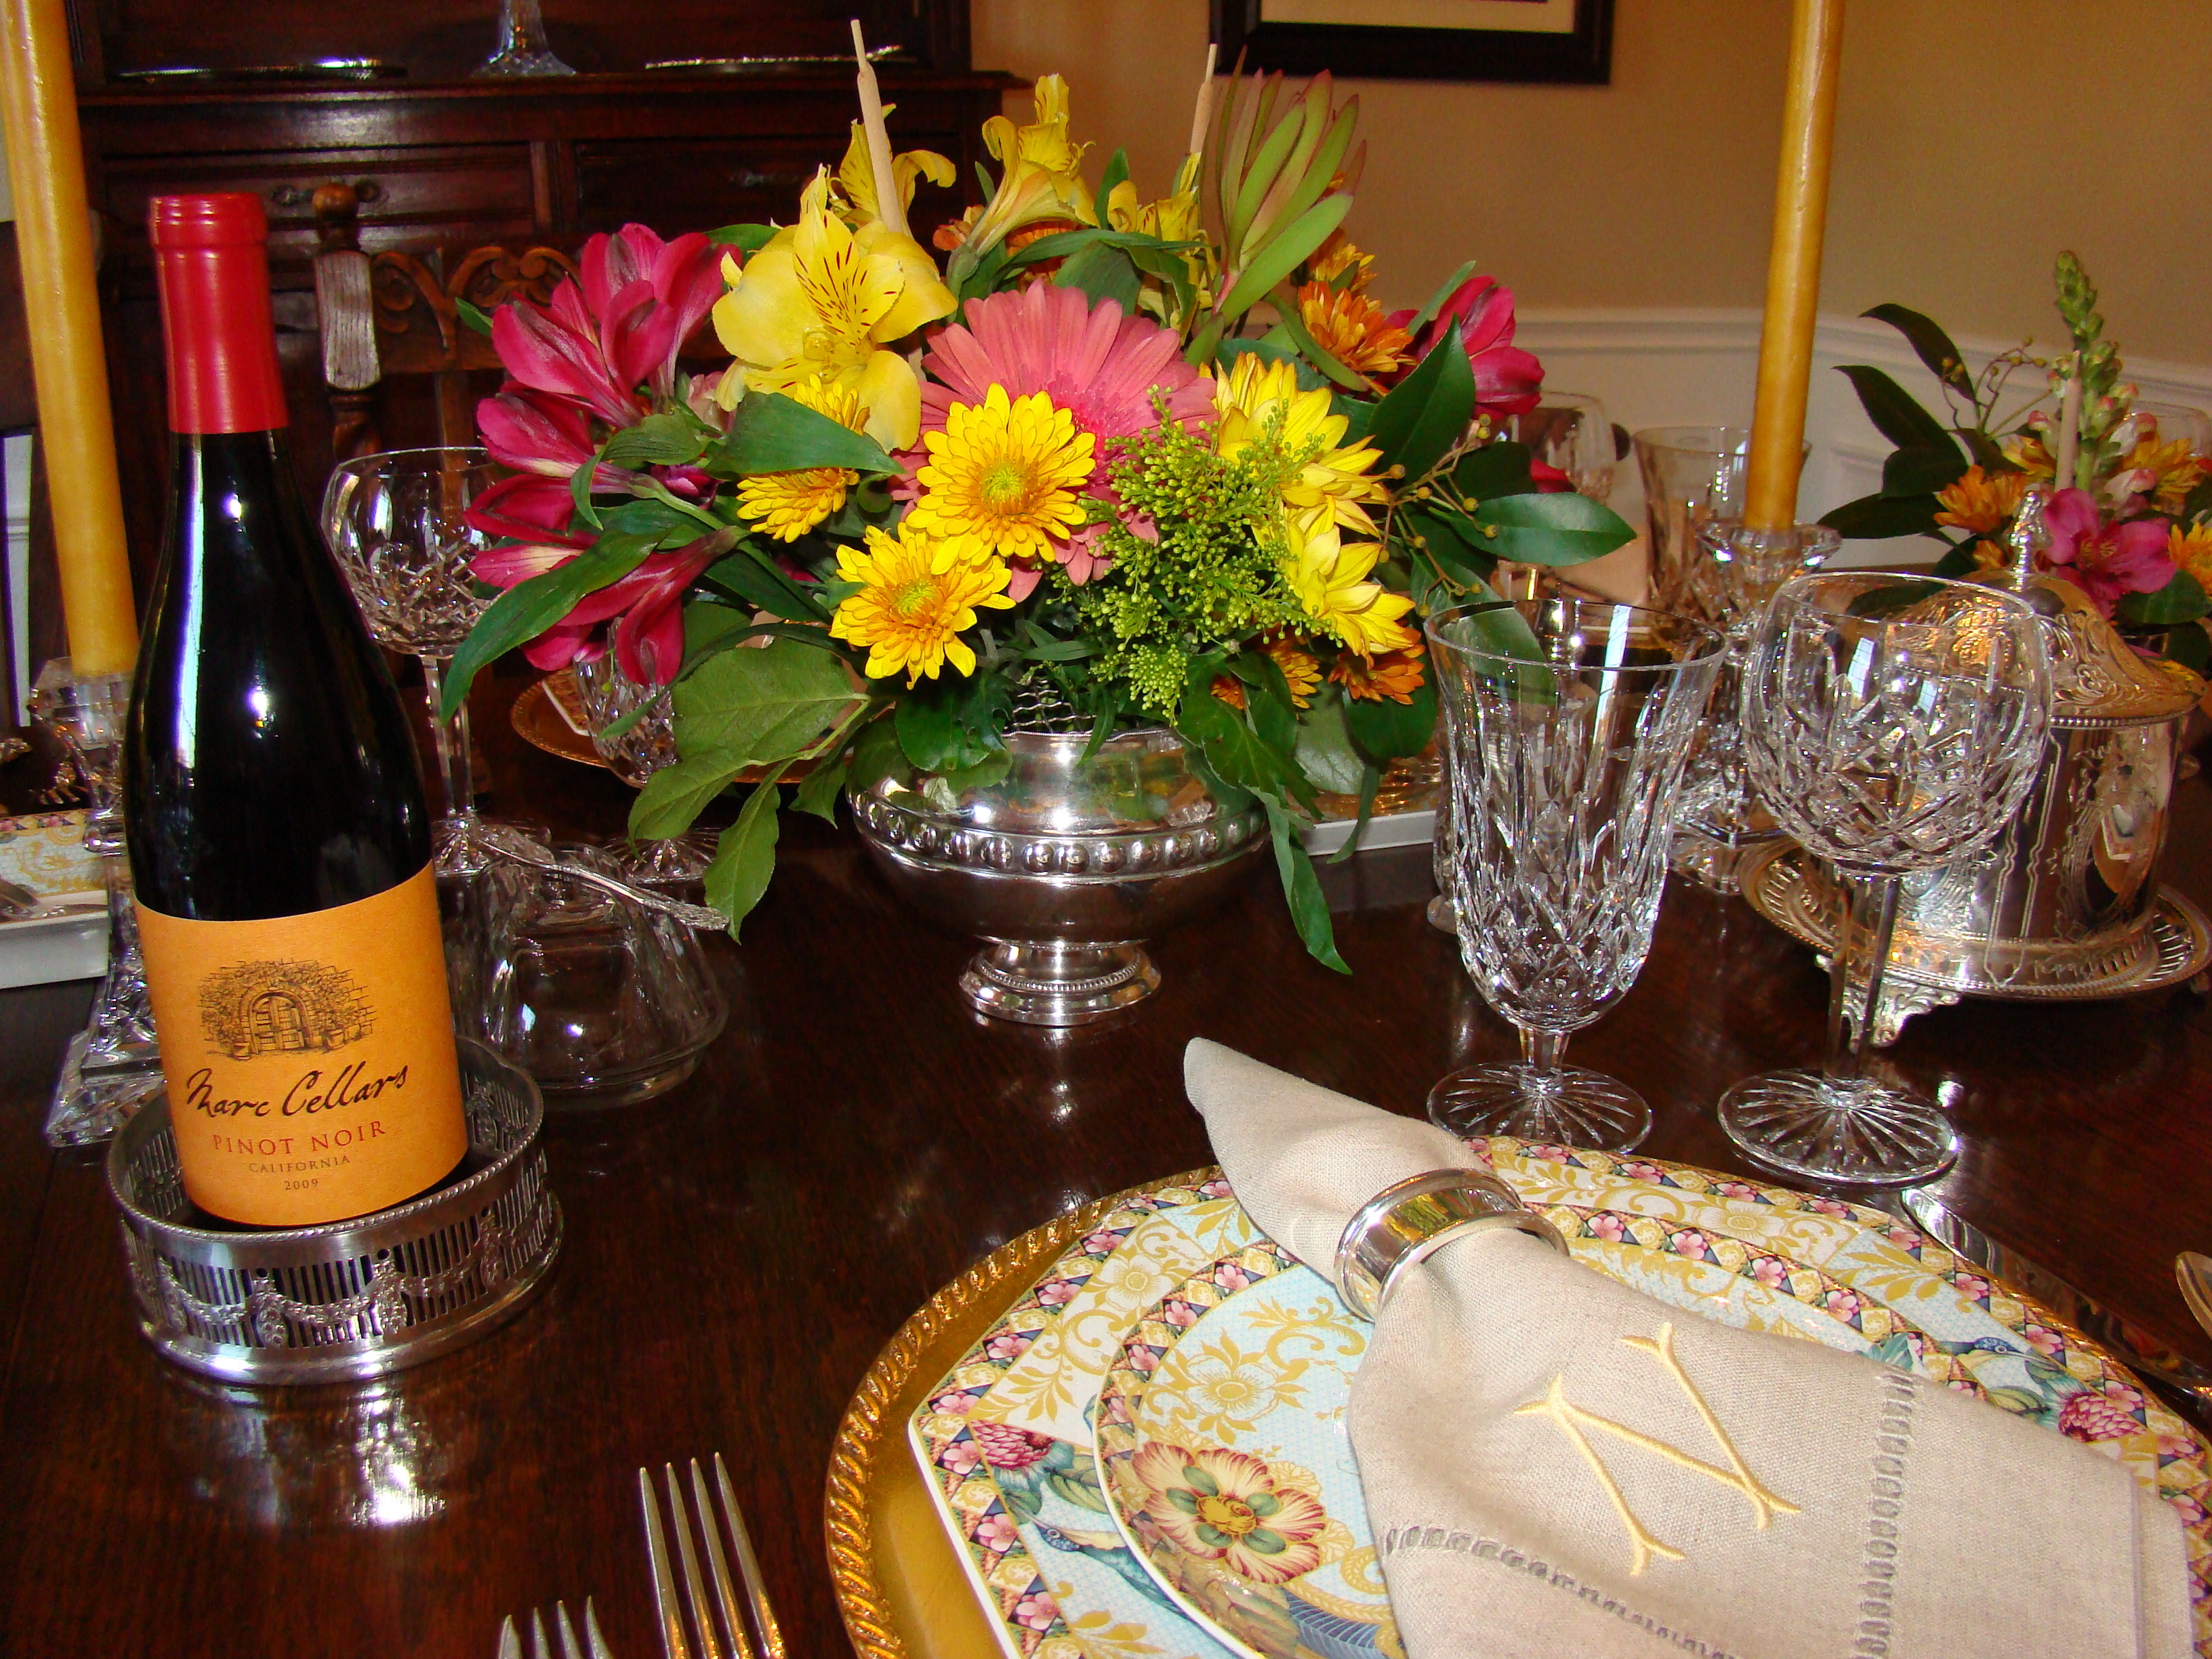
(In case you were wondering, yes, I purchased that wine specifically because the label matched my color scheme. Yes, I know I’m silly.)
2. Fabric:
Like paint, fabric can also really transform a space. And it doesn’t have to be expensive. I found the fabric for my drapes at Jo-Ann Fabric for about $11/yard. I think it pulled my beige walls and blue ceiling together beautifully.
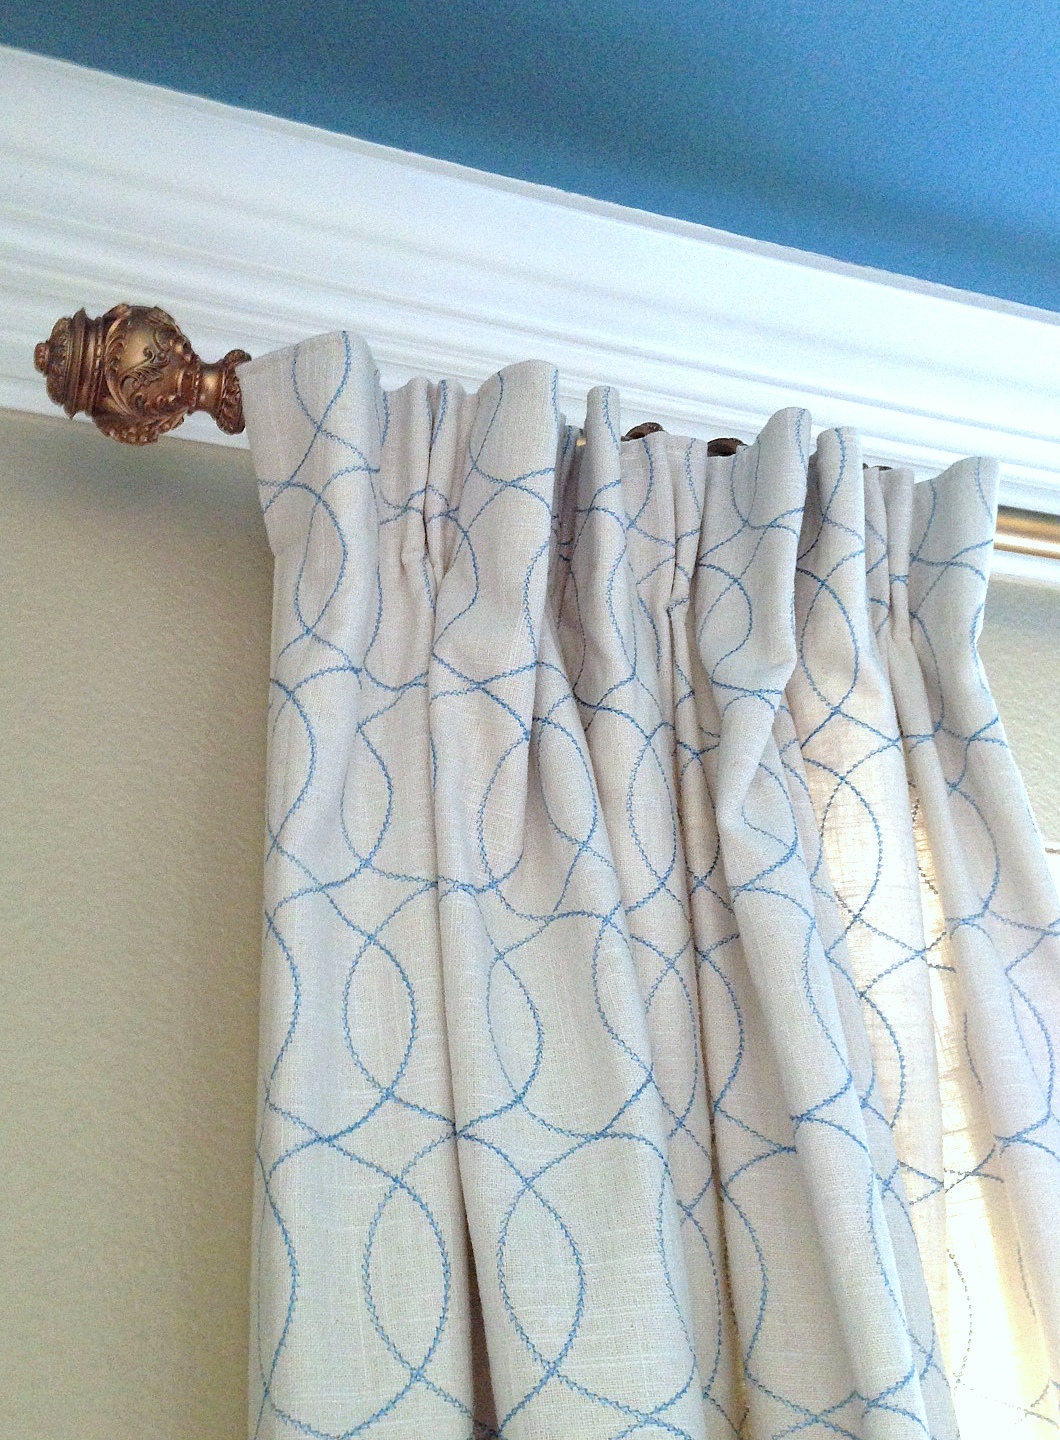
See that drapery hardware? Here is another secret. They are spray painted to match my chandelier. I searched and searched for antique brass hardware and it was all way out of my price range. Armed with 20% off coupons, I finally went to Bed, Bath & Beyond to purchase silver rods and finials with a design I thought would compliment my chandelier. I then grabbed a $5 can of gold spray paint from Home Depot. Perfect (and cheap)! Also, my rule of thumb for window treatments is to keep it simple. You want something you can live with for years. I like to save the dramatic fabrics and patterns for pillows and smaller accessories. That way they will be easier to switch out as tastes and styles change.
I also recovered my dining room chairs. Speaking of chairs, my dining set was given to me by my grandmother (you can see her here). I adore my dining set, but my grandmother covered them in a trusty, easy to clean, brown vinyl. Practical? Yes. Pretty? No. I just really wanted to give the table a little life so I found a cheery fabric that has a modern twist on a traditional pattern. Here is that transformation:


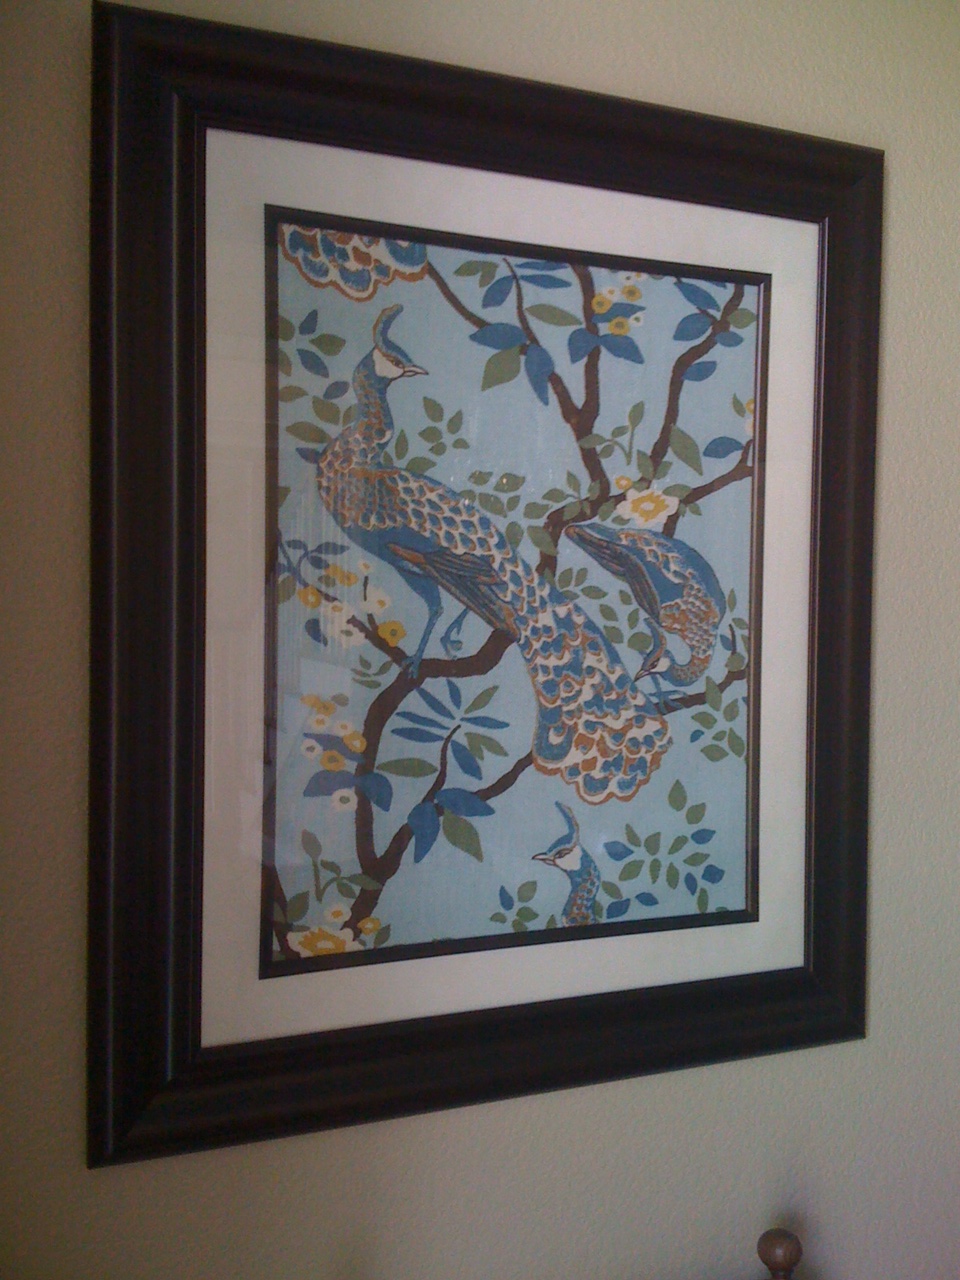
Finally, I used fabric as art. Yep, art. When I first started looking for fabric to use as drapes, I fell in love with a pattern that was just way too expensive. So, I scoured the internet, found the best price possible and purchased one little yard so I could turn it into two separate framed pieces of art. I found some simple brown frames at Michael’s for 50% off. Although the finished product was nice, I needed an extra punch, so I got some Rub-N-Buff in Antique Gold and rubbed away. The end result gave me fabric that tied in the yellow and blues I already had in the room and the gold frames tied in the chandelier and my freshly spray painted drapery hardware. Not bad, huh?

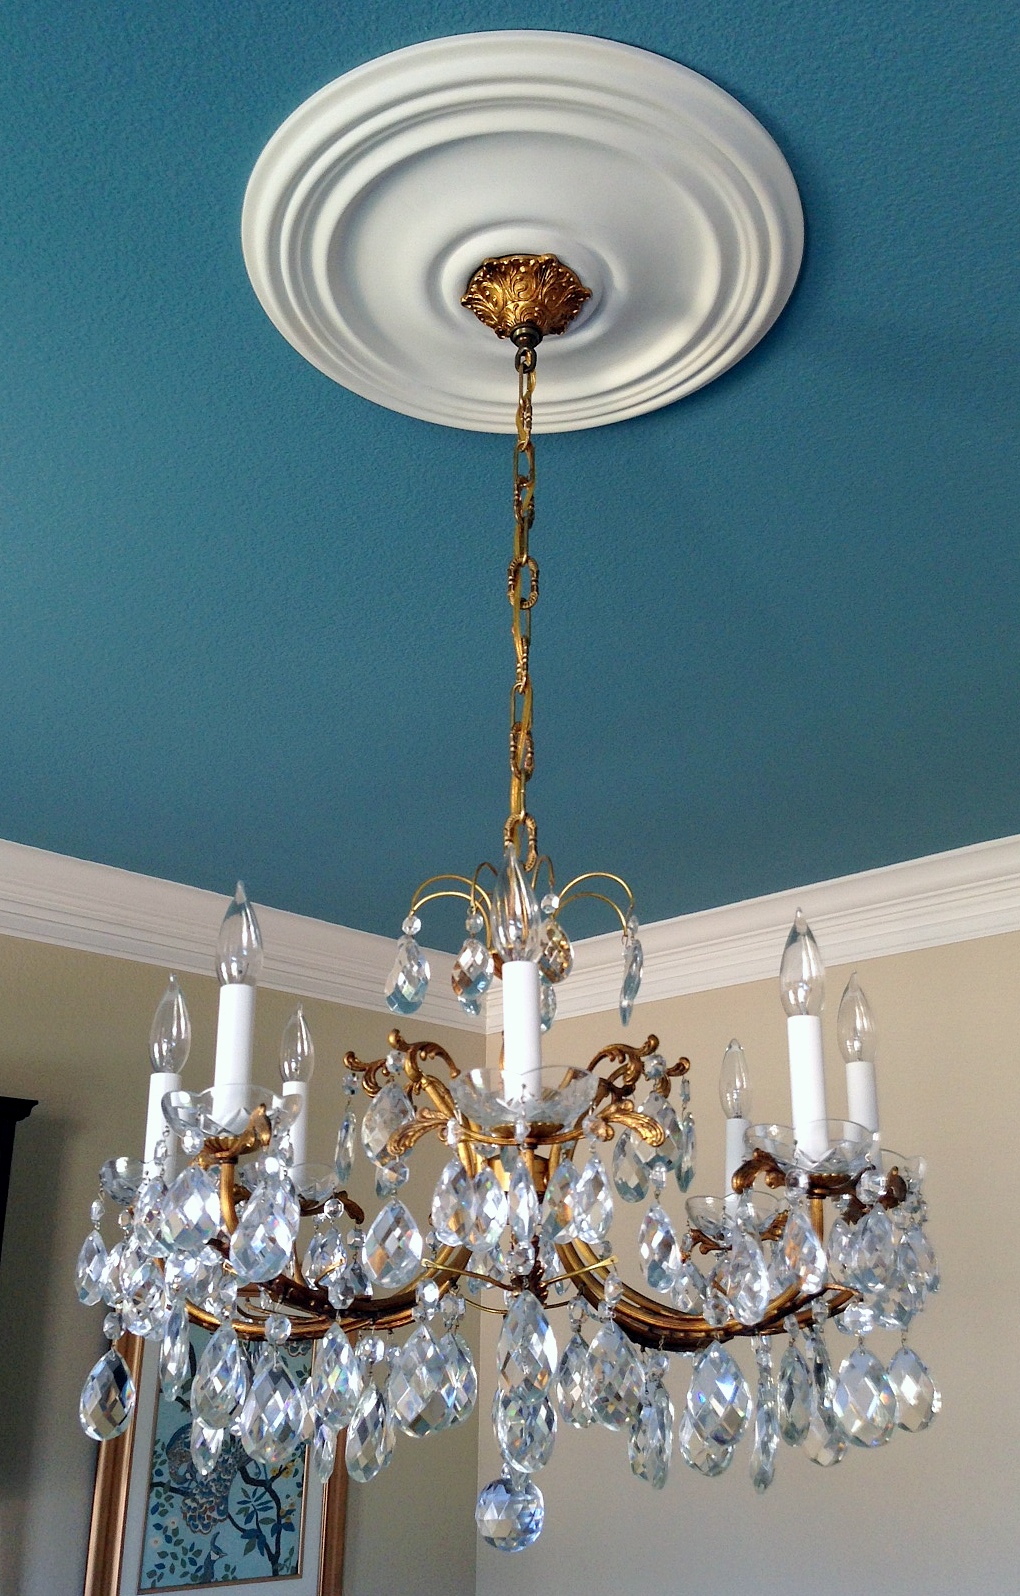
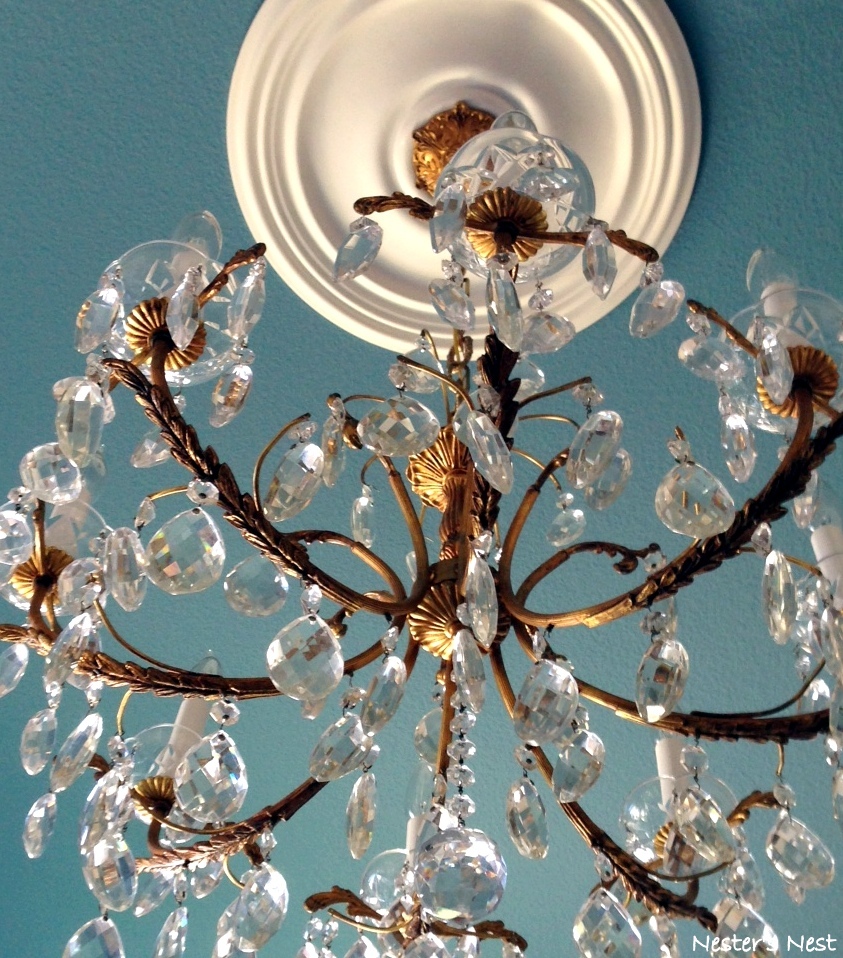
3. Lighting:
I know I already mentioned my grandmother’s chandelier in my last post, but I found a photo of our home’s original chandelier so I figured I would share it, as well.

4. Flooring:
That is where we splurged. When we purchased the house the dining room had 16 year old mauve toned carpet that had seen better days. I’m so glad we were able to add hardwoods in its place. It adds depth to the room and honestly, it is much easier to clean food off of a hard surface vs. carpet.
So, there you have it. My dining room transformation. I still have a couple of things I’d like to do, but I’m 90% done. My goal was to take my antique pieces and give them an updated, modern feel. I hope that is how the room translates. What is important is the room makes me smile each time I walk through it. Not only does it include pieces that tell stories of my grandmothers and mother, but it also incorporates a few of my own chapters. It is indeed my happy place.
Edit: I finally added a few extra touches to my dining room. My mother graciously bought me this lovely console table from Ballard Designs as a Christmas gift and I couldn’t resist the mirror, which I found at a local antique mall. The lamp was a cherished gift from my husband for our 5th wedding anniversary.

I also don’t know why, but I have the hardest time coming up with table centerpieces. I finally committed to this fun, mirrored tray I found at Homegoods. The fretwork matches my console table perfectly and the tray provides the perfect spot to display my candle sticks, which are a combination of wedding gifts and one which belonged to my grandmother.


HUGE difference! I love the ceiling / chandelier combo! I’m sure you are loving those gorgeous wood floors too!
Thank you so much, Susan! I have to tell you, I came across your blog last night and kept my husband up late because I kept oohing and aahing over all of your projects. You are crazy talented!!
Pingback: My Favorite Things (Part 1) | A Nester's Nest