
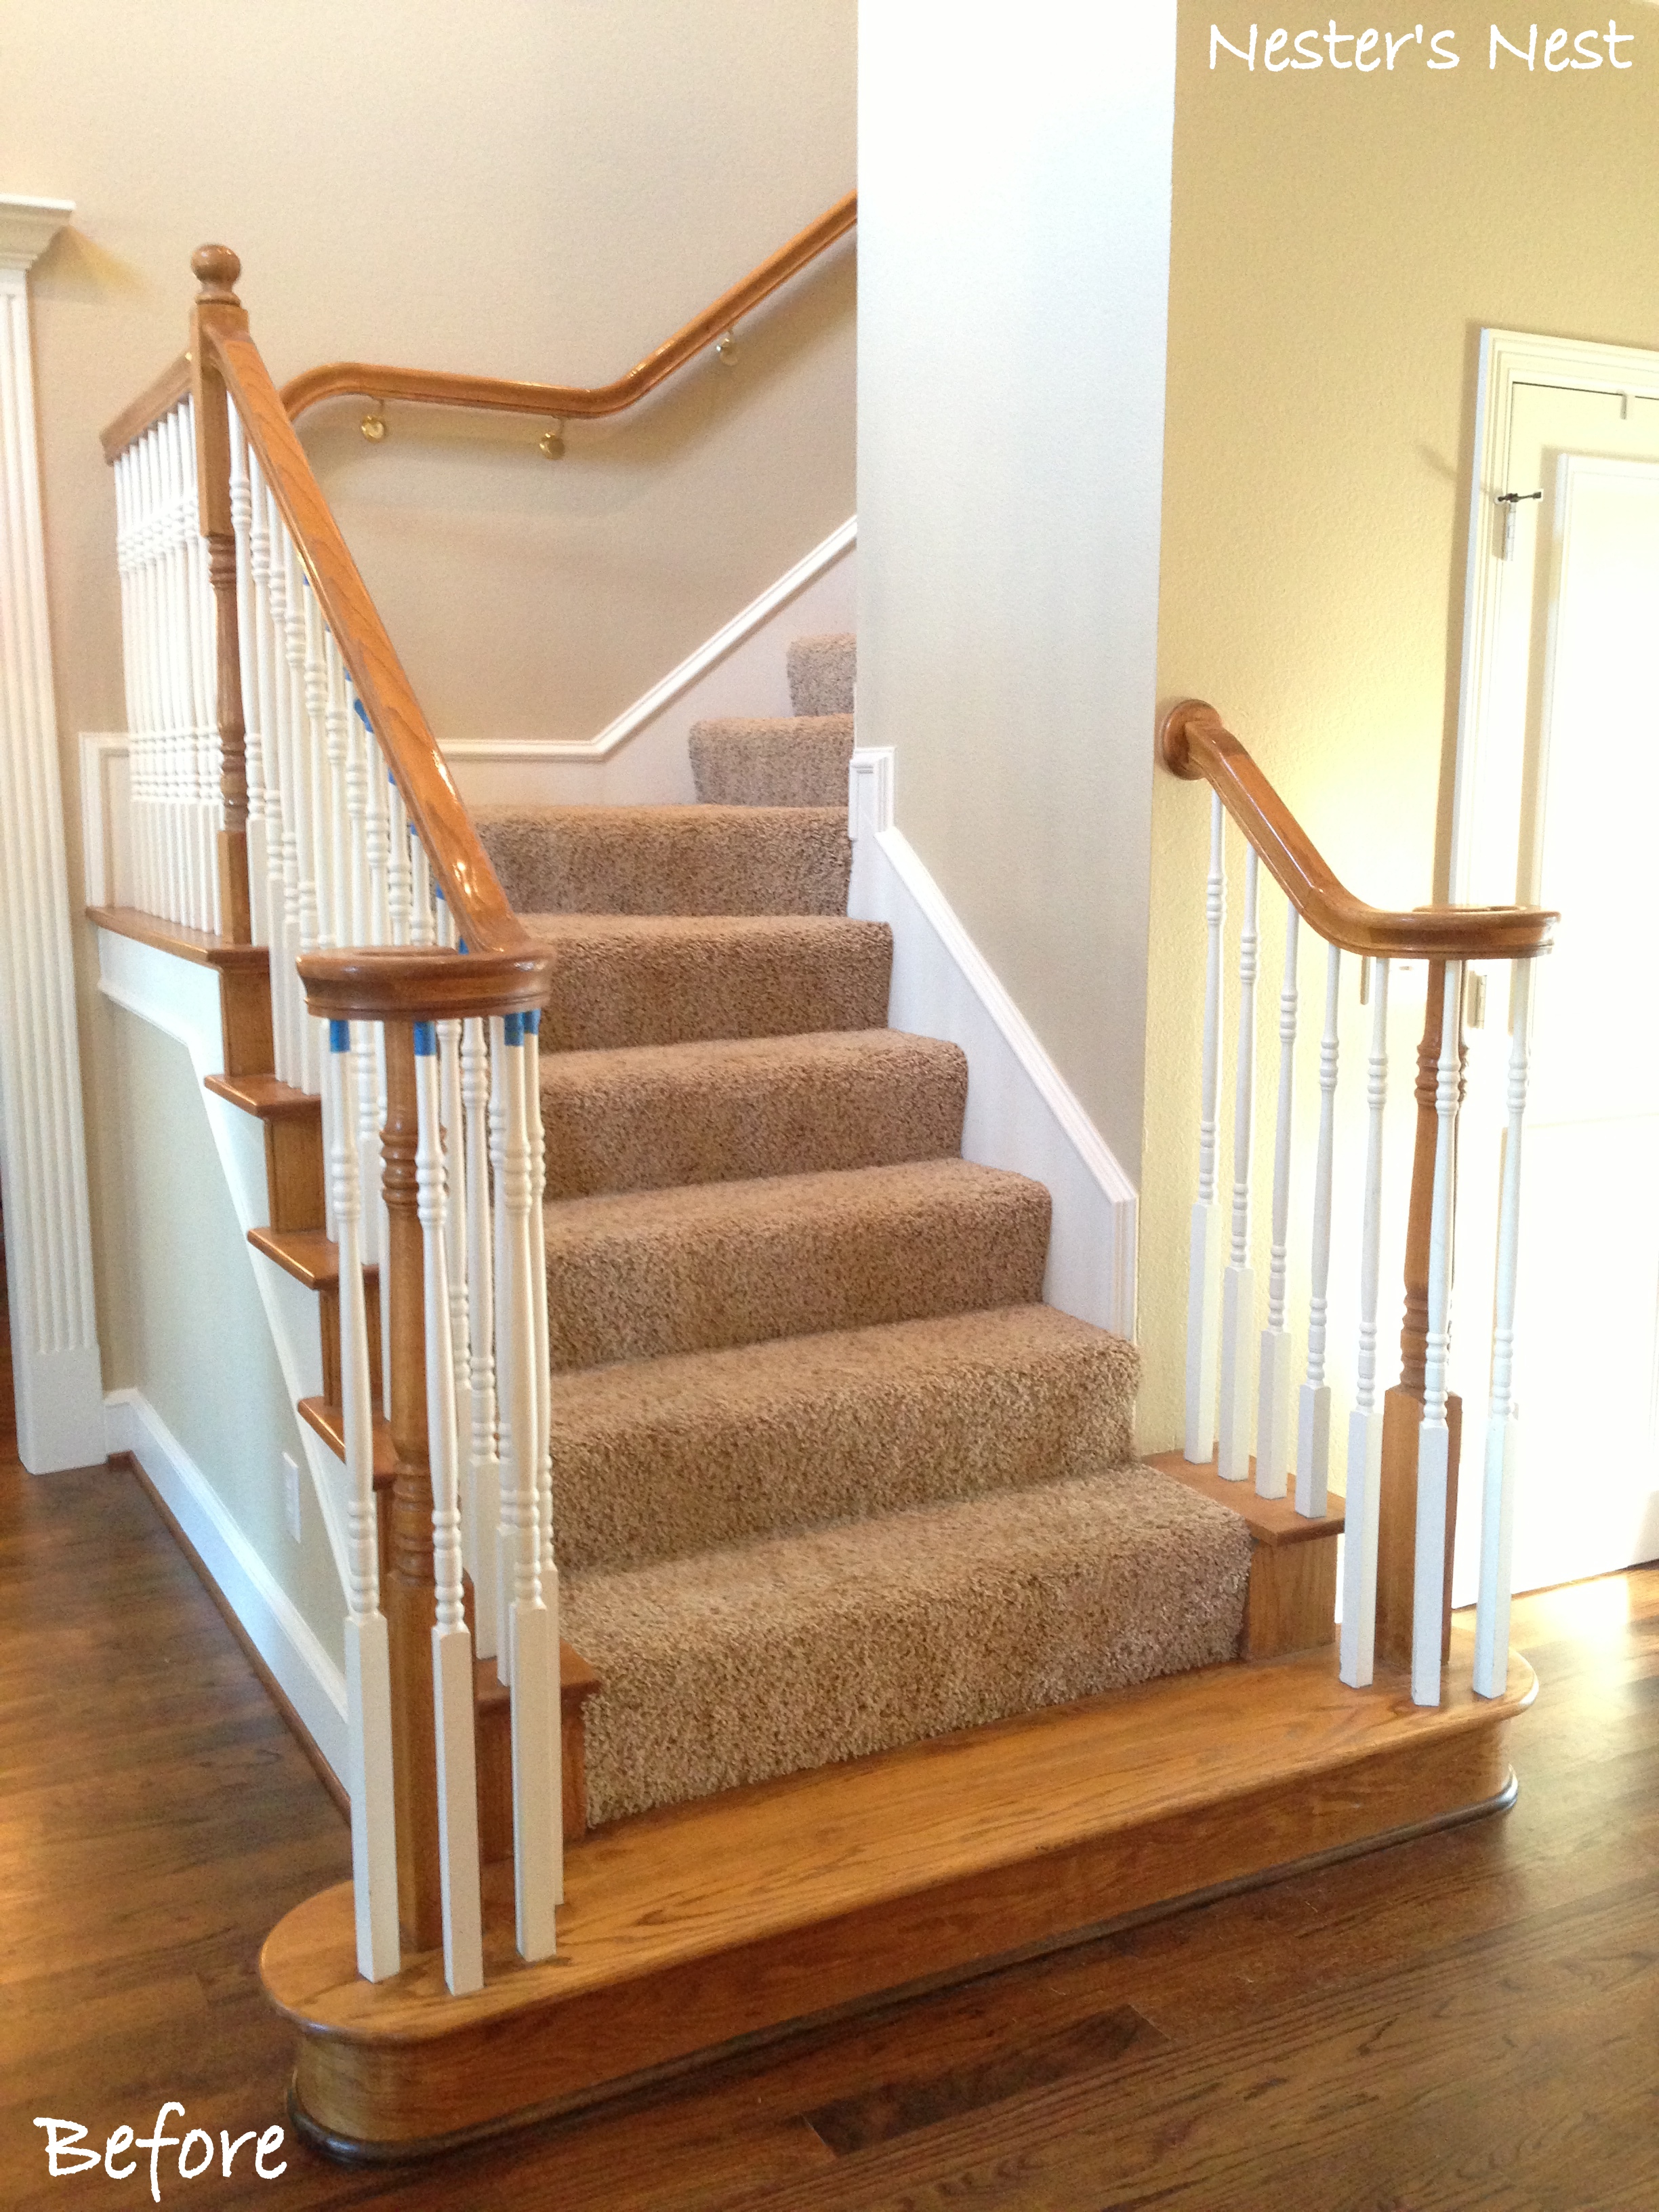
It is finally time to fill you in as to why I went into hiding. Yes, I could blame my absence on Christmas, kids, vacation, life, etc…but honestly, refinishing my stairs was the culprit. I easily put 50+ hours into this project and after I finished I needed a break. But, it’s now time to share my efforts with the masses, so let’s get to it….

Here are the majority of the products I used…
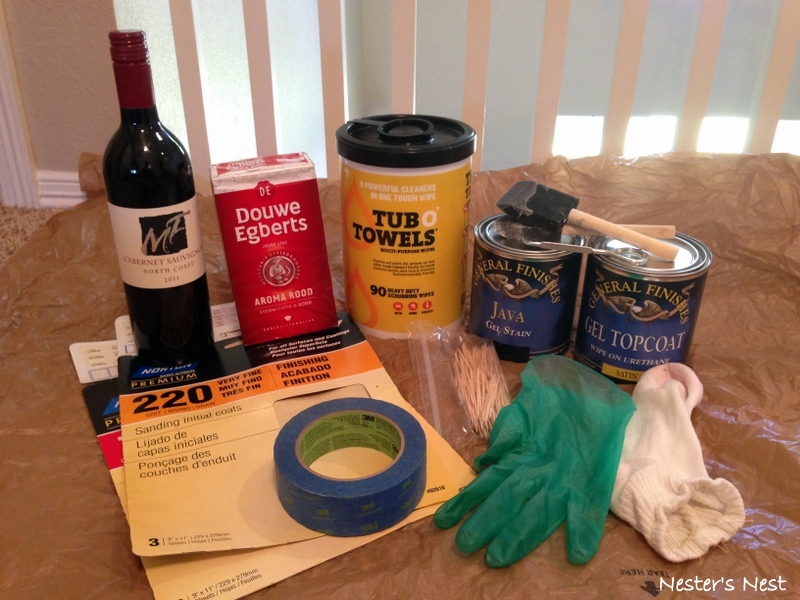 (You will soon learn why the wine and coffee were important.)
Here is the process….
1. To clean off years of grease and dirt build up, I wiped down the railing, treads and spindles with scrubbing wipes.
2. I lightly sanded the entire staircase with 220 grit sand paper (since I used gel stain it wasn’t necessary to strip the existing finish). Once sanding was complete I went over all areas with my shop vac and wiped up residual sanding dust with more scrubbing wipes.
3. I taped off EVERYTHING… including the top AND bottom of every. single. spindle. All 85 of them. The taping alone probably took about 8-10 hours. Did I mention there were 85 spindles? Now you know why wine and coffee were so important. Looking back, since I painted the spindles I probably could have forgone taping them off, but I was trying to keep myself from having to cover stain messes with primer. Not to mention, I wanted to keep everything tidy since I knew this project would take me a while. Tip: Use masking tape for taping off carpet. It sticks better than painters tape.
4. I stabilized all of my loose spindles by dipping toothpick tips in wood glue and pushing them in the gap where the top of the spindle meets the handrail. Once the glue dried, I broke off the toothpicks so they were flush with the rail. In a few spots I had to push the toothpicks further into the gap with the edge of a utility knife. Additionally, multiple toothpicks had to be used for some spindles.

5. Finally, the fun part began. I chose General Finishes Gel Stain in Java as my stain of choice. To apply the stain, I wore an athletic sock over two layers of latex gloves and thinly applied the gel stain to the handrail and treads with long, smooth strokes (I used a foam brush for smaller areas). Once the coat of stain was applied I wiped it off with a clean sock (always go with the grain of the wood when applying stain). I let each application of stain dry for 24 hours and made sure it was completely dry to the touch before adding another coat. I added 3 coats total. *Note: If you attempt this project, prepare for a battle against dog hair, dust, dirt, etc… that inevitably sticks to your newly stained treads. These particles will mock you and try their best to drive you mad. You can try to minimize these particles of anger by applying stain while everyone who lives at your house is either gone or asleep. It won’t keep all of these demon particles away, but it will help. And luckily, most of your friends who visit won’t stick their noses up to your stairs to see if dust particles are trapped in your stain. If so, get new friends.

6. While waiting for the stain to cure I tackled painting the spindles (have I told you I have 85?). I also painted the risers, which ultimately led to painting all the moldings. Some of you might ask why I even painted the spindles. One, most spindles had chipped paint. Two, the previous owner had done various touch ups through the years with at least 4 different shades of white. Confession: I still haven’t painted all my spindles. It takes about 10-15 minutes to paint each one, so I am slowly but surely knocking them out. I might finish by the time my kids go to college.


7. Using another athletic sock, I applied 3 coats of General Finishes Gel Topcoat in Satin as my layer of protectant. Again, I allowed 24 hours of dry time between applications. And again, I did my best to keep my treads free of mocking and ultimately evil particles of debris.
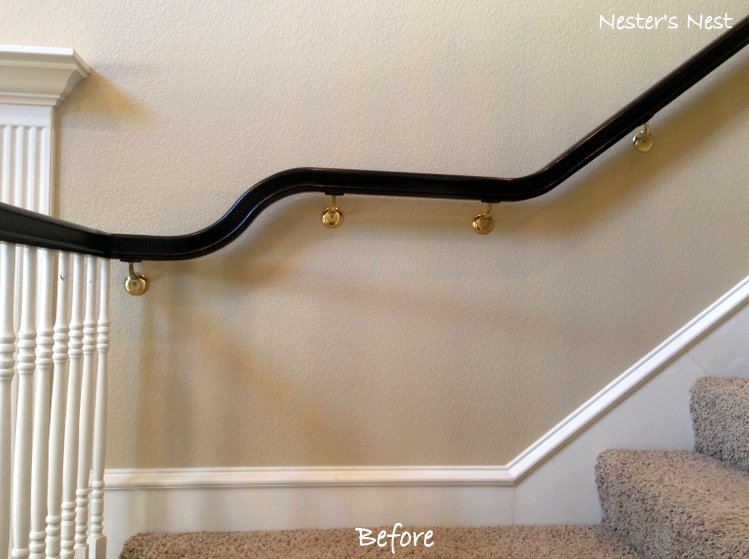
8. Finally, those brass rail brackets were an eyesore, but I was afraid I would cause myself too many headaches if I tried to remove or replace them. So, Rub’n Buff came to my rescue once again. I scuffed up the brackets with 120 grit sandpaper, wiped them off and applied Rub’n Buff in ebony. I have to say, for some reason the ebony doesn’t go on near as smooth as the gold or silver finishes I commonly use, but with a little patience it got the job done.


It has been about two months since I finished my stairs (minus those pesky spindles) and so far the finish has held up well. My bottom step has a few scratches compliments of my ginormous black Labrador Retriever, but nothing too terrible. My next step would be to replace that gross shag carpet with wood treads, but that will have to wait. Even with my old carpet my efforts have paid off tremendously and I’m pleased with the transformation.
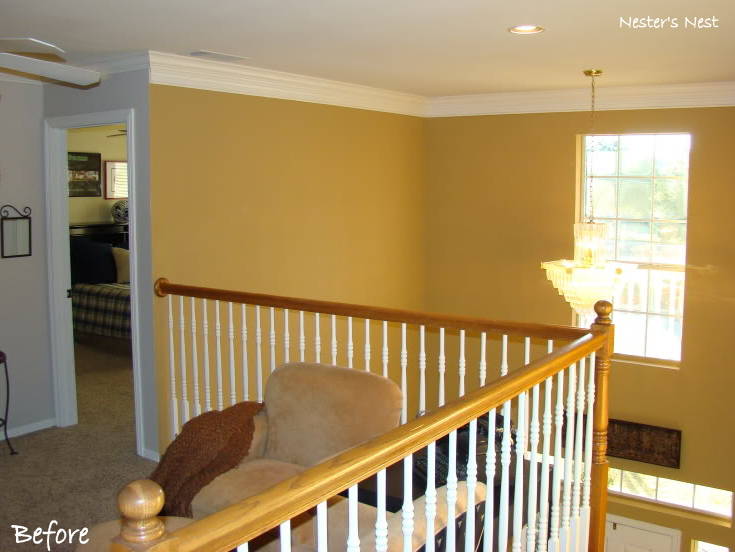


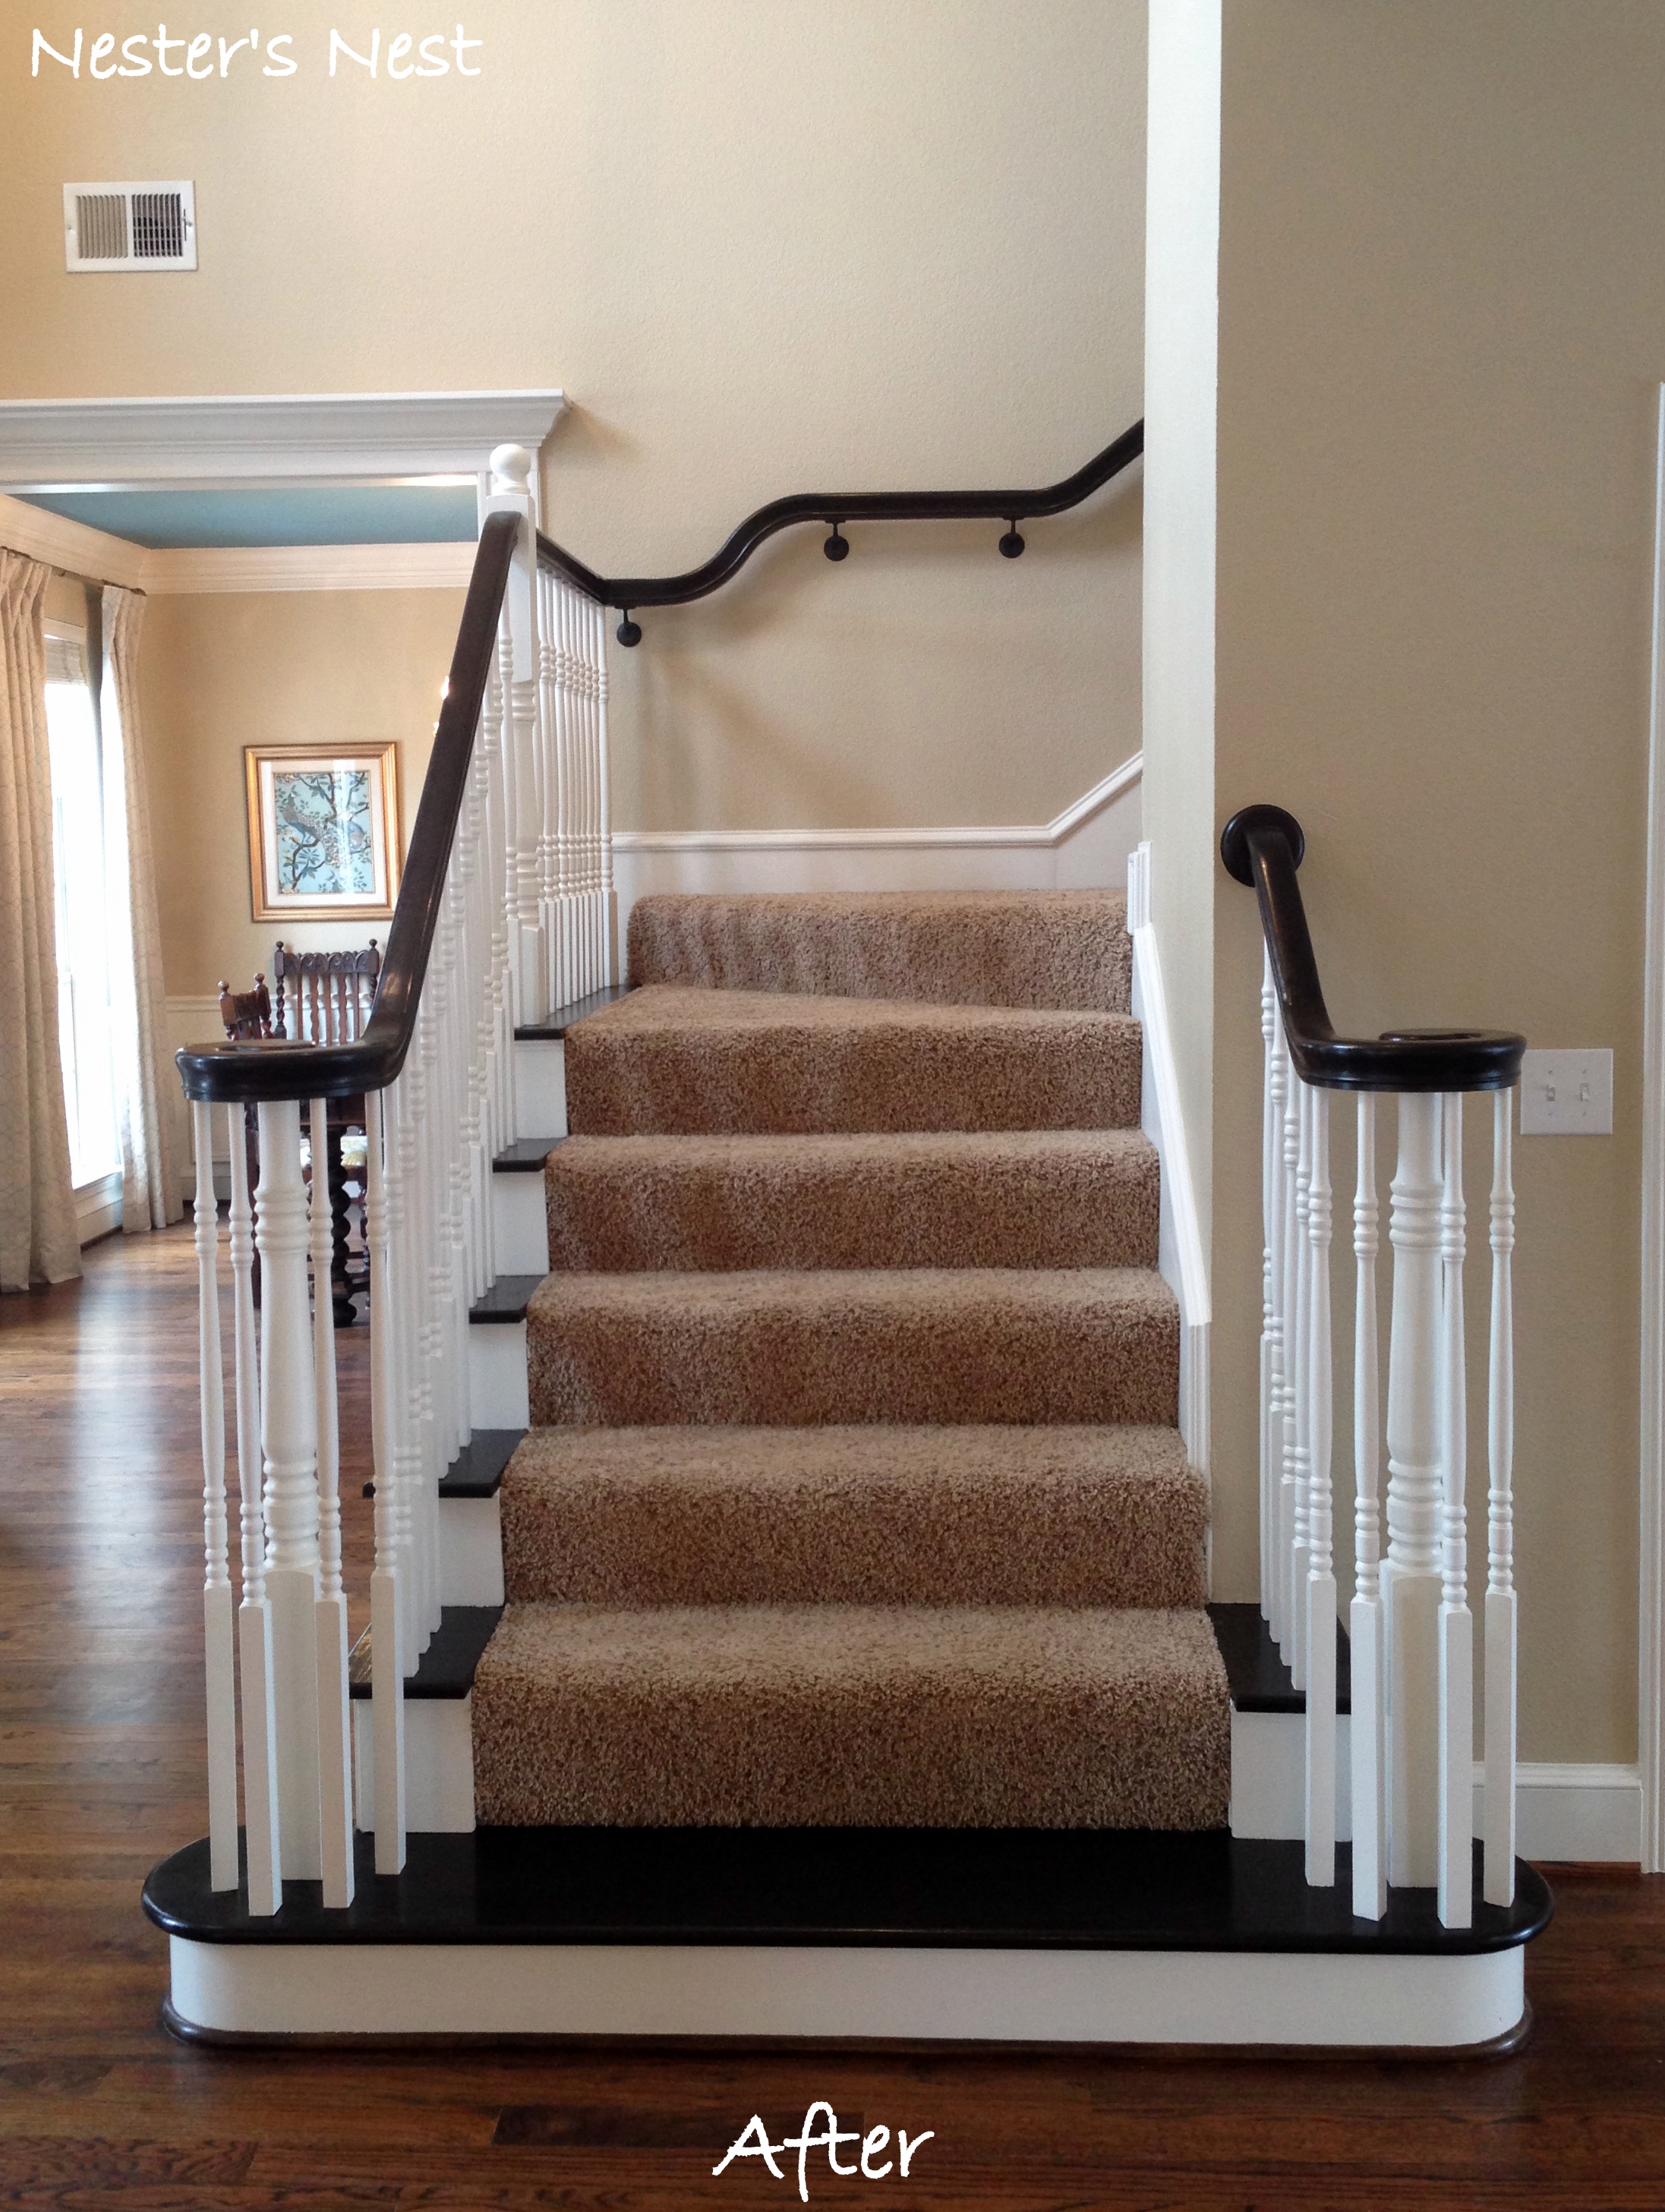
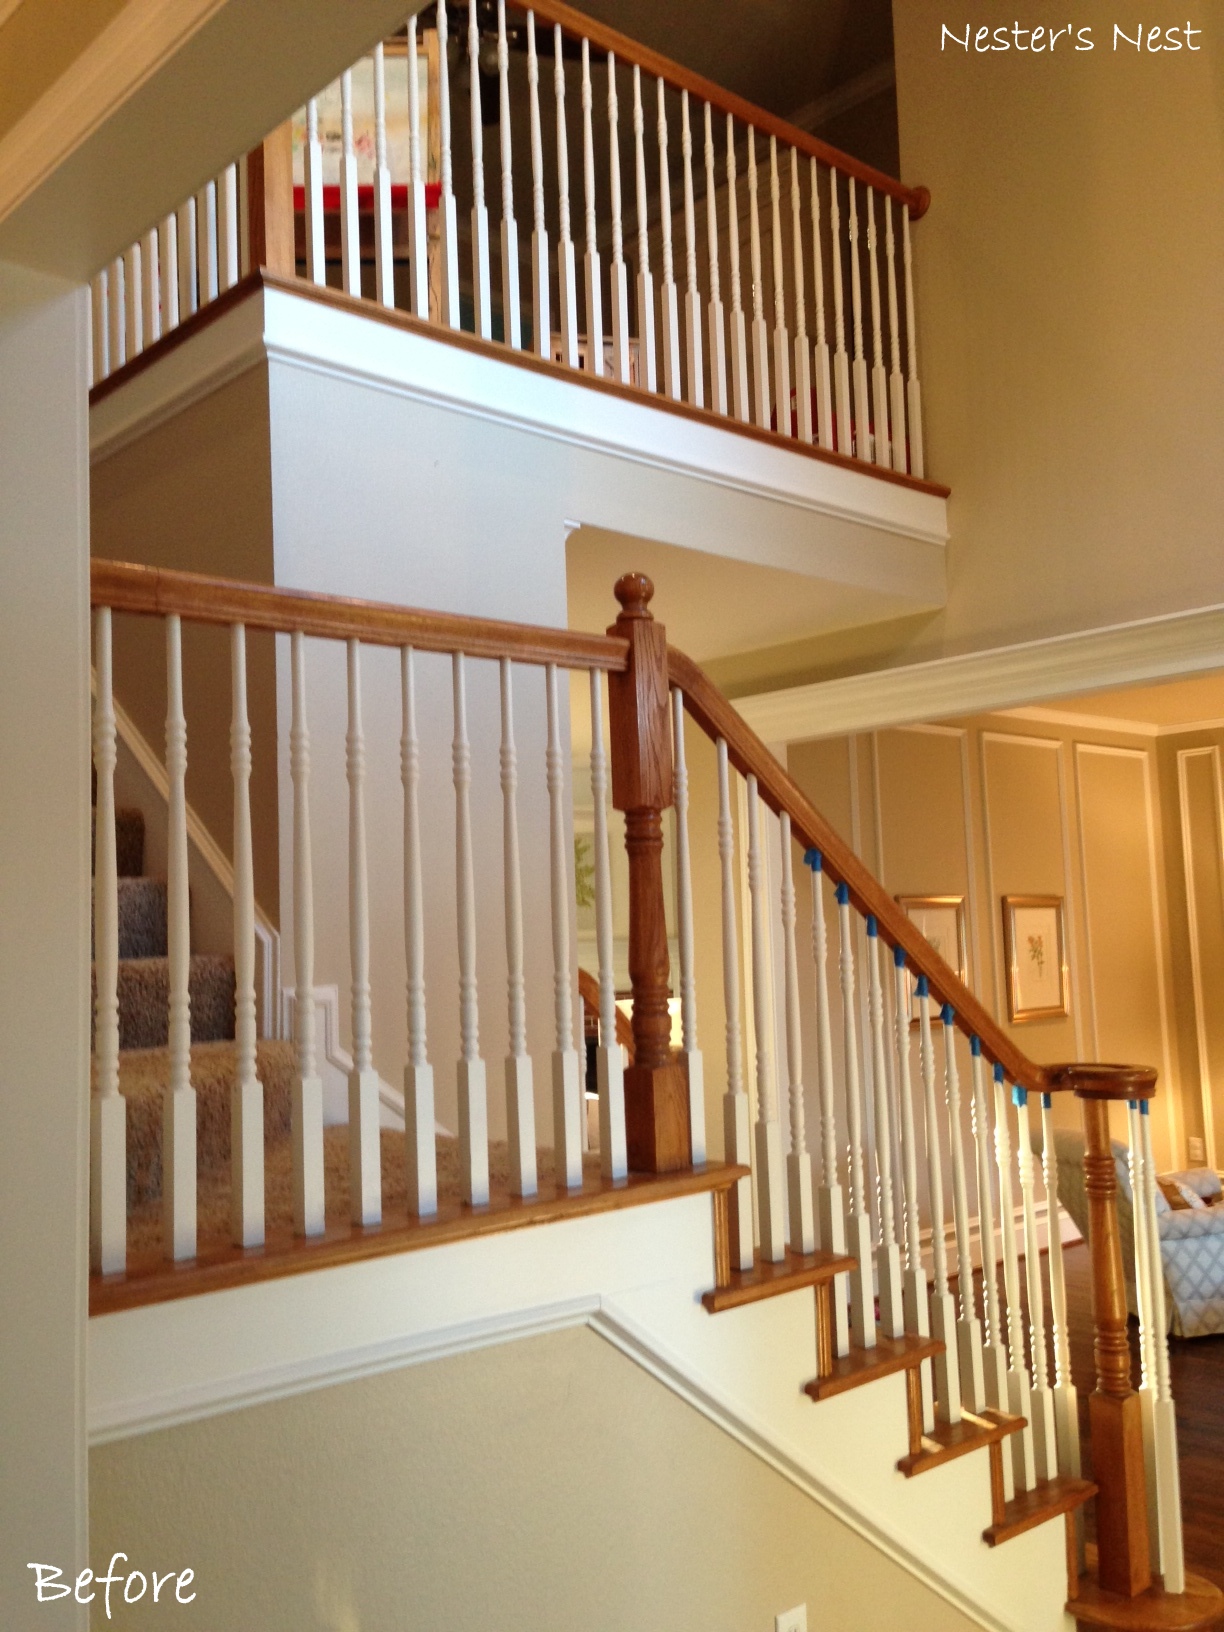
What was once an outdated, drab staircase that didn’t flow with the rest of my house is now fresher, updated and most important….not orange.

P.S. If you’re thinking about redoing your own stairs, I say go for it. It will take a lot of time and a lot of patience, but it will be worth it. Also, I know I wasn’t extremely detailed with my steps so feel free to ask questions. Best of luck and get that coffee ready!

Wow!!! Those look incredible! It’s amazing to me how projects like this really update a house! Great job!