
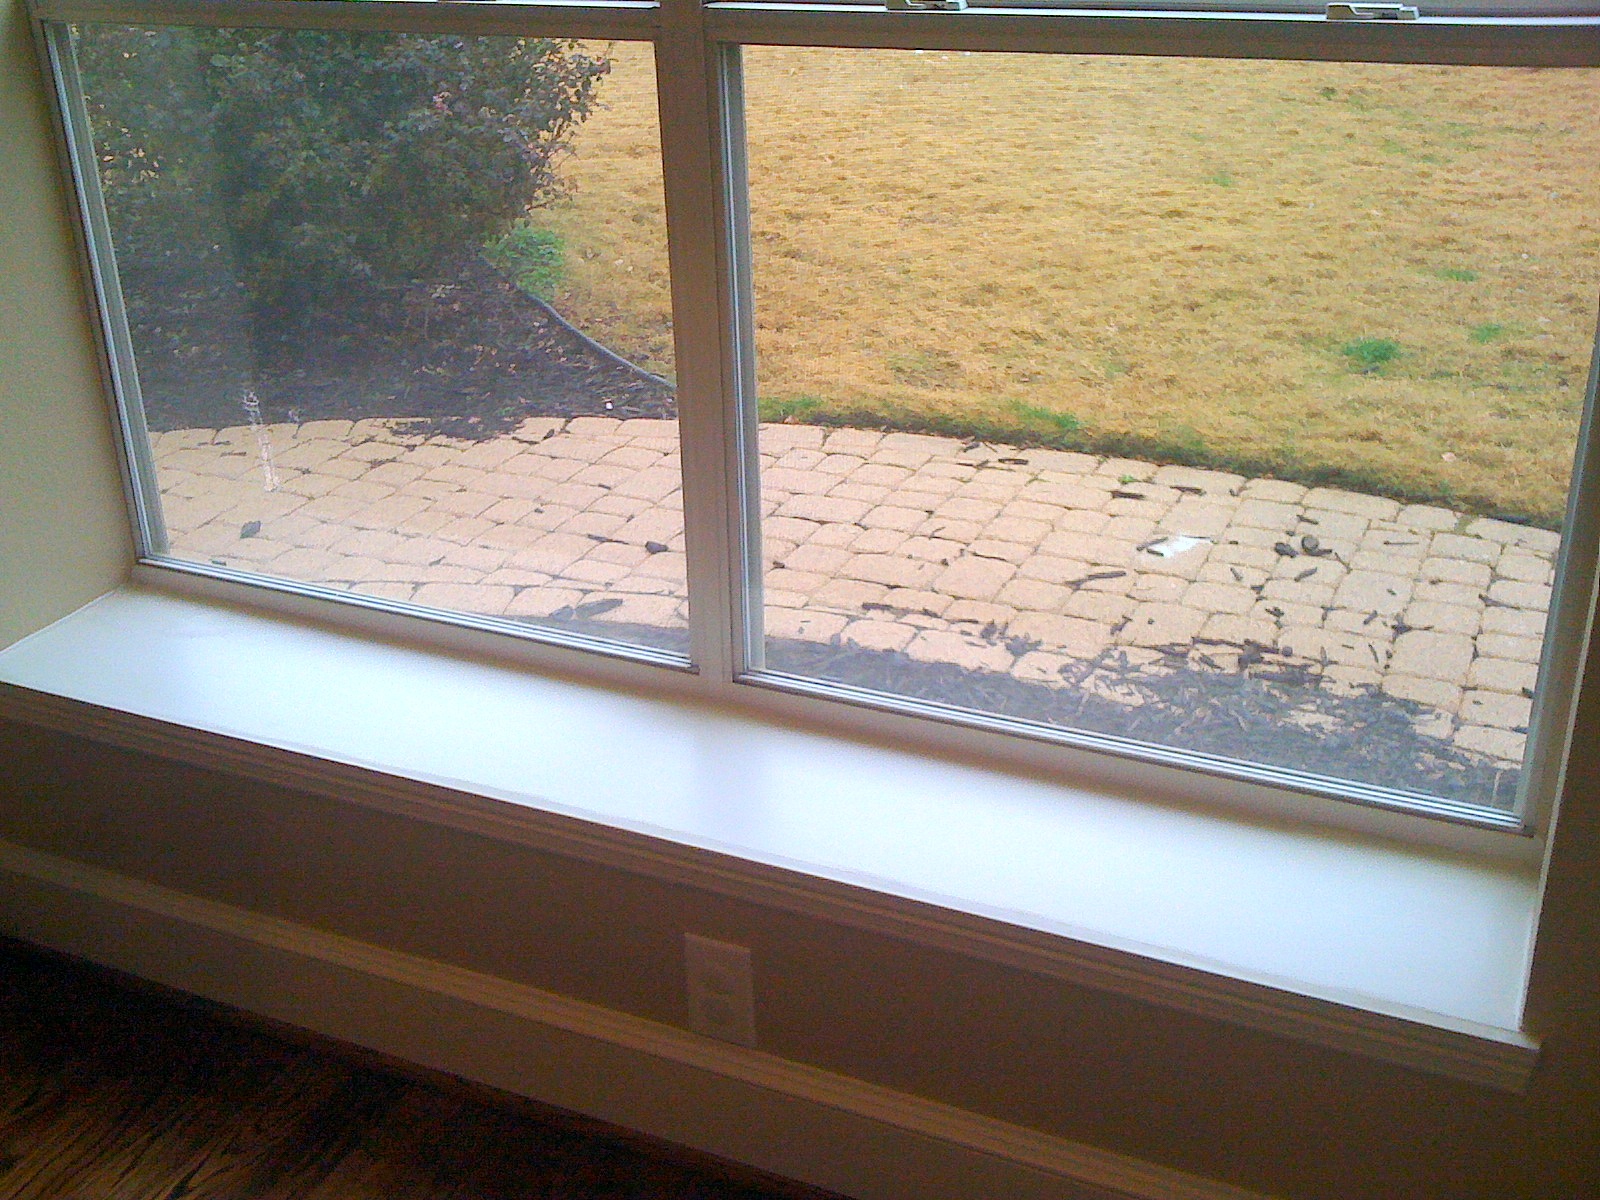
In my kitchen there is a bay window with a rather deep window sill. This space actually perplexed me for a while when we first moved in our house. Seriously, what does one do with a window sill that is 11″ deep? It’s not really deep enough to call a window seat, but it’s just deep enough to be the perfect collector of crumbs, bugs and dust (not that I have those in my house or anything). One day, I found my toddler climbing on that empty space and it hit me, “Why not make it a mini-window seat?” Is there such a thing? Who knows? If not, there is one now and it happens to be the ideal spot to gaze out the window or even watch lizards in the Lantana below (which is big fun at our house).

When I initially came up with this idea it quickly came to a screeching halt. I had two problems. One, I didn’t have a sewing machine and even if I did, I never let either my grandmother or mother teach me how to sew (one of many stupid decisions I made as a teenager). Two, custom window seats can cost big bucks that I didn’t have. After doing a few searches on the internet, I came across this blog entry about a no sew bench seat from Megan at Honey We’re Home. It was genius and Megan gives an excellent recount complete with photos on how she completed her bench seat. I followed her instructions almost to a tee, except my bench seat was smaller and I finished it off by gluing a piece of felt to the bottom of the seat to protect my window sill from the staples. Also, here is a tip, if you get your wood from Lowe’s or Home Depot, ask if they have scrap wood in the back. Lowe’s gave a piece of scrap wood to me for free and still cut it down to size at no charge. Love them for that!
Once I had all my supplies, I think the entire project only took about 1 hour. It also only cost about $50. You just can’t beat that for a custom window seat! So, here is the before and after (Yes, shame on me for not taking photos of the process. In my defense, I did this project over a year ago).
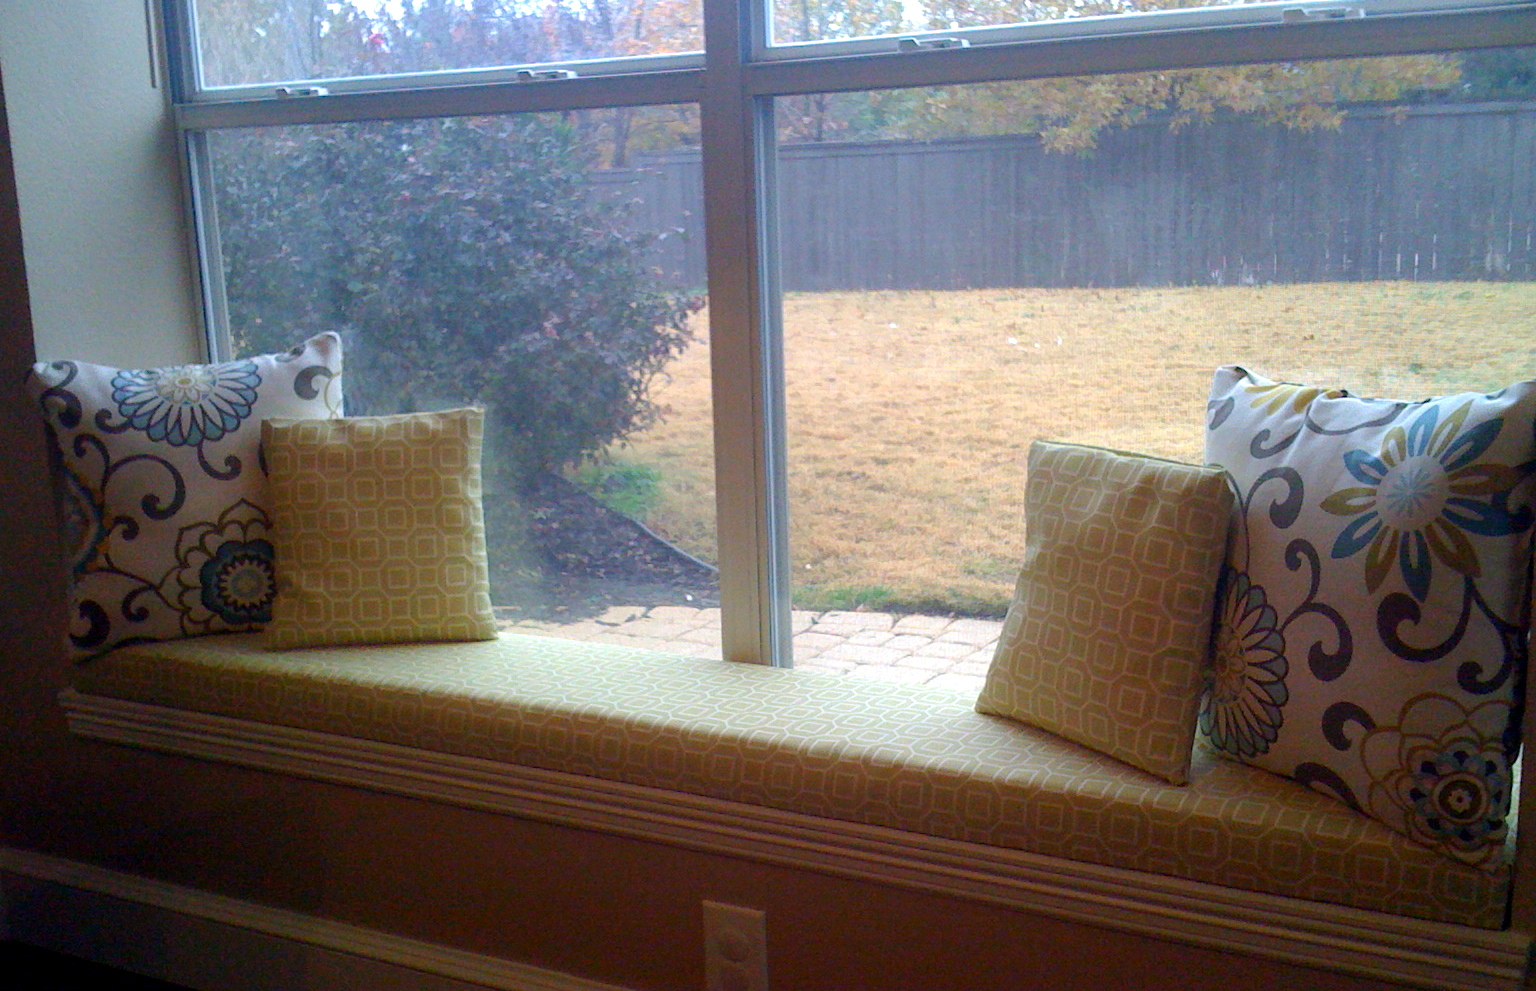
Now, if you are wondering which type of fabric to use, I chose an outdoor fabric due to its durability. You can certainly use any fabric you want, but I needed something that could stand up to food and drink spills. Since this is a window seat that gets direct sunlight, I also wanted to use material that is fade-resistant. The particular pattern I used is Soho Outdoor Fabric in Kiwi.

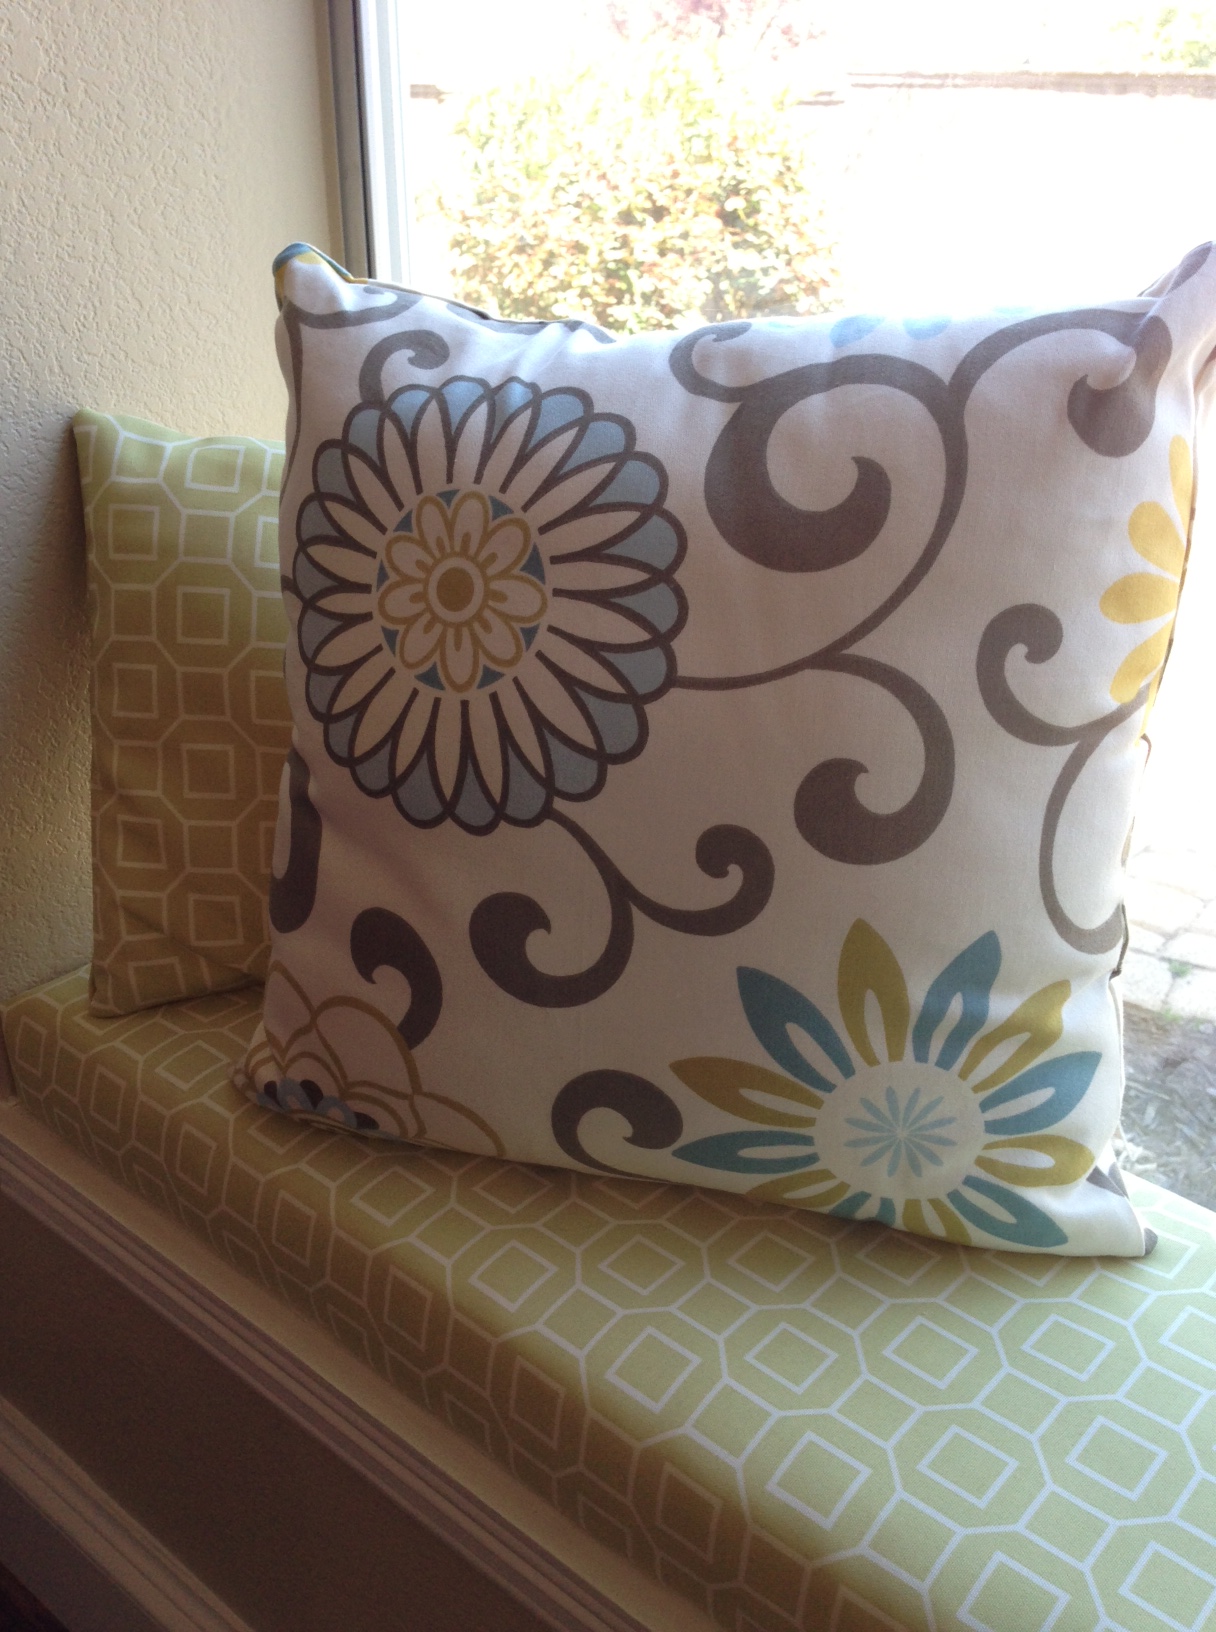
Speaking of fabric, once I completed the bench, I realized I also needed pillows. Remember, I don’t sew, but I am one heck of a hot-gluer (is that a word?). You got it….I actually hot glued fabric together to make pillows (floral fabric is Pom Pon Play in Spa by Waverly Modern Essentials).

See? You can even tell where a little glue seeped out of the seams. It’s not perfect, but it get’s the job done.
So, there you have it. My no sew mini-window seat and no sew pillows. I actually think I’ll head over there now to lounge with my 5 year old for a bit and see if we can spot some lizards.

These all make me smile! I tried to tell you sewing is a great skill for many unexpected moments. Congratulations on clever problem solving! I’m proud of you!
Love you, Mom! 🙂
I’m sold on doing my bench seat this way now! I’ve been procrastinating sewing the cover because I really am not a fan of sewing, I’m just to impatient, but this I can do! Thanks soooo much for sharing!
Oh, you should do it, Susan! It’s so easy! I also like this type of bench seat better because the board adds weight, which keeps it in place.
This is so cute and I am super jealous of your window seat. It’s on my goal list for this year to make a window seat in our master bedroom…but I am kind of dreading it I would love if you shared this at my link party!! http://domesticsuperhero.com/2013/03/28/swdst4/ Hope to see you!
Pingback: DIY: No-Sew Window Seat Cushions | A Nester's Nest