
I’m about to show you a DIY project I did a little over a year ago. Before I share, you have to promise me two things.
1. Don’t judge my dirty windows…or cobwebs…or bad paint job around the window (it wasn’t me, I promise).
2. Don’t hold it against me for not having photos of my DIY process. I completed this project way before I met all of you fabulous people.
Today I’m going to show you my No-sew Faux Top-down/Bottom-up Window Shade. What a mouthful. Anyway, that is what it is. As most of you know, I am not a seamstress. Not even close. So, when it came time to get rid of the nasty, bug-filled, dirt-filled, weird, light-filtering blinds in my master bath, I was stumped (and grossed out).
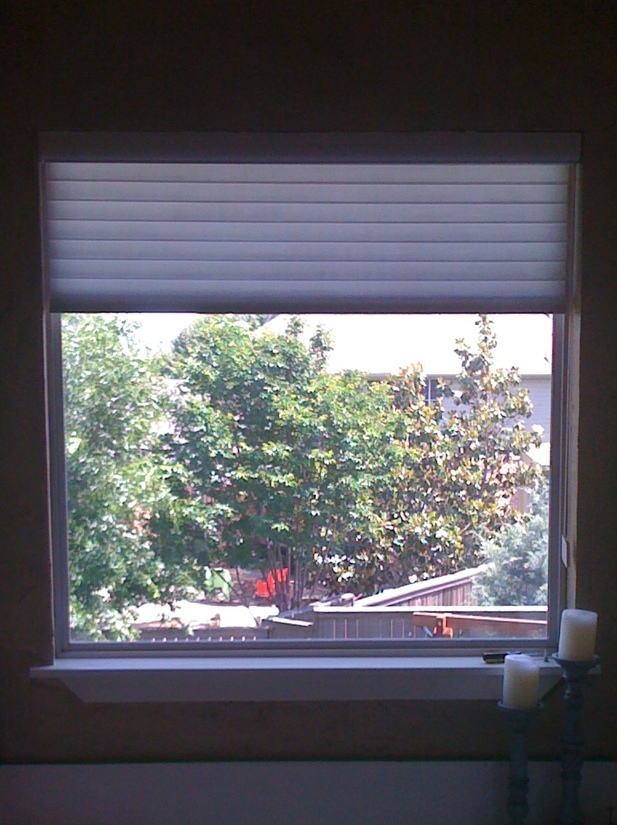
Why was I stumped? Because I am frugal and the last thing I wanted to do was pay $300+ for a new window shade in my bathroom. Ideally, I wanted the look of a roman shade, however, I also wanted privacy while still letting in natural light. Not an easy feat. So, I started spending way too much time googling solutions and came across this Faux Roman Shade Tutorial from Imparting Grace.
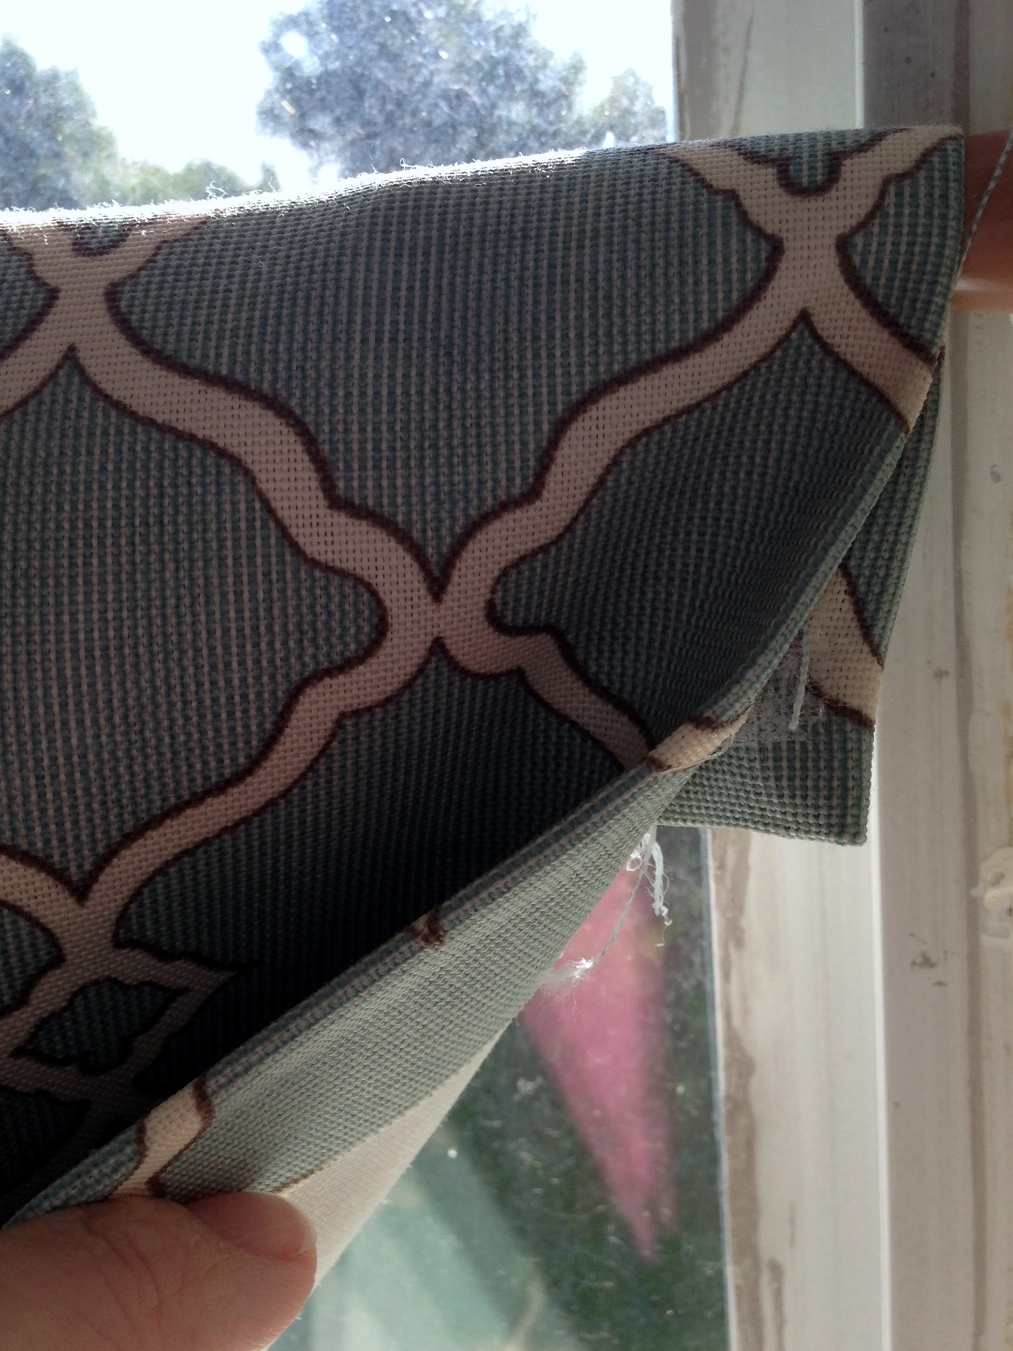
I thought she did a wonderful job and it got me thinking, why couldn’t I use the same concept for a top-down/bottom-up shade? One thing I did differently was add a black out liner, so I cut some liner a bit smaller than my shade fabric and folded the edges of my fabric over my liner. I then attached the two by using Stitch Witchery fusible bonding web to attach everything. The webbing essentially works as fabric glue once you add heat from an iron.

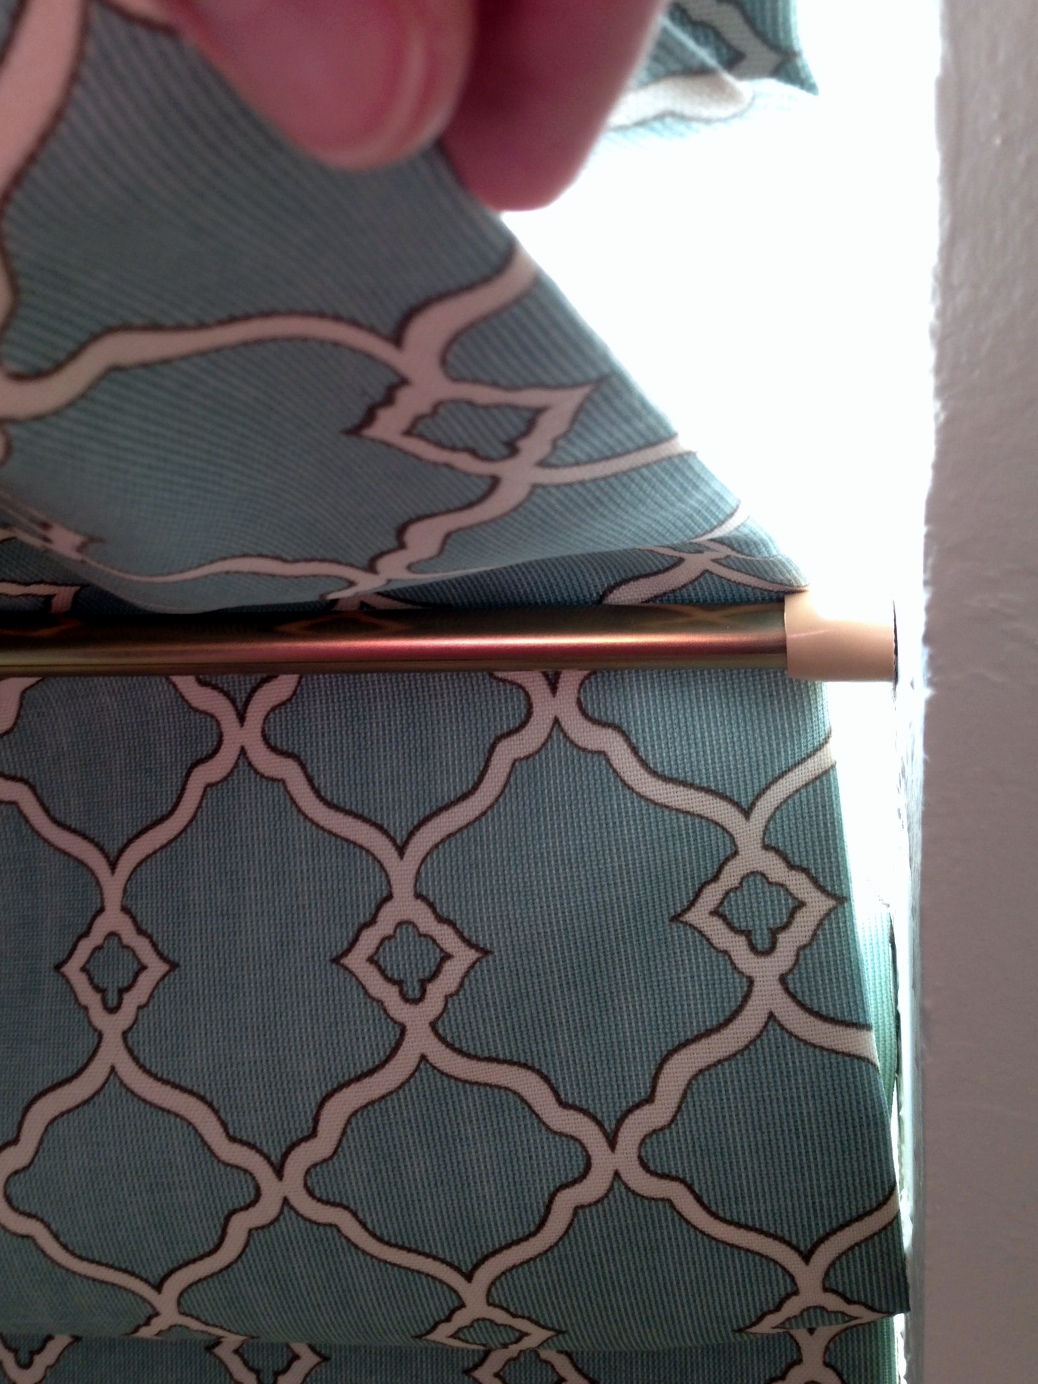
To hang the shade, I made a pocket at the top so I could slip it over a tension rod (you can actually see a little bit of the Stitch Witchery in this photo).
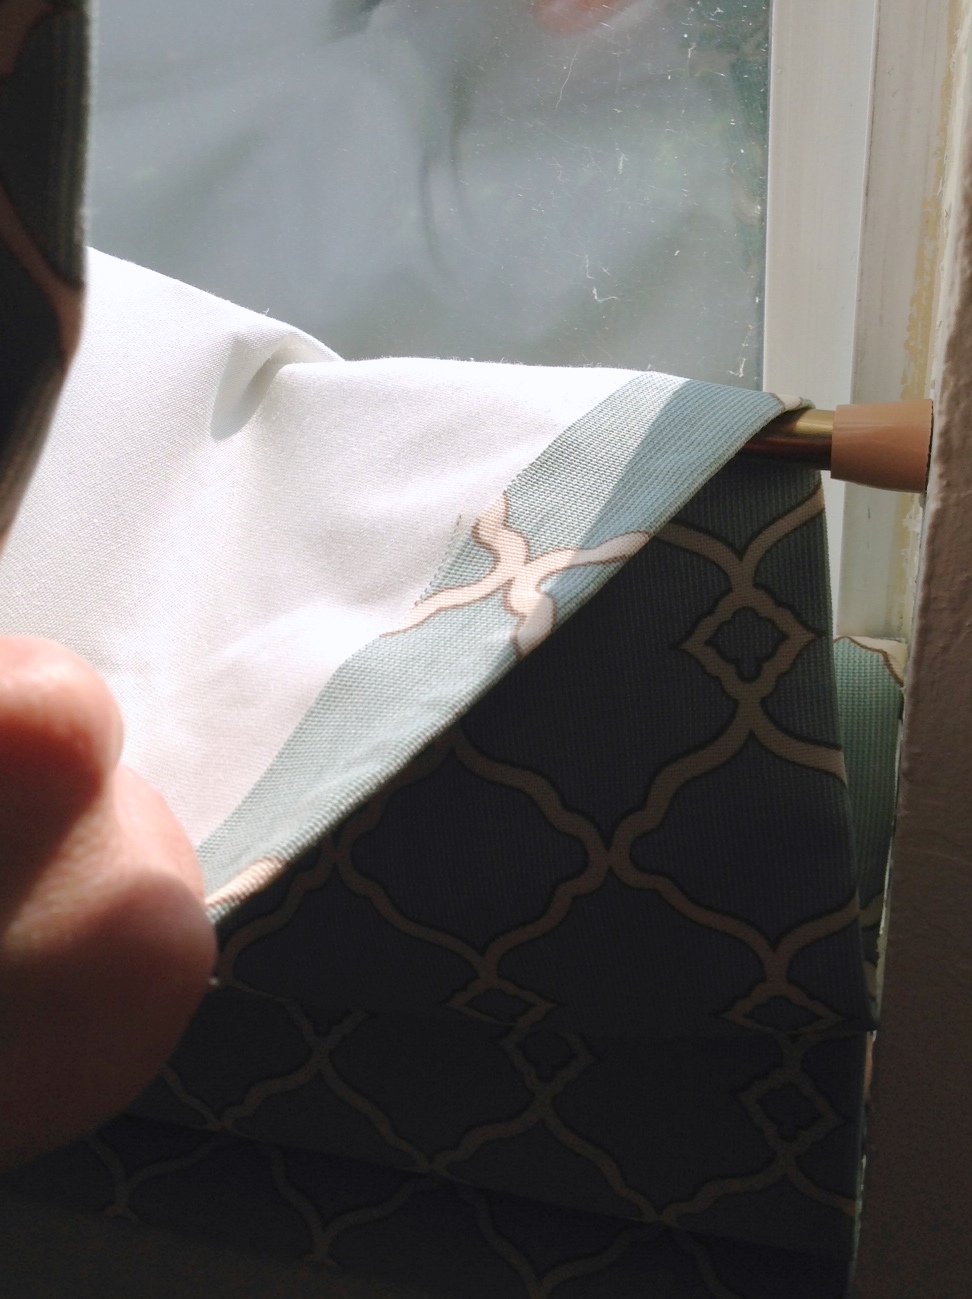
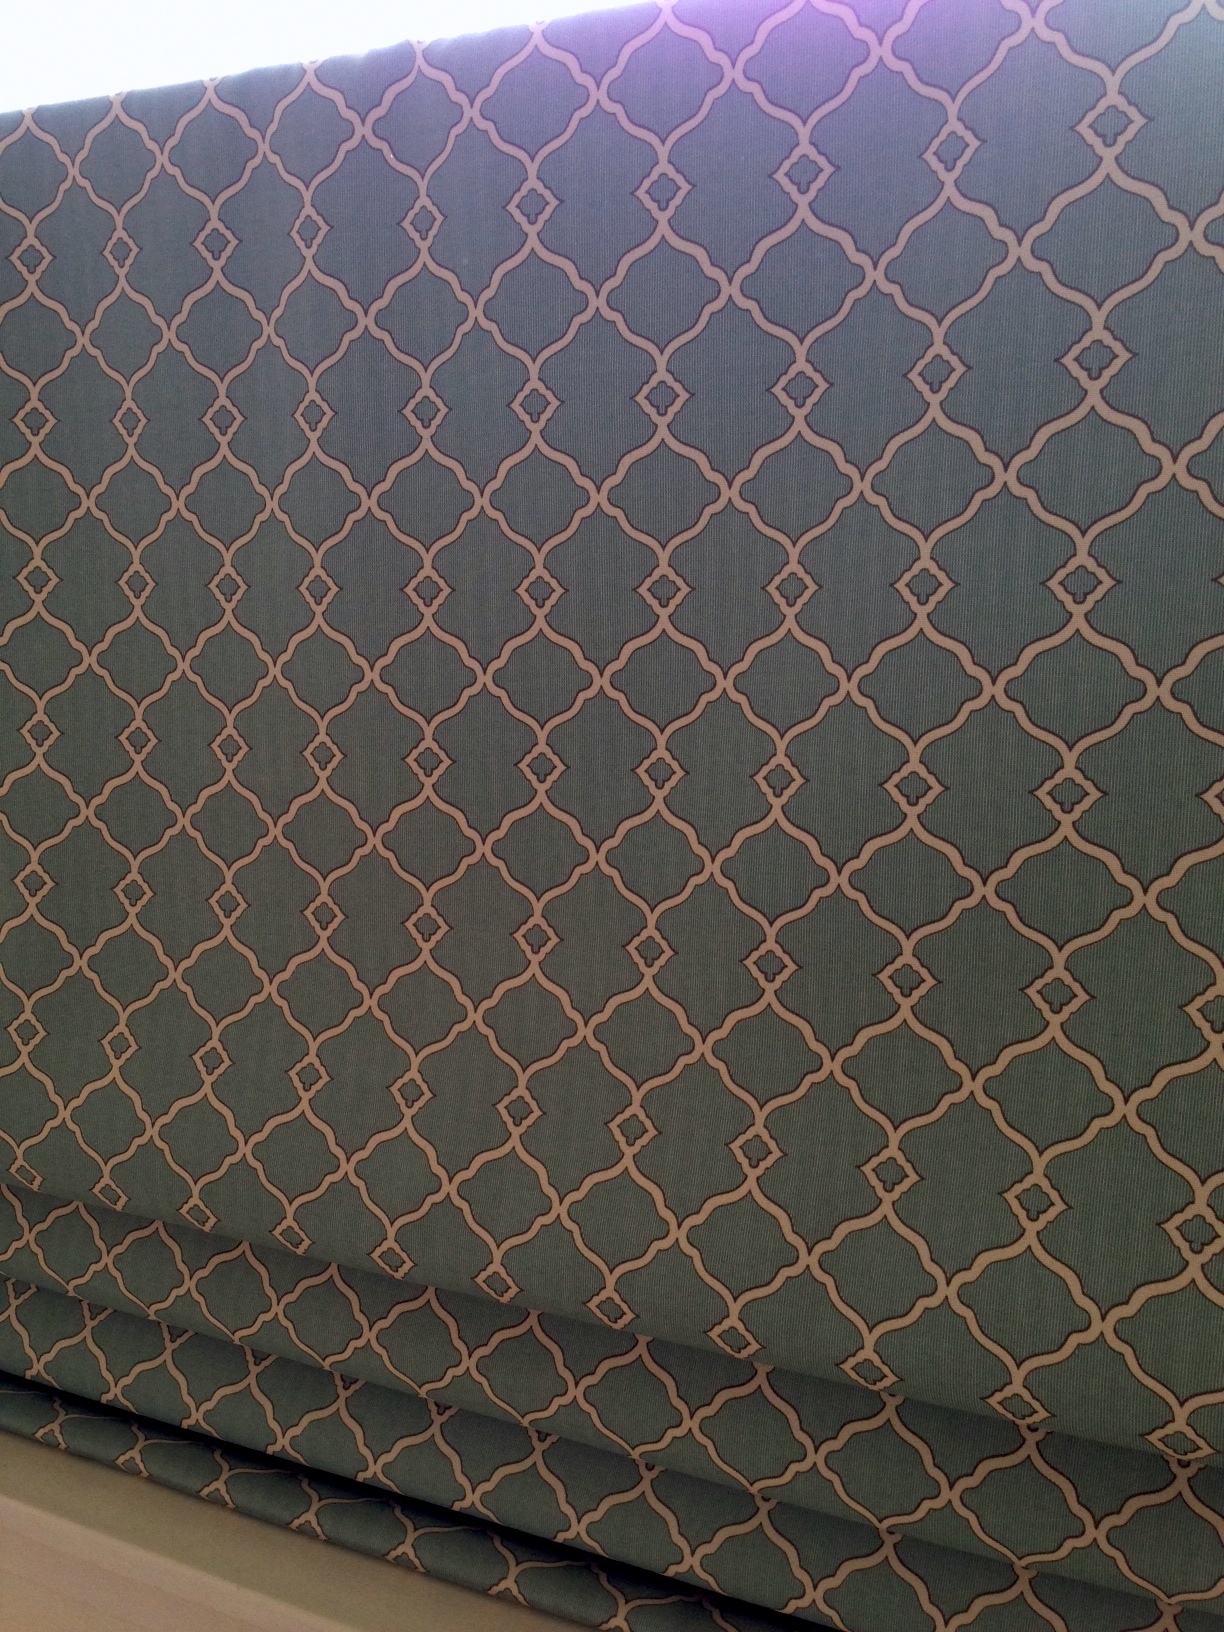
To create the folds of the shade I placed a few more tension rods at various heights in the window and pulled the fabric through to my liking.

And that’s it! Ta-Dah! One custom No-sew Faux Top-down/Bottom-up Window Shade at your service.

The best part? I think the whole project only cost me about $35. I still want to add a cornice board or something at the top, but that is another project for another day. I also probably made the shade about a quarter inch too narrow on each side, but it doesn’t bother me.
Additionally, if that fabric looks familiar it is because I used the same outdoor fabric to recover the chairs my beautiful grandmother gave me before she passed away.
For those who are interested, here are the tools I used:
Scissors
Stitch Witchery
3 tension rods
Outdoor Fabric (Waverly Sun N Shade Outdoor Fabric – Fretwork Chippendale in Mineral)
Blackout Liner
Iron
Finally, if anyone is concerned about peeping toms being able to see over the top of the shade, our master is on the 2nd floor and overlooks our backyard (and our 100lb dog who isn’t a fan of creepy strangers).
Has anyone else made a faux shade like this? I’d love to see it!

Good project to share, Jessica! I’m glad you had the photos that you did. This should help lots of non sew fans!
Love you! Mom
Date: Mon, 9 Sep 2013 17:03:31 +0000 To: janieslack@hotmail.com