
Hello, my friends! I am happy to report a “cool” front hit Texas, which means instead of being 105 degrees, it is now in the low 90’s. Believe it or not, that is a HUGE difference. That also means we Texans are not near as grumpy and I am no longer afraid to step foot in my uninsulated bonus room to type my ramblings. Hooray!
Now that I am no longer delirious from the heat, I thought I’d share the trials and tribulations of this oak kitchen table, which I love…I mean, hate. No, I love it. Really, I do. It just taunted me a bit during the refinishing process and may or may not have made me say a few words my children aren’t allowed to hear.
When I first acquired this table I envisioned refinishing it in a Farmhouse style. A spectacular client of mine shared that same vision and asked if I could redo it for her by staining the top dark and painting the legs a “shabby chic red.” My client was also genius and instead of using it as a typical kitchen table, she is using it as a craft table/desk for her boys. I know…GREAT idea!
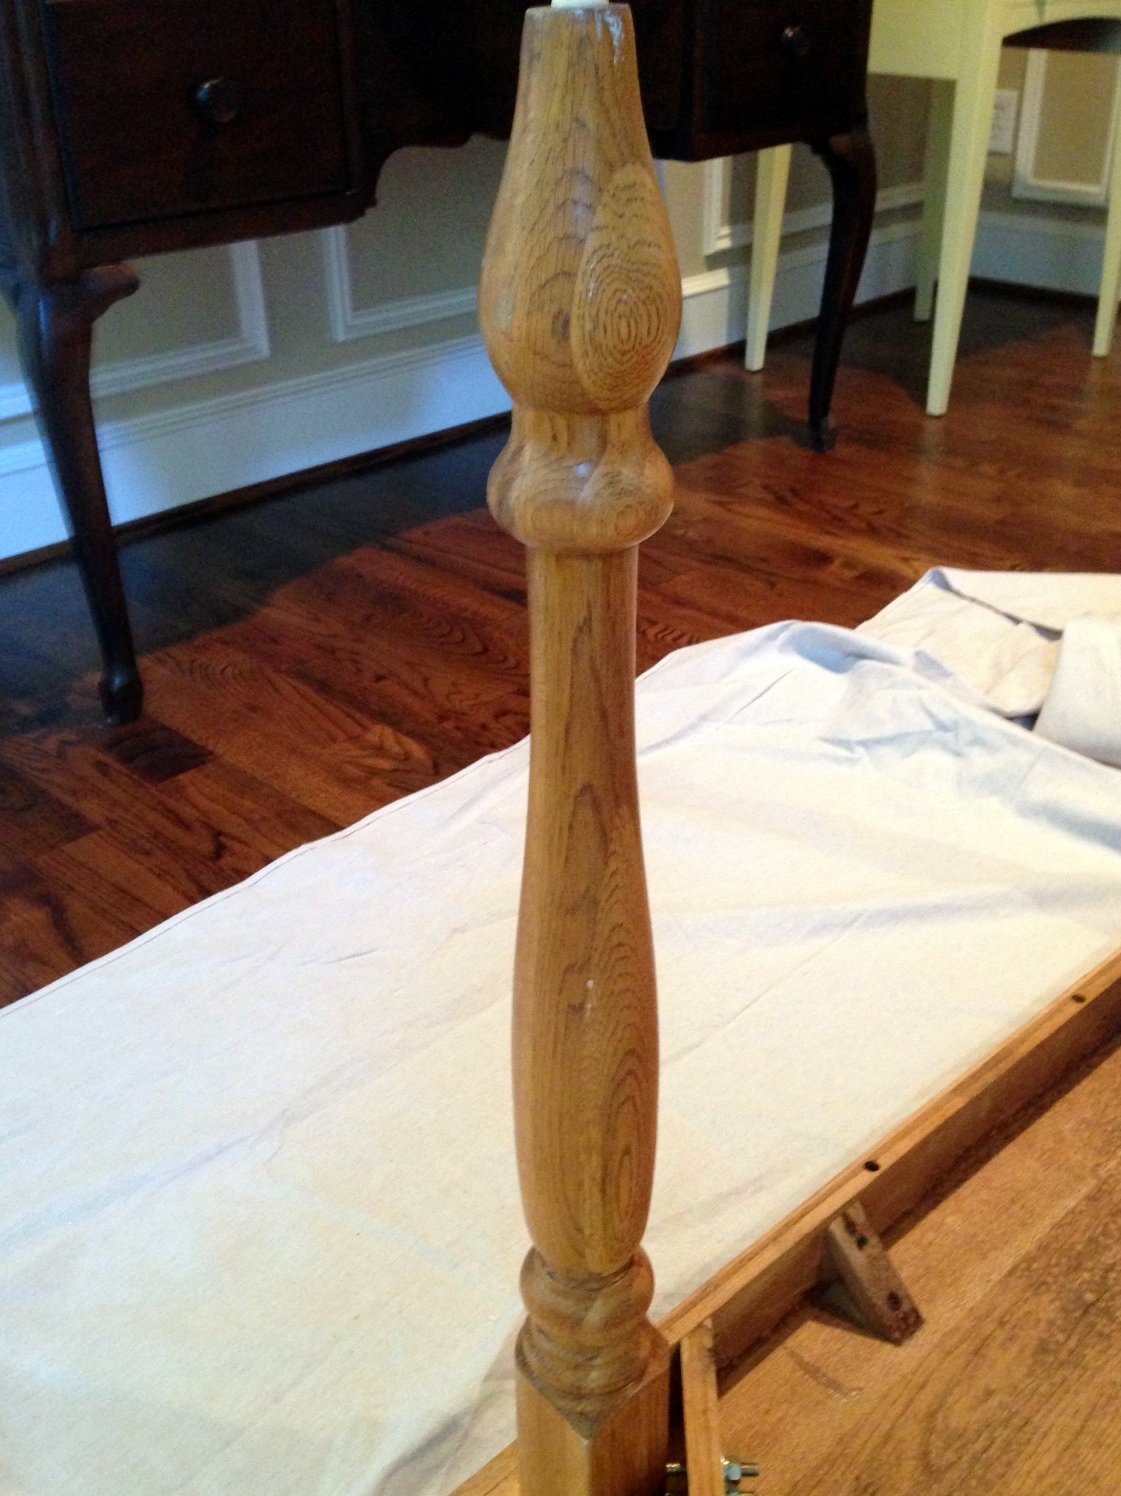
Anyway, this is the before:

I started working on this piece by stripping the top by using Citristrip. I love this product. It’s easy to use and actually has a pleasant smell. You just apply it with a paint brush, let it do it’s thing, then scrape it off with a plastic scraper.


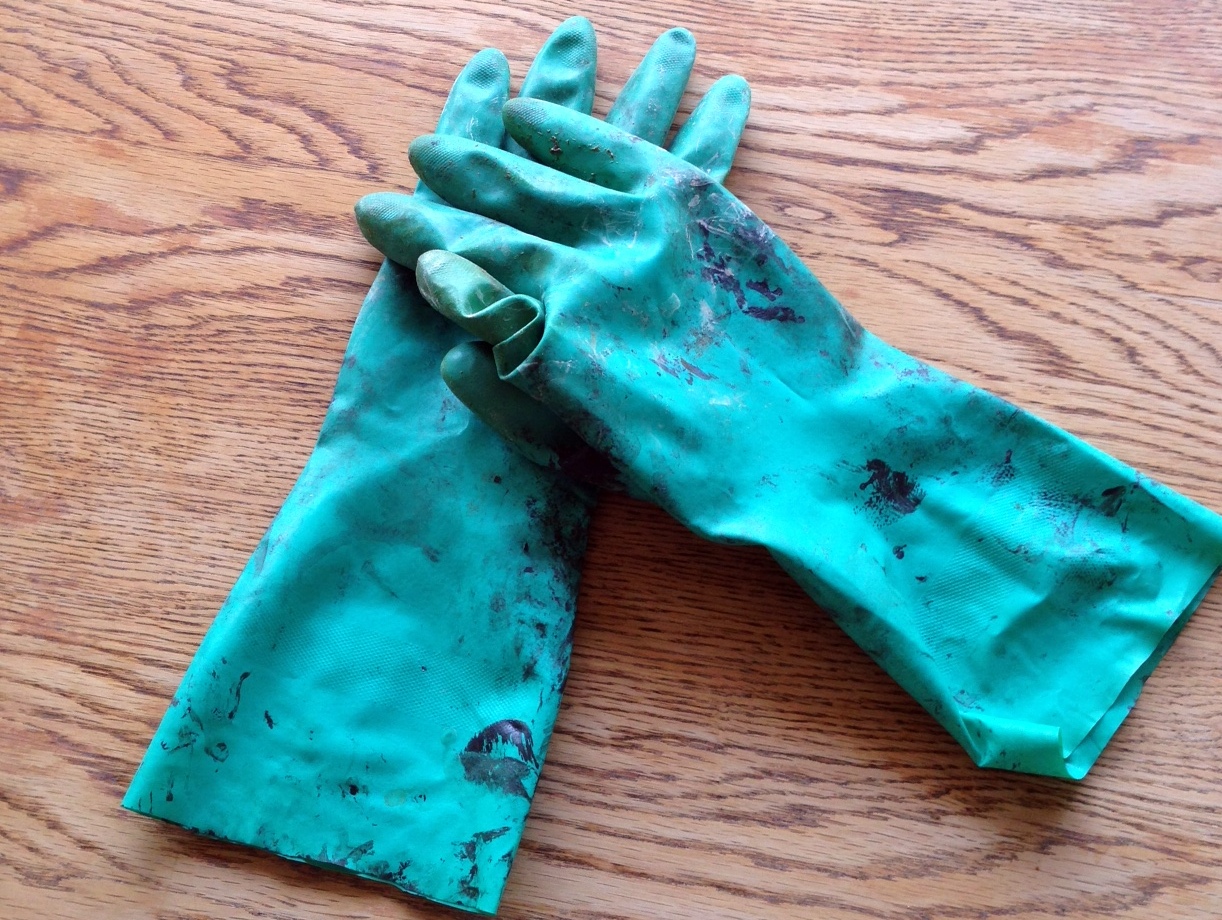
You then wipe off any existing stripping agent with mineral spirits. The hardest part of this process is probably wearing these protective gloves in 100 degree heat. I had no idea hands could sweat that much, but they do. Gross. That being said, these gloves (and protective eye gear) are a MUST for your safety.
After this fun process I sanded…forever. Once I completed the sanding process I vacuumed up the dust particles, wiped it down and had my husband help me bring it inside. From there, I whipped up some of my trusty DIY chalk paint and added 3 coats of paint to the table legs and frame.

I then waxed the painted areas with Johnson Paste Wax. After the wax was dry, I lightly distressed the piece in places where natural wear and tear would occur.

Finally, I “aged” the legs and frame by adding a very light coat of dark Briwax.

So far, so good, right? This is when the table decided to be stubborn and began mocking me. I honestly thought I was in the home stretch when I started the staining process. Boy, was I wrong. After adding two coats of stain in dark walnut, this is what I ended up with.

Blotchy city. Yuck. I tried everything I could to fix those blotches without having to start over. I added another coat of stain, went over it with mineral spirits, added a coat of gel stain, drank wine…you name it, I tried it. It was a disaster. I finally admitted defeat and had to sand the entire table top again and start from scratch. So, here we go again, sanded down and ready for round 2 (actually it was more like round 7)…

Thank heavens the stain took better this time. Unfortunately, it just fell kind of flat so I decided to try a little Danish Oil in Dark Walnut.

The Danish Oil is on the right. See the richness it added?
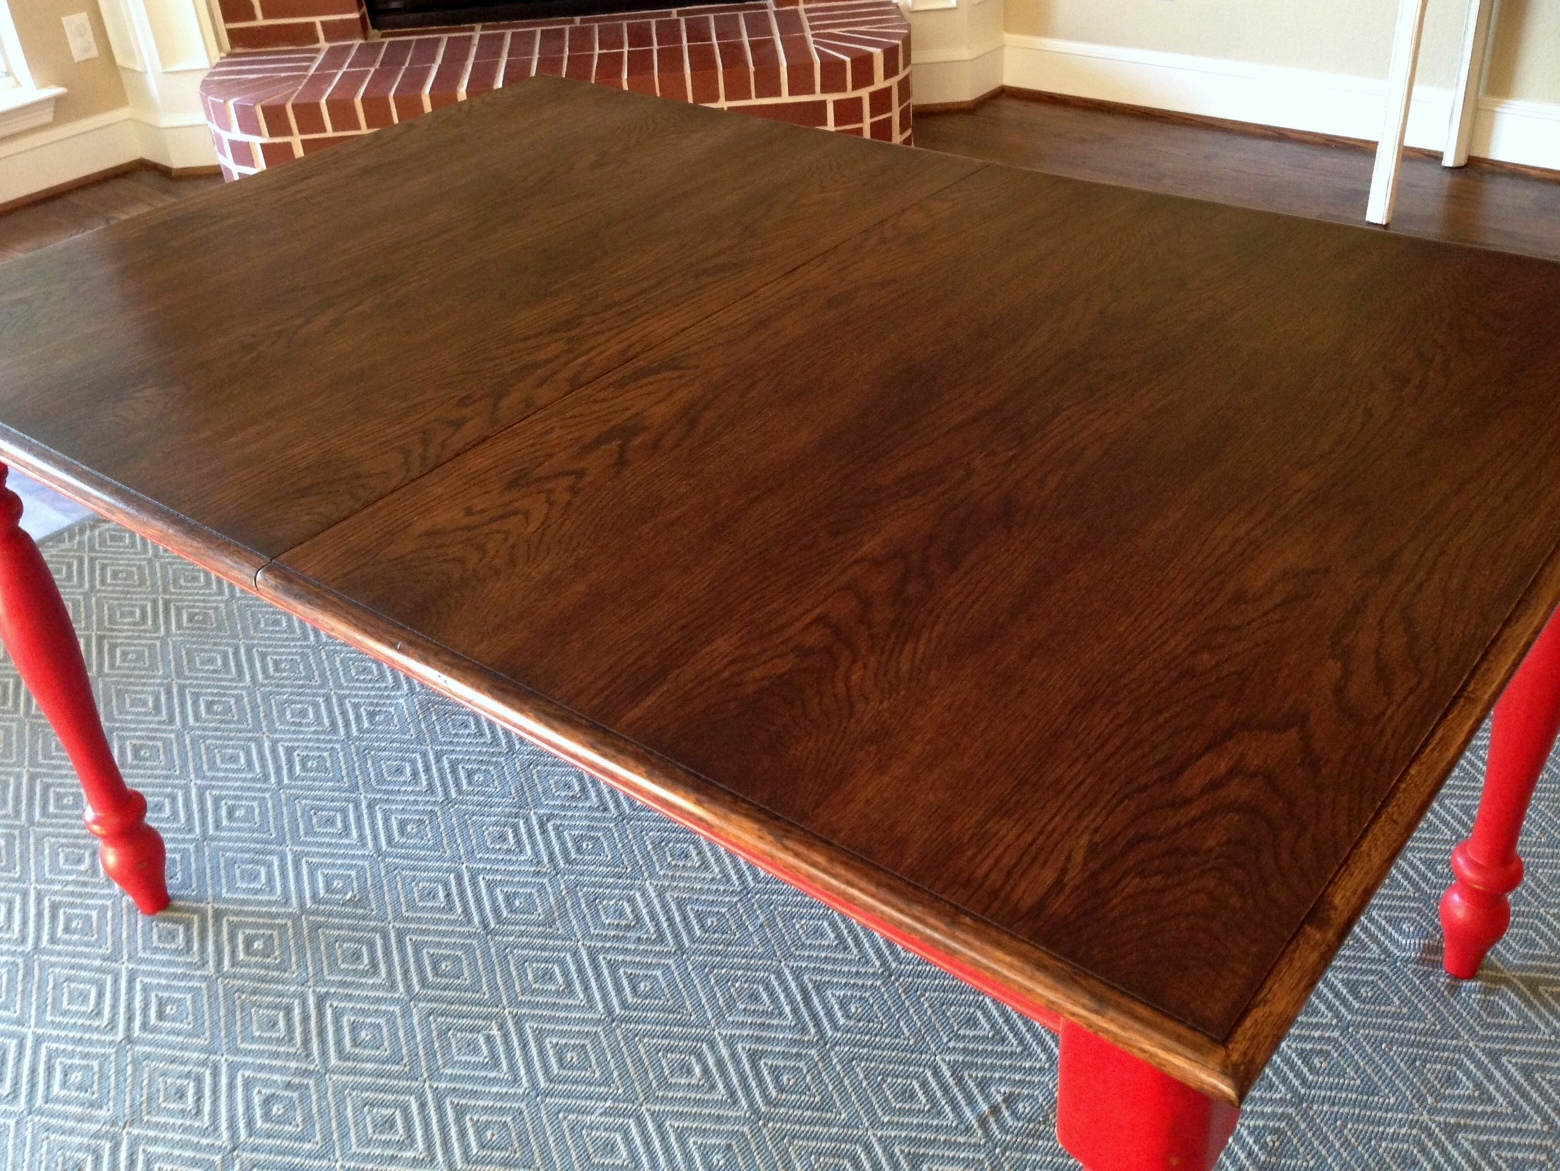
To protect the top I decided to go with a dark wax to smooth out any additional trouble spots. To me, a waxed finish just gives a nicer patina. Also, if the table ever gets scratched it can be buffed out with more wax versus having to refinish the whole thing.
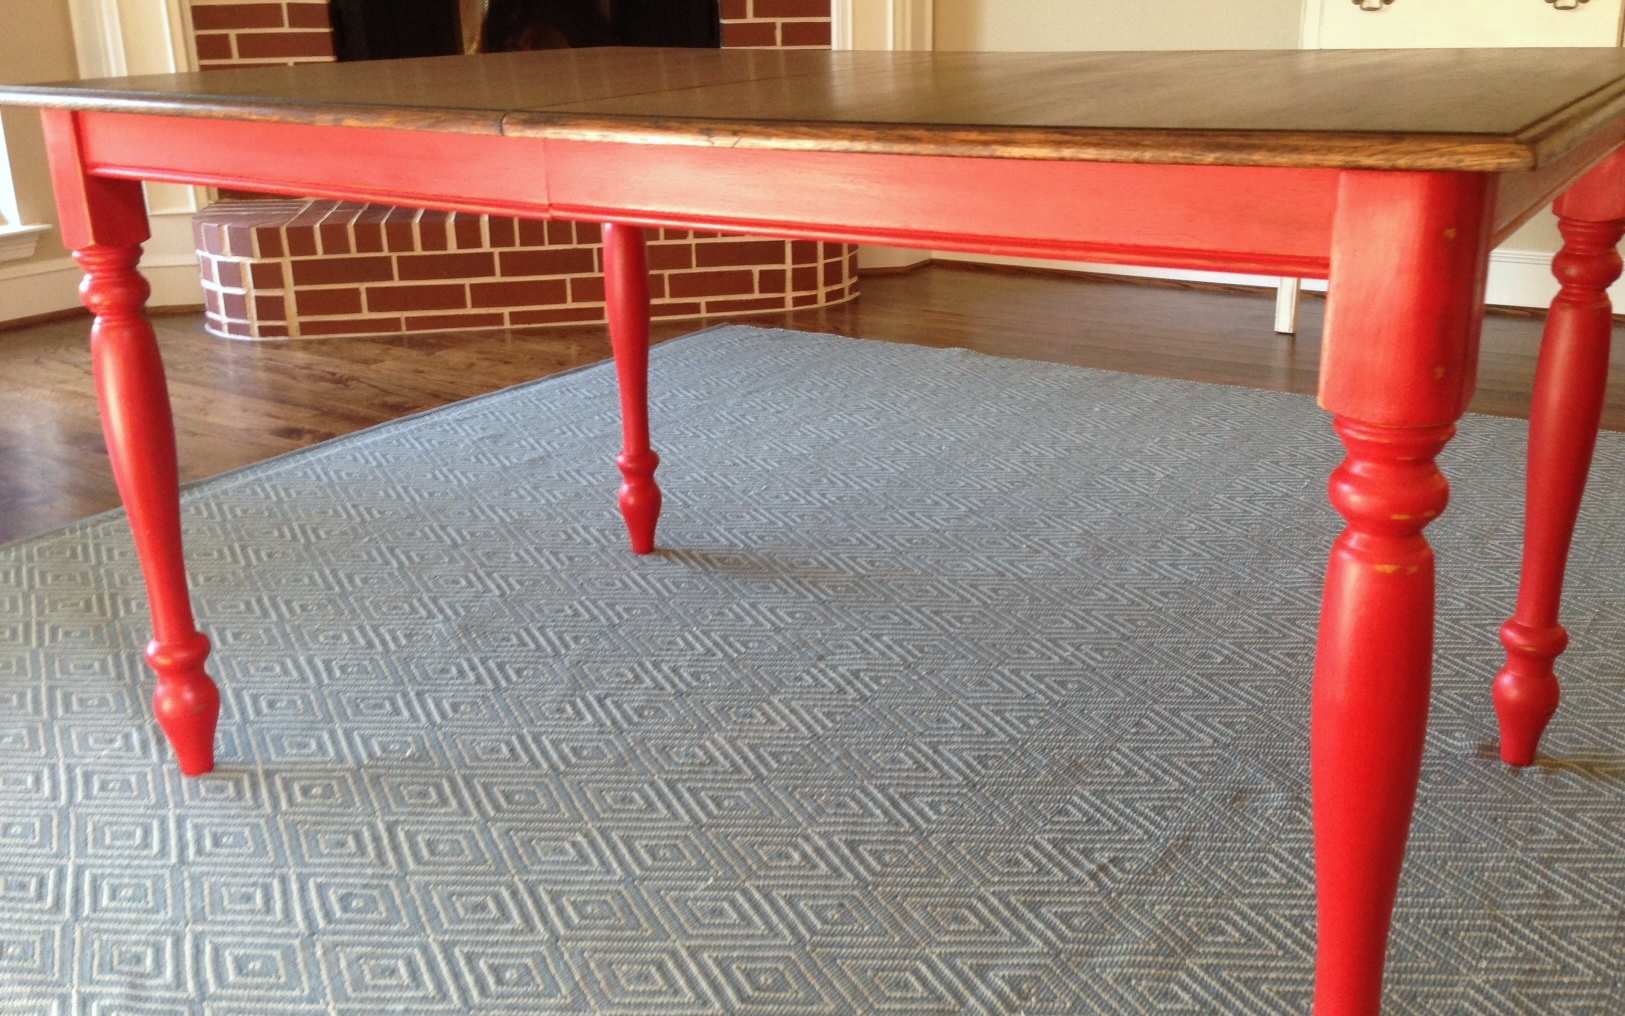
So, here are the Before & After photos of the table finished table in all it’s glory. It took me about 2-1/2 weeks and hours upon hours to complete, but I’d do it again in a heartbeat.
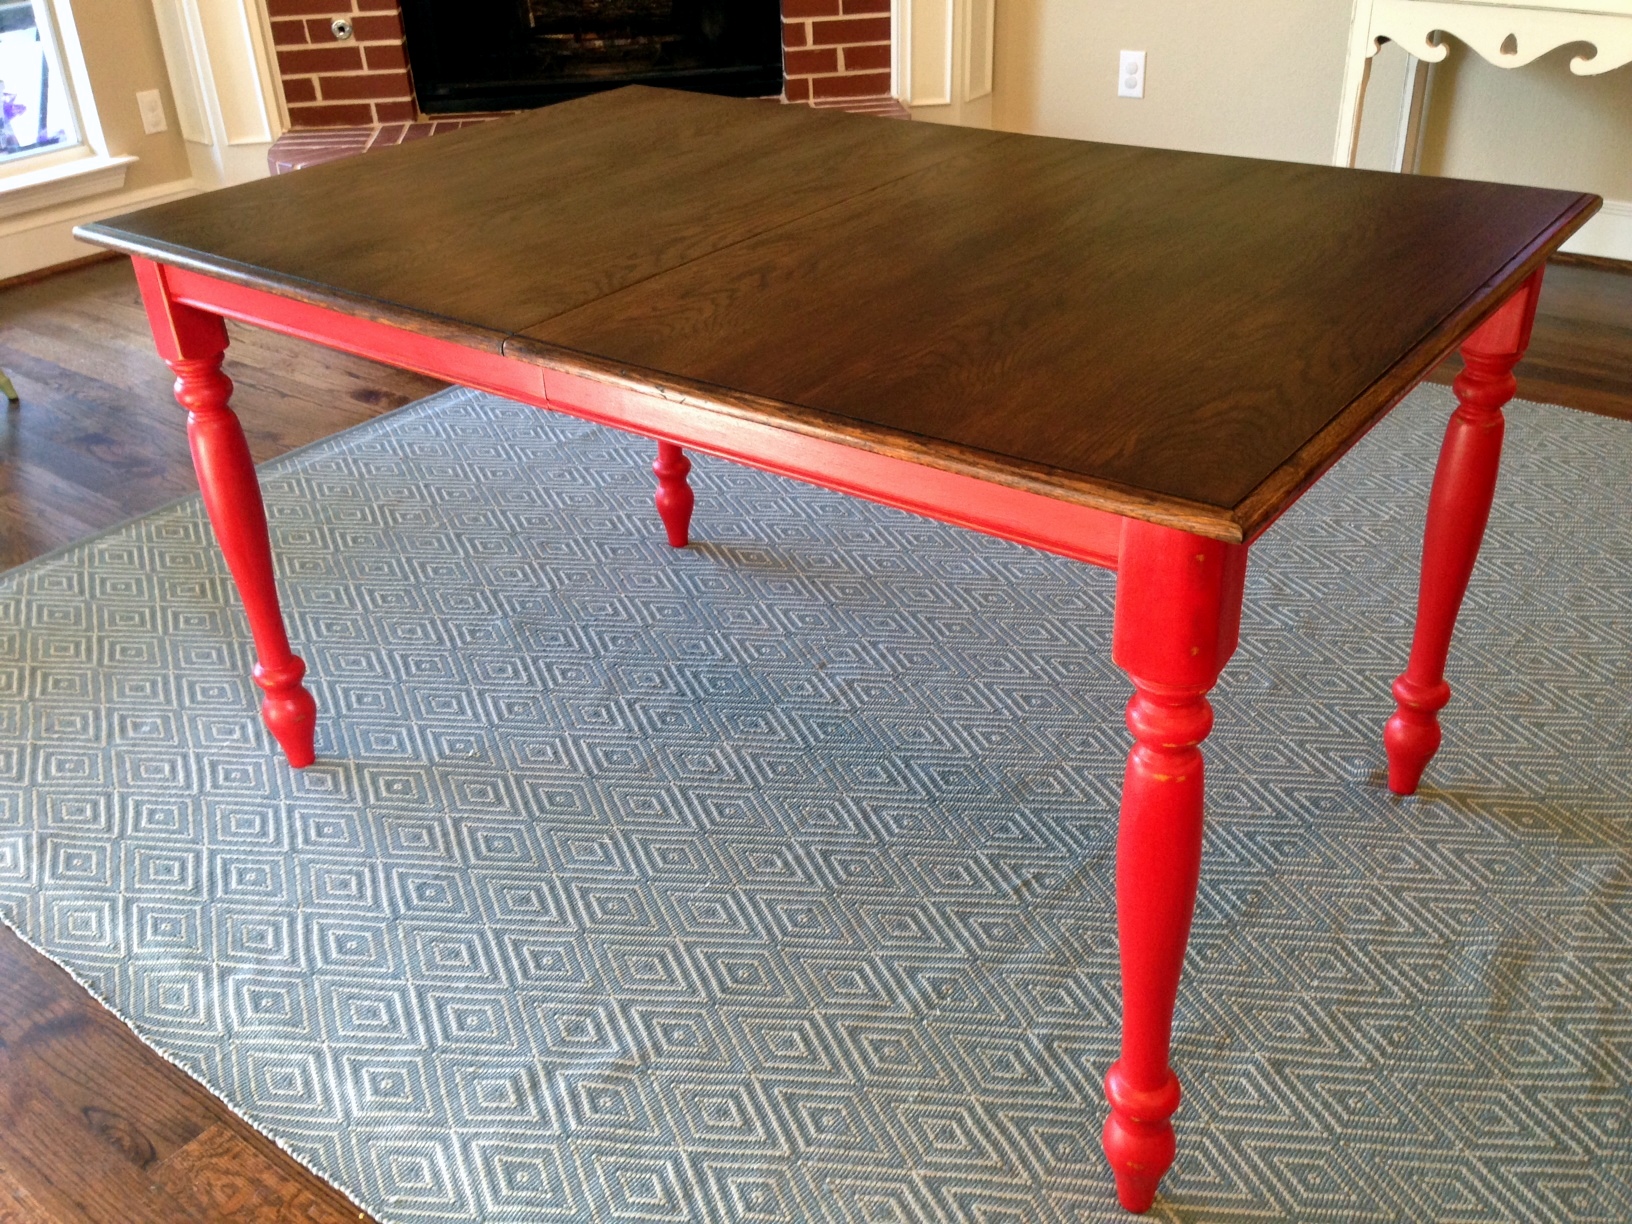
My client said she loved the table, which made me super happy. Seriously, happy clients and a lovely finished product bring me so much joy. It is that combination which makes me love what I do. Getting from Point A to Point B isn’t always easy, but it is so worth it in the long run.

Great description of the trials and tribulations with a great end result! I think you should have added Addie’s episode with her “help” with that table:)
Date: Mon, 19 Aug 2013 17:11:47 +0000 To: janieslack@hotmail.com
I love the hint of color on this one