
I’m going to let you in on a little secret. I’m lazy. No, really. I know I am constantly doing one project after another, and yes, I love each one. But, I honestly think part of the reason I do what I do is because it keeps me active without having to actually go to the gym. It also allows me to keep moving without having to leave the house (does that make me a hermit?). So, imagine my delight when I discovered an easier way to distress painted furniture (It’s the little things, people).
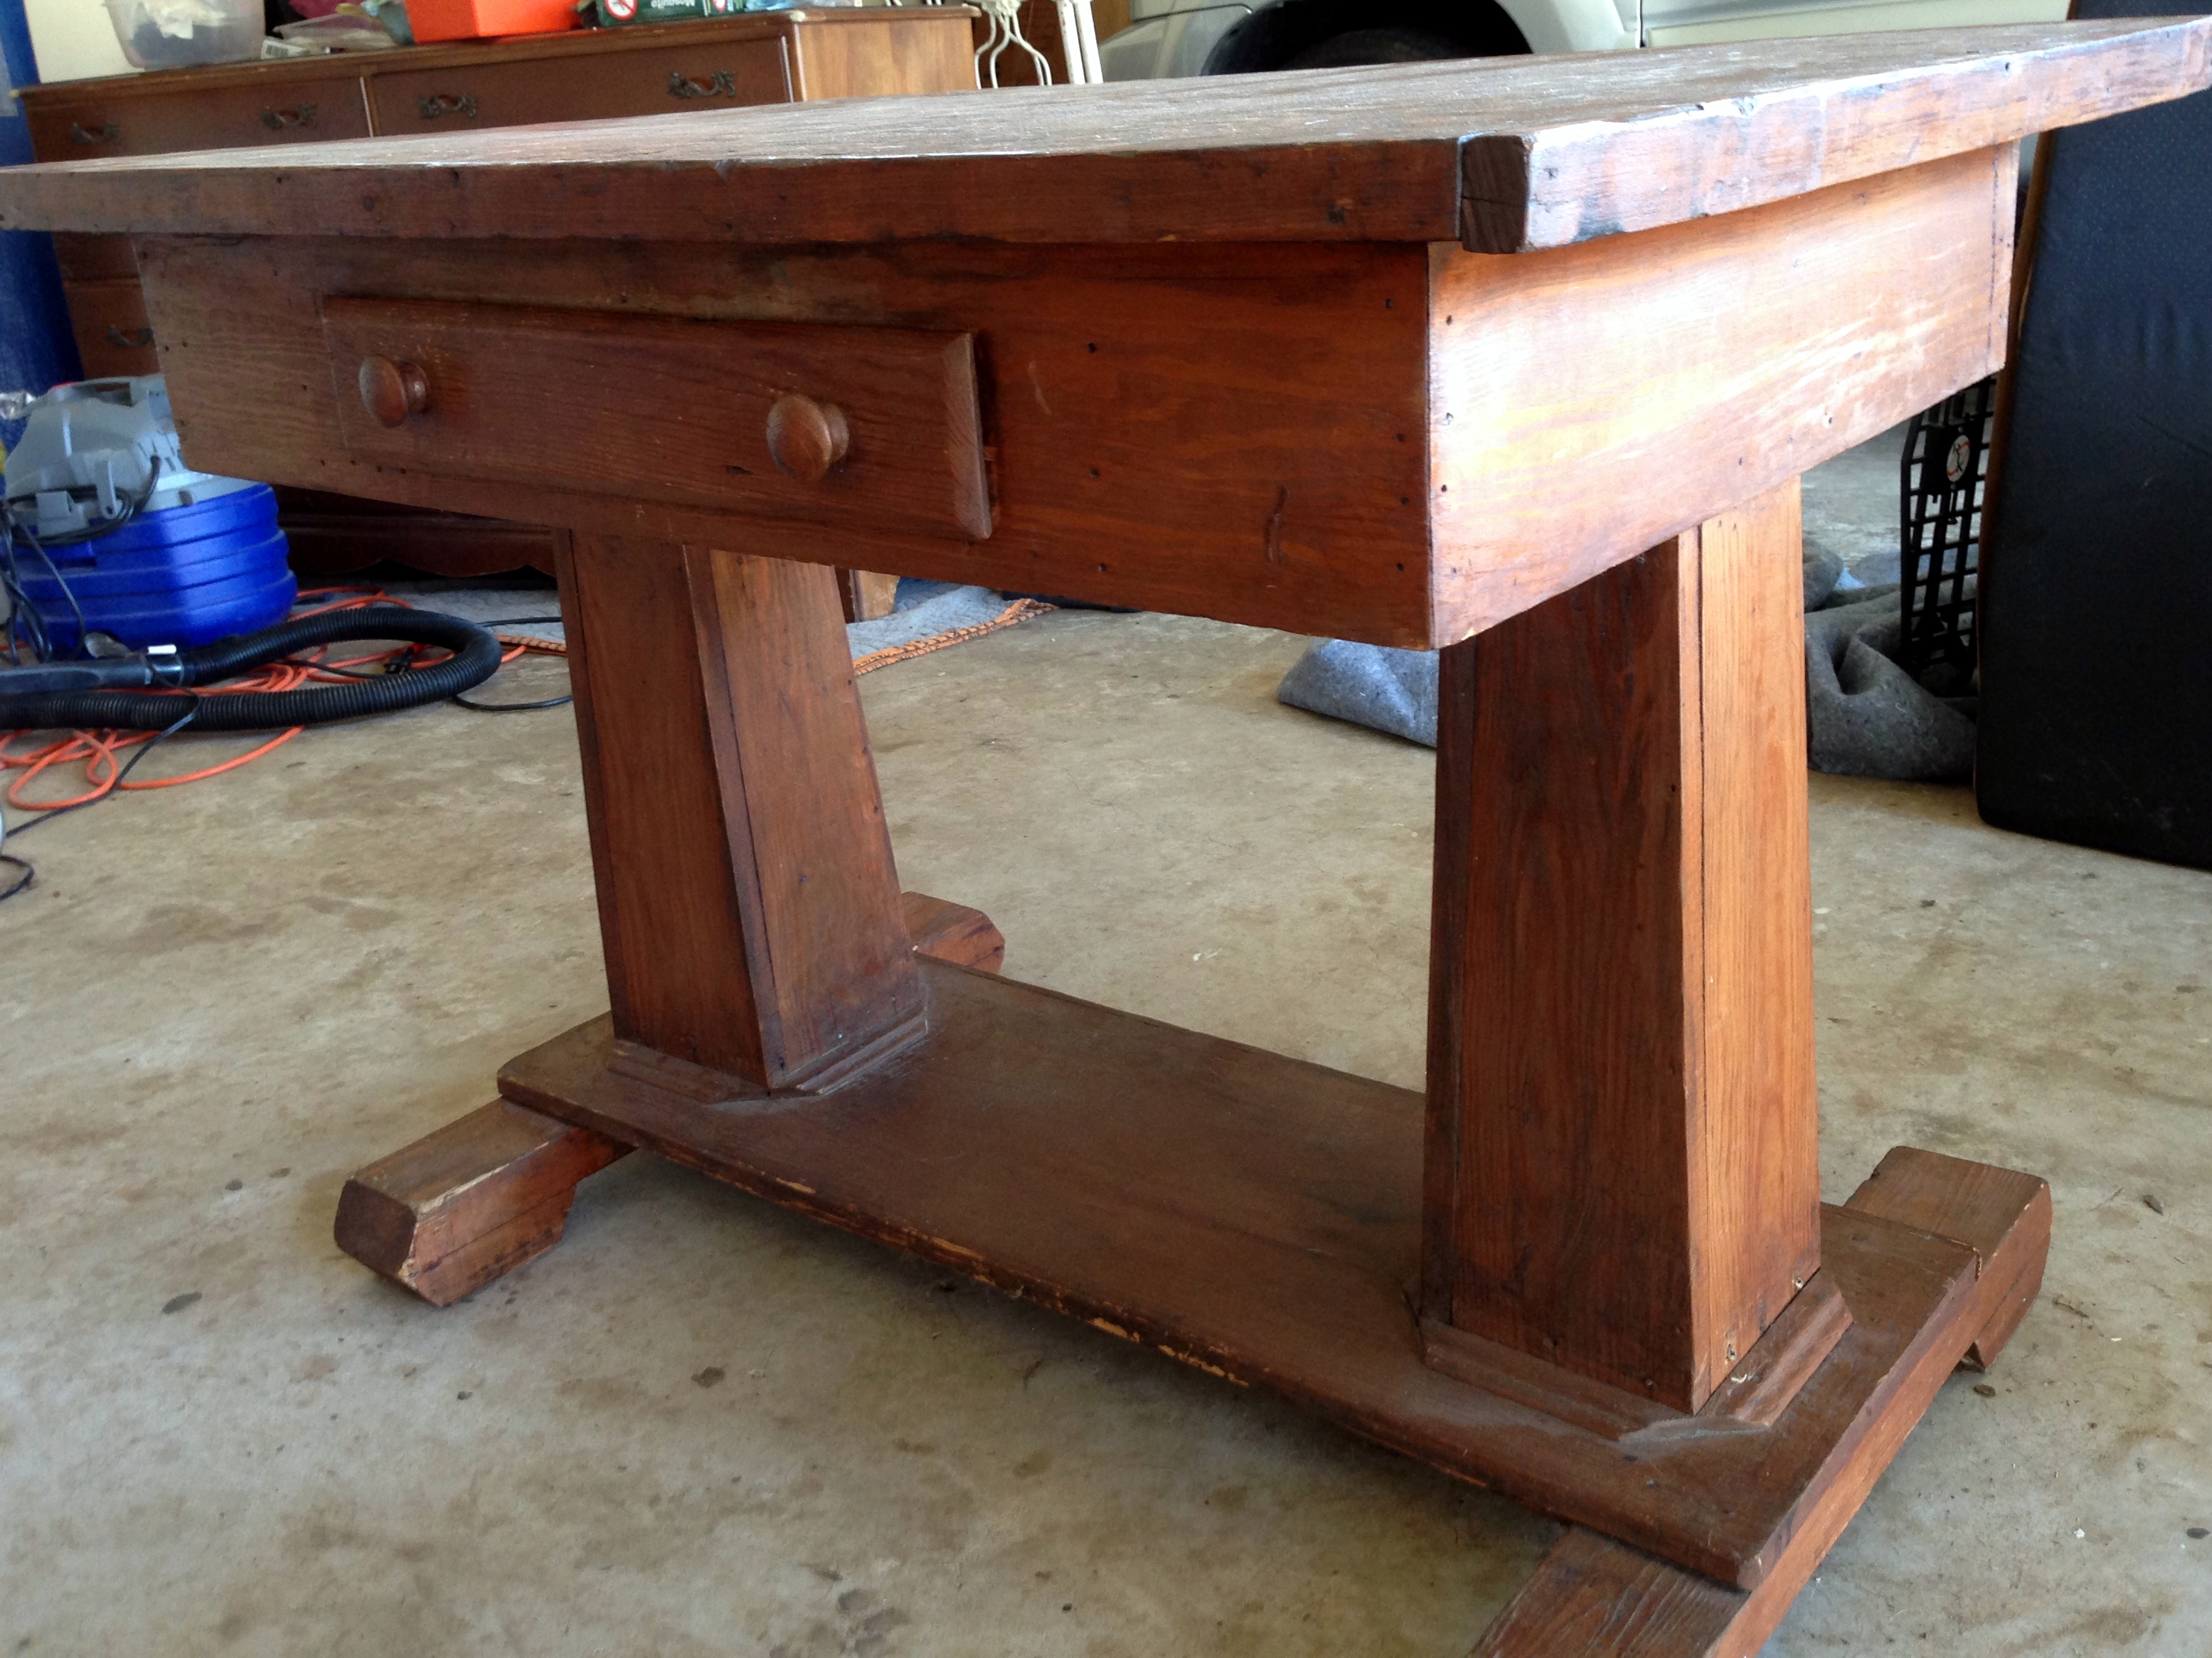
Let’s start at the beginning. Several months ago I discovered this antique library table at a garage sale. All the seller could tell me is that it came from an old library in Colorado. Considering my oldest daughter was born in Colorado, I knew it was destined to come home with me. Once I got it home, I was able to really check it out and was thrilled to notice this was clearly a handcrafted piece.
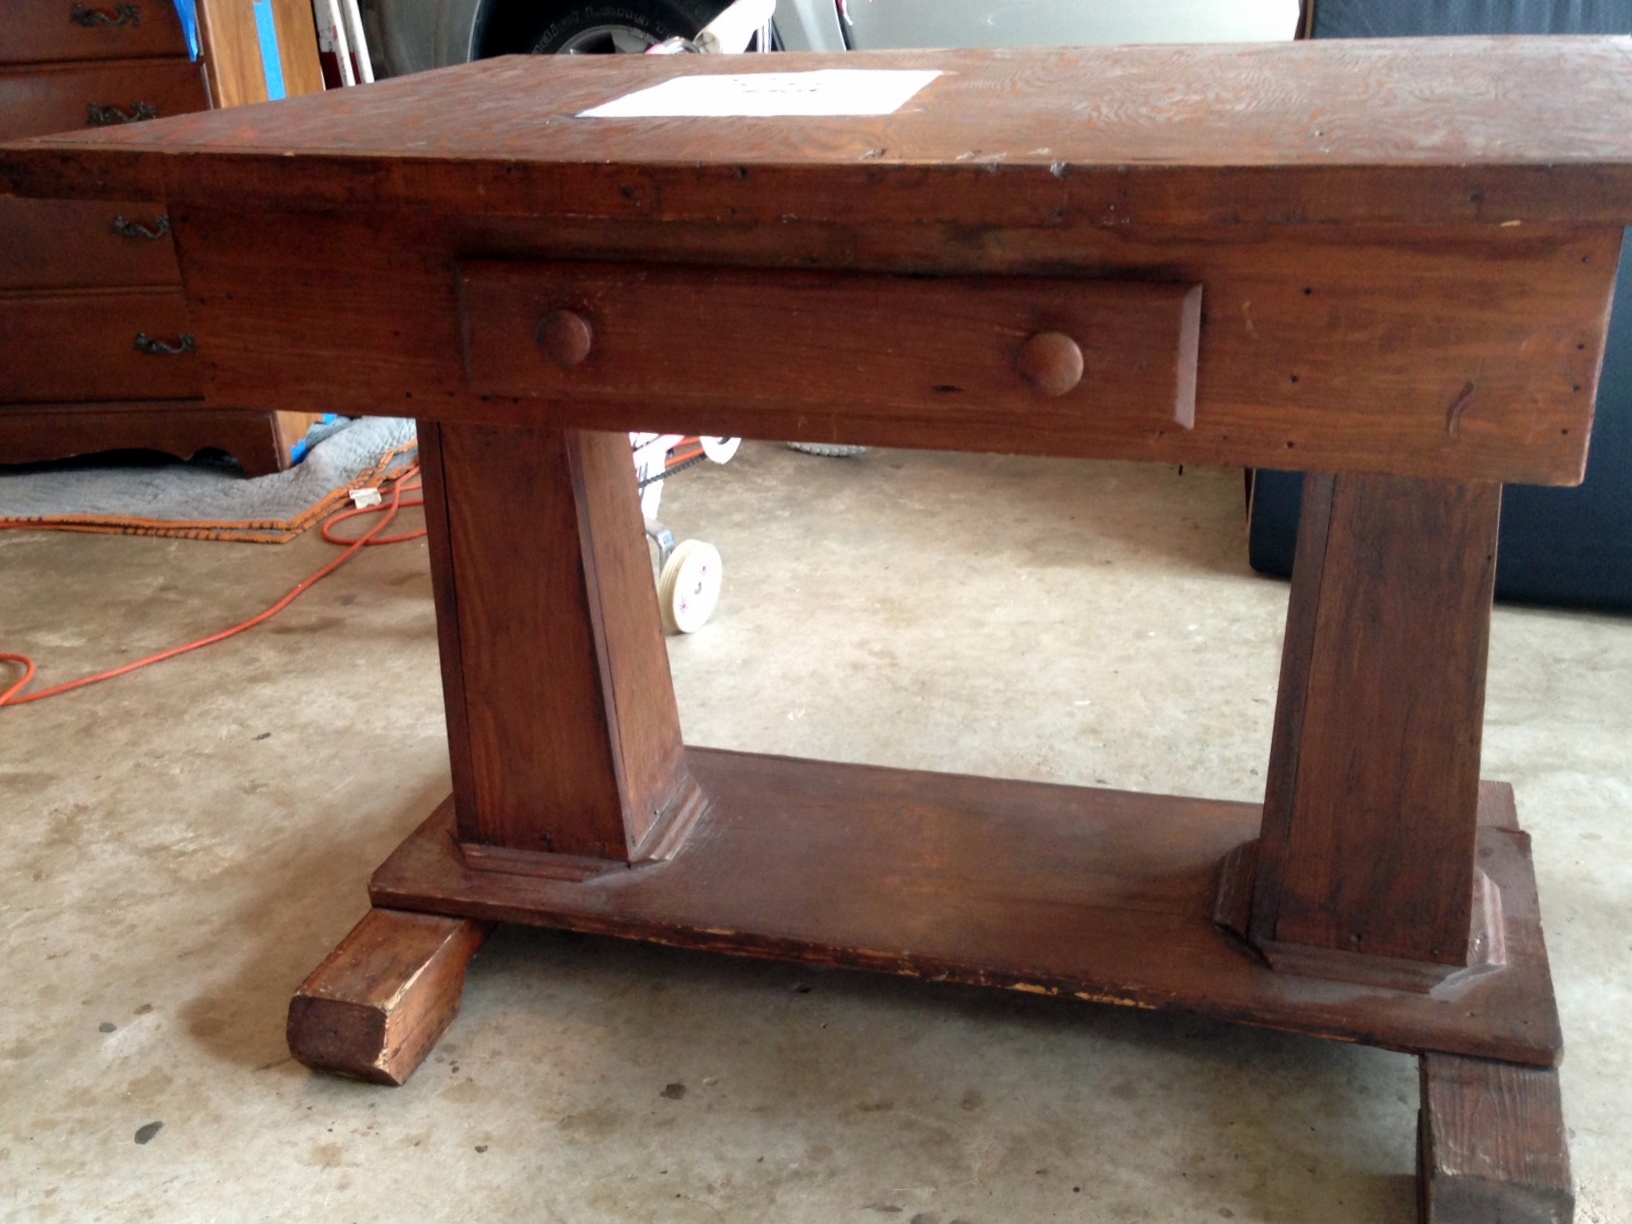

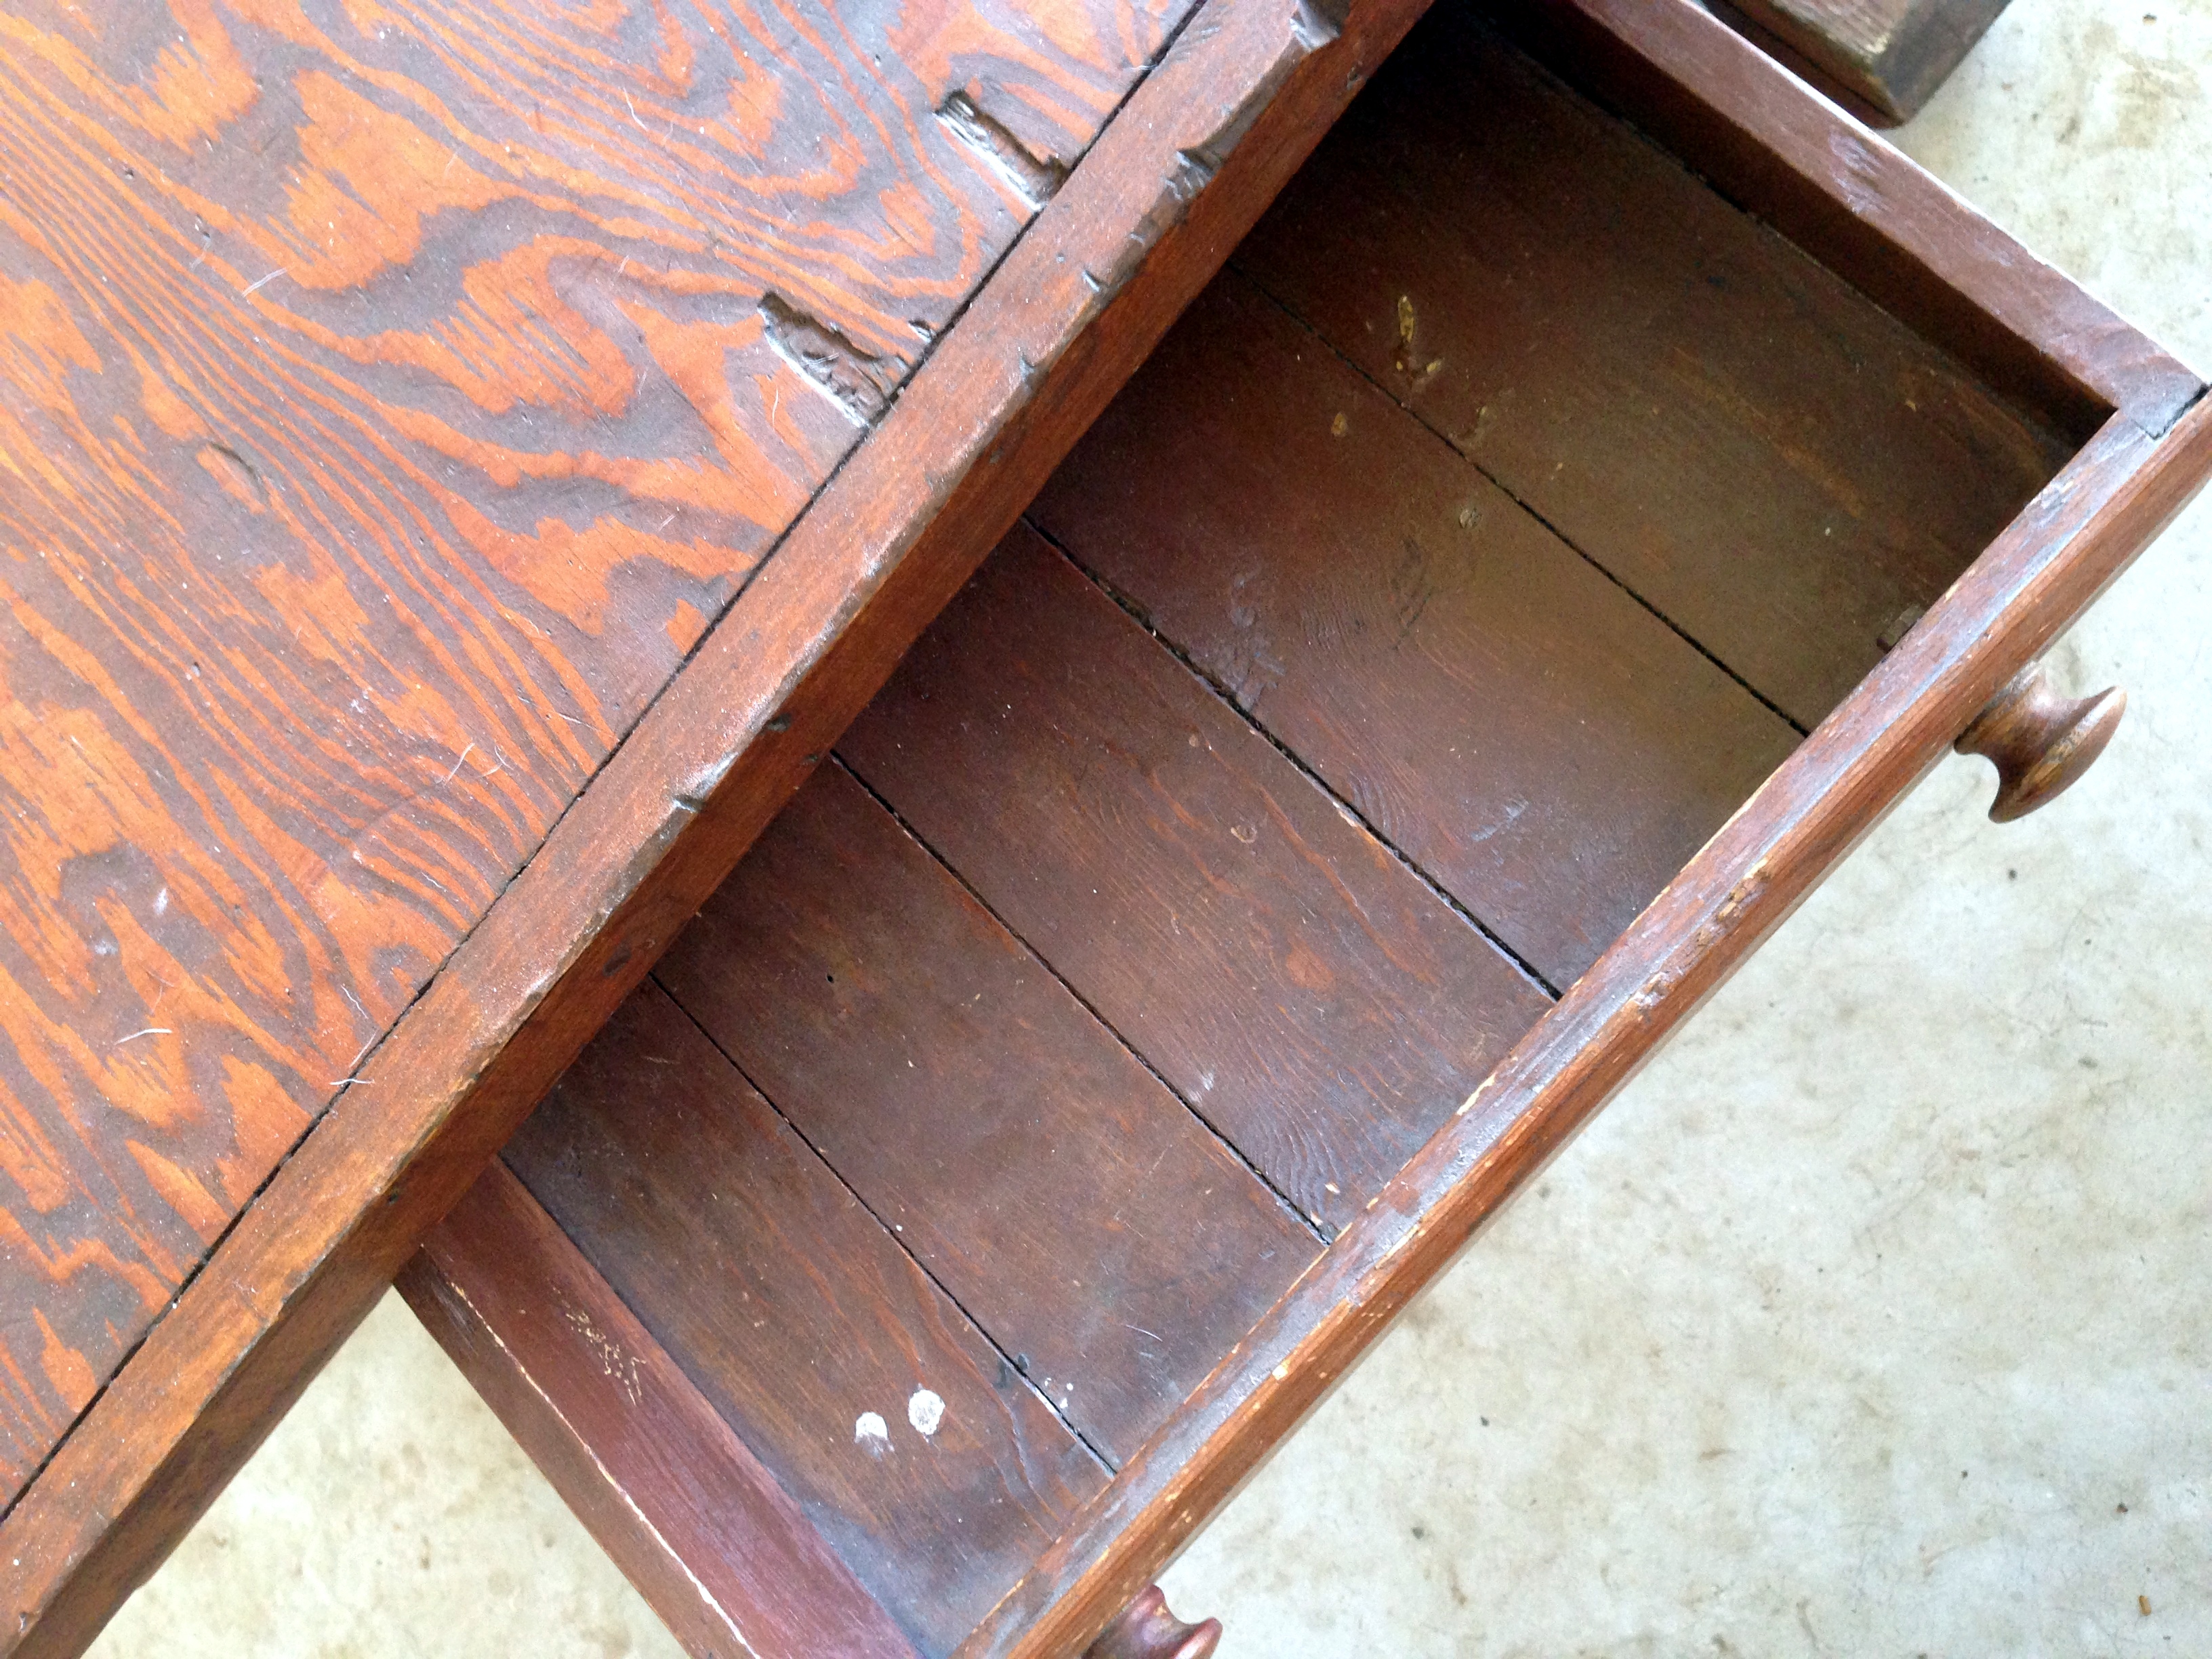
The underside of the drawer is made with old bead board, which makes me think this was made with scrap wood from someone’s workshop. It also appears to date back to the early 1900’s. Very cool.
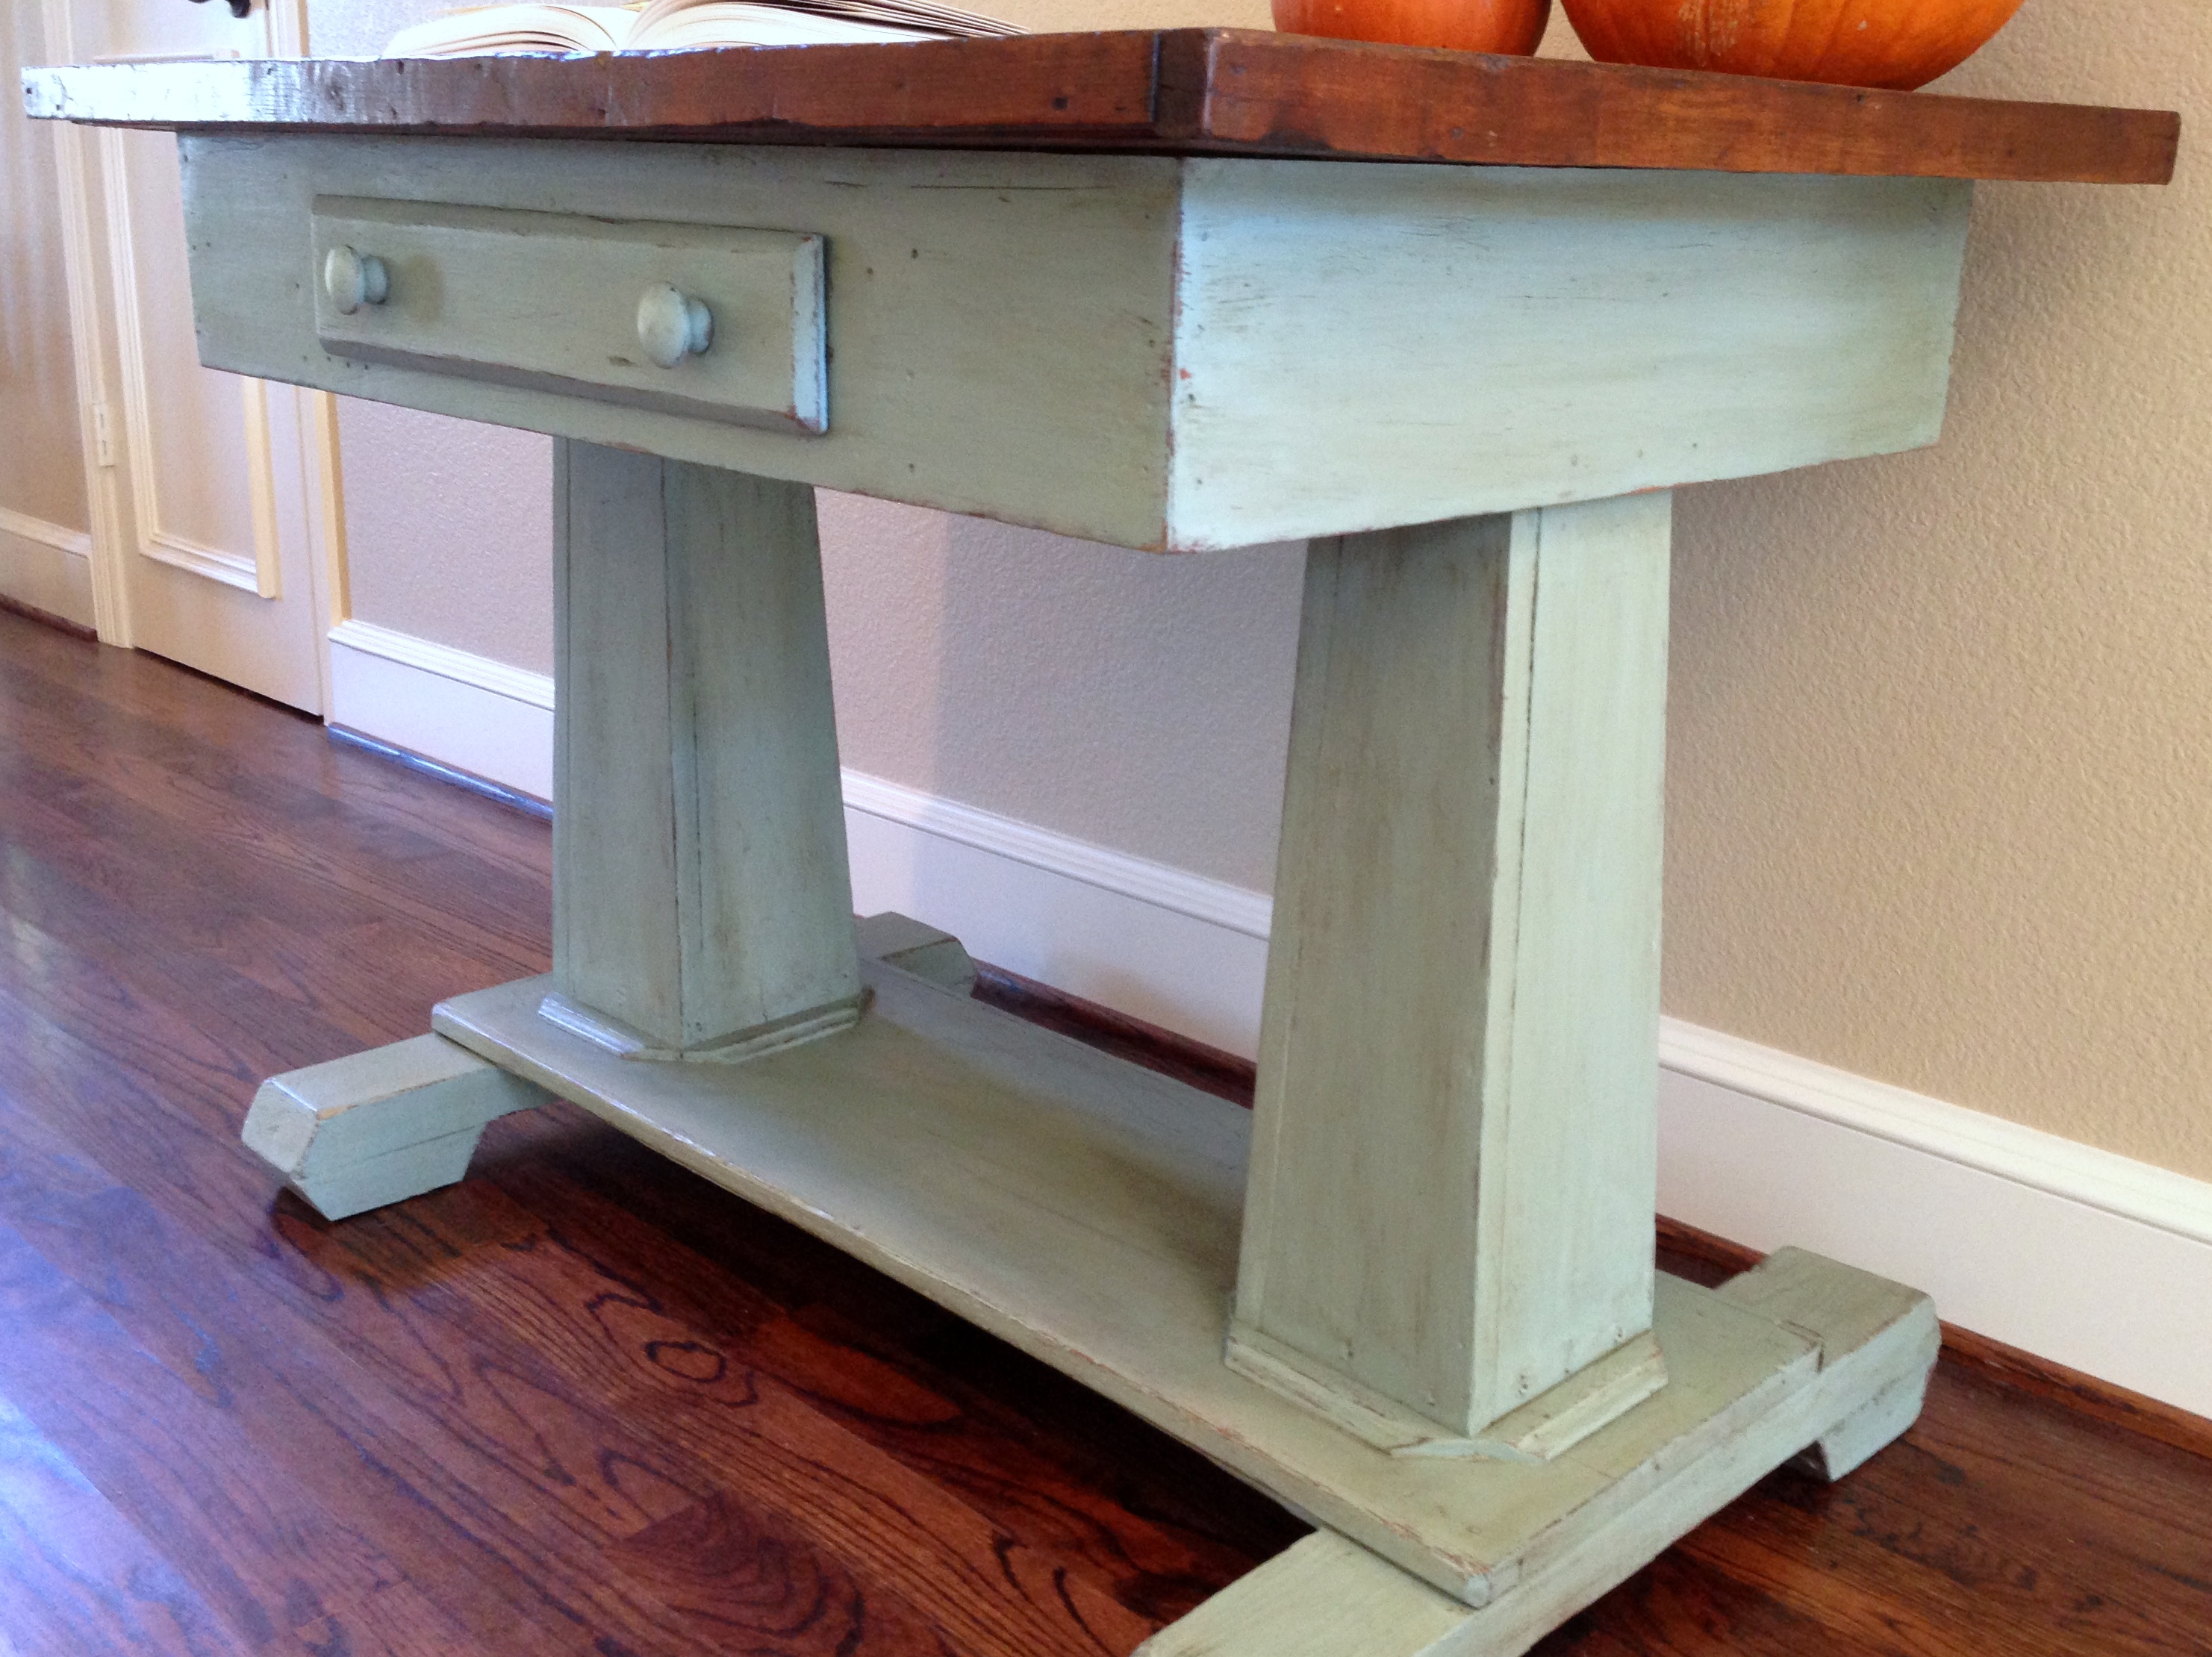
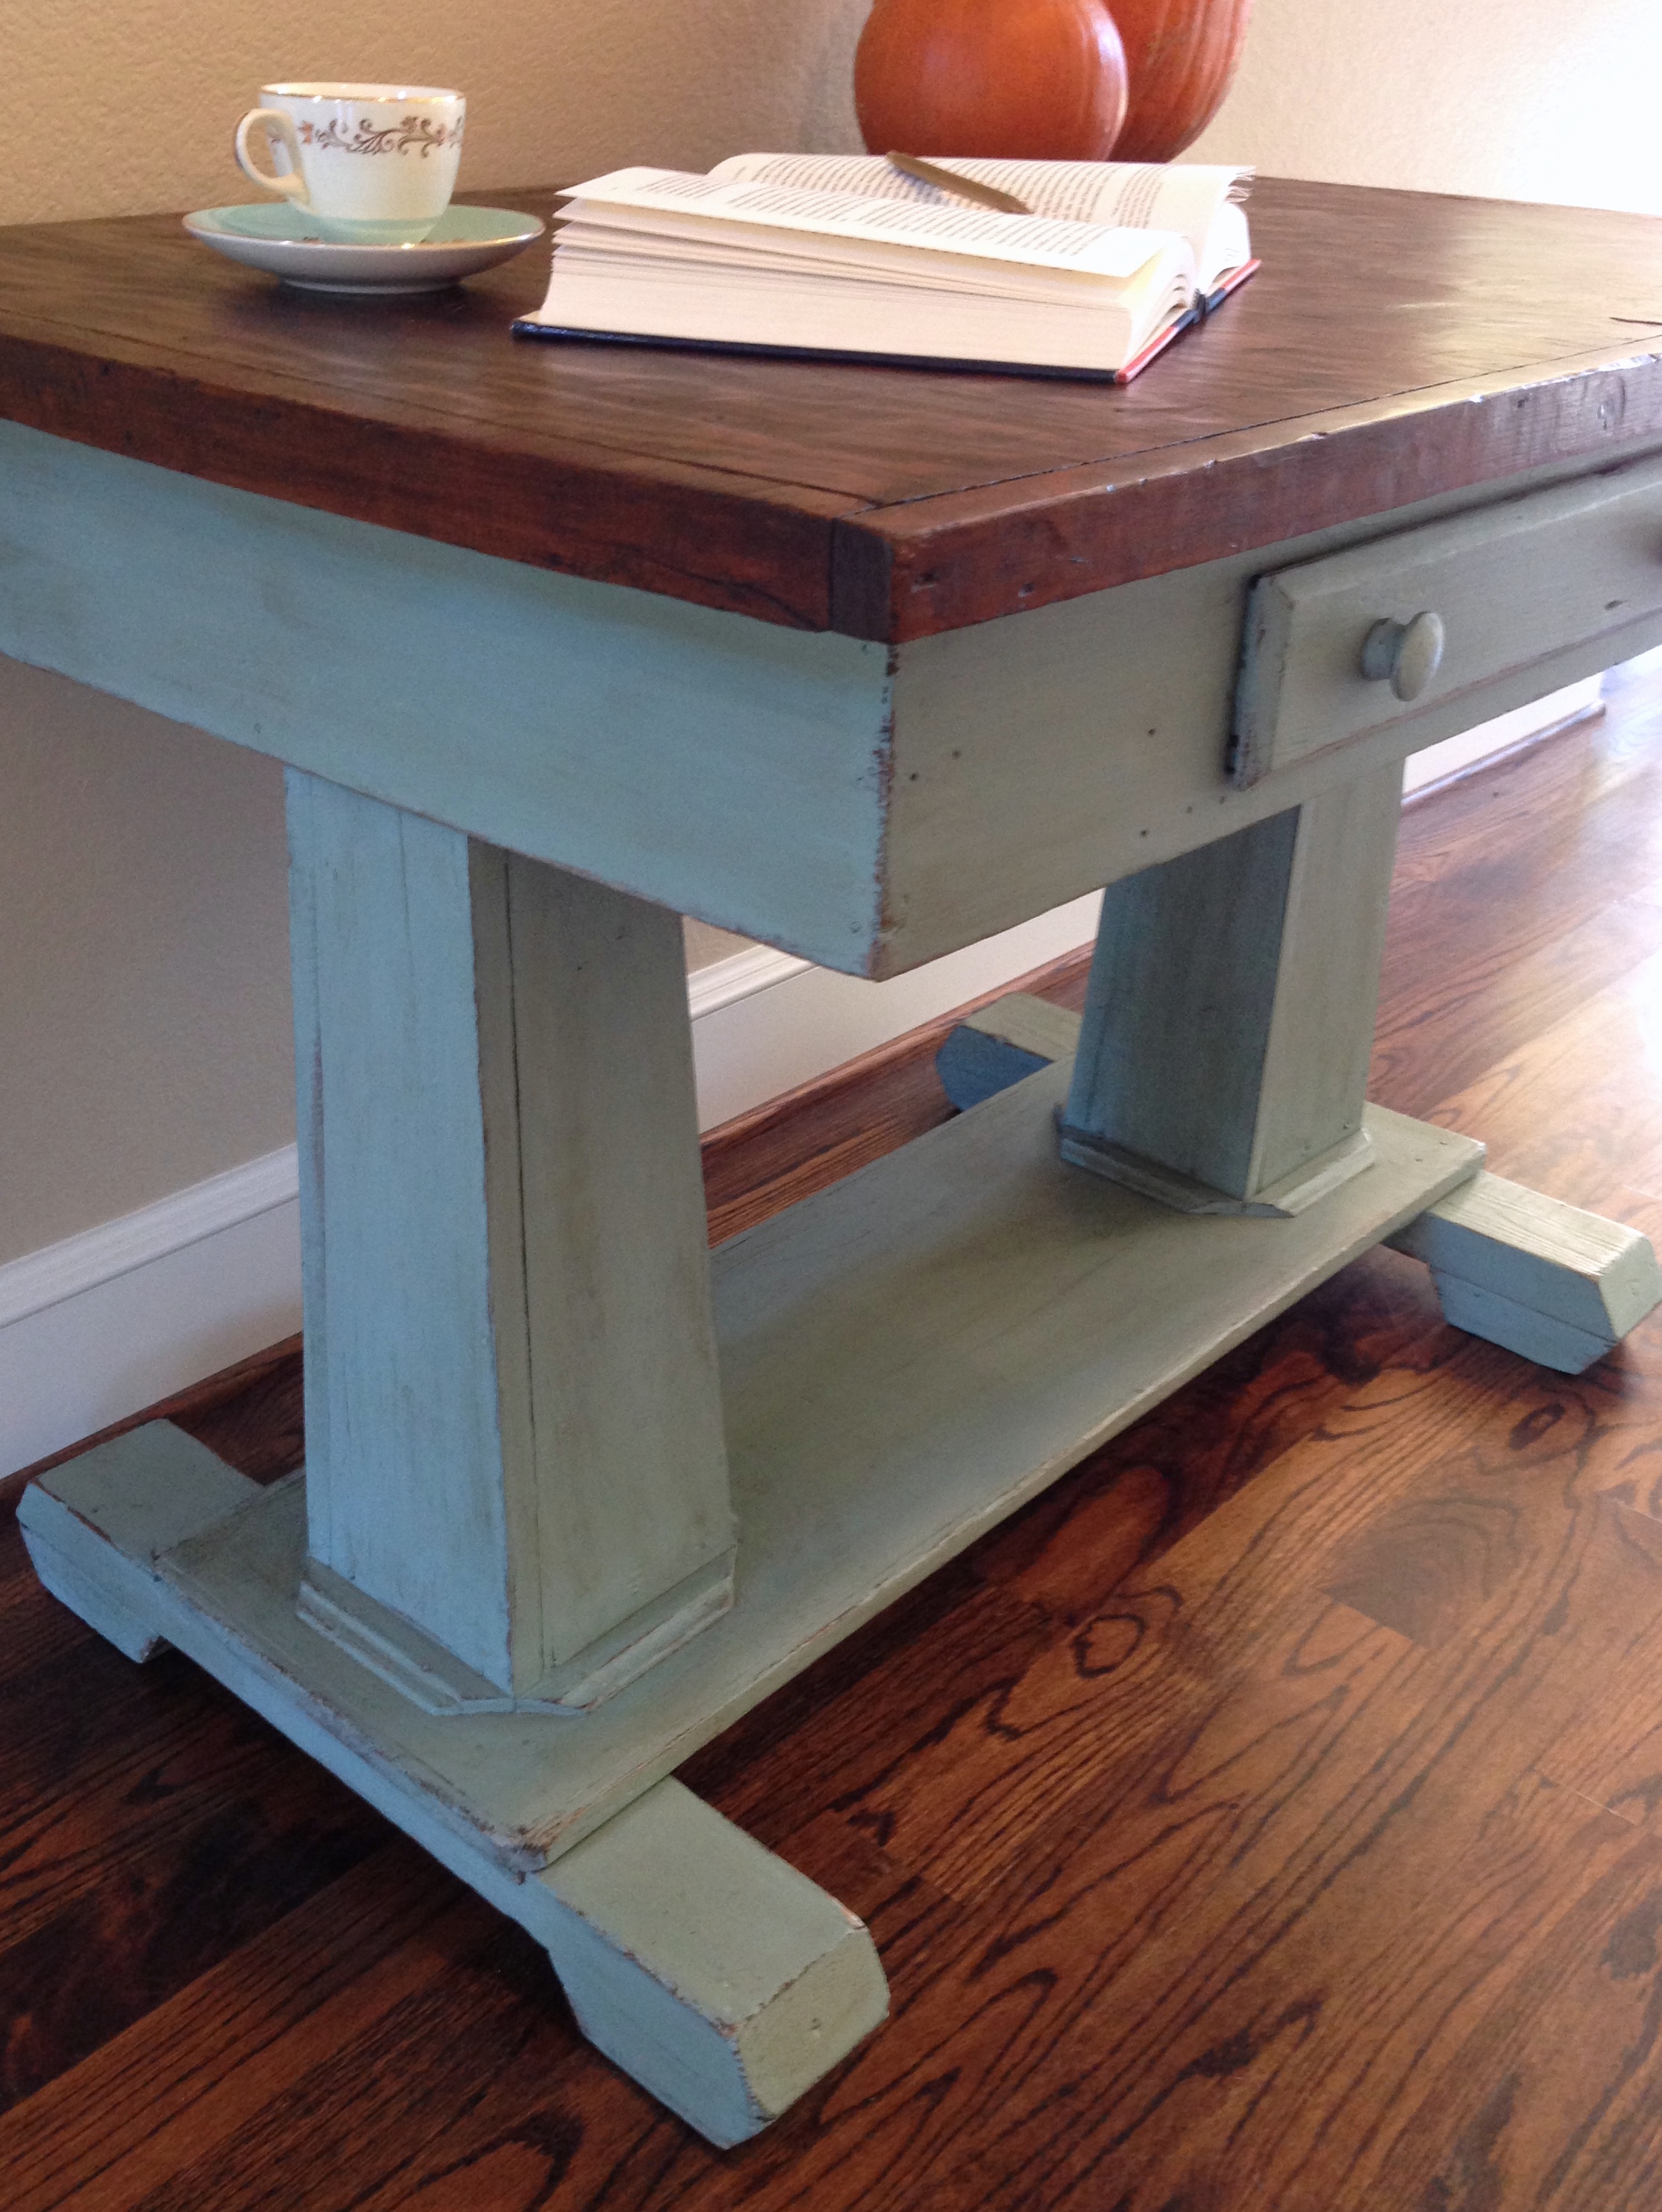
I actually debated on whether or not I should paint this piece, but honestly, it was so dark and bulky that the craftsmanship and character were getting lost. So, I gave it a face lift with Annie Sloan Chalk Paint in Duck Egg.
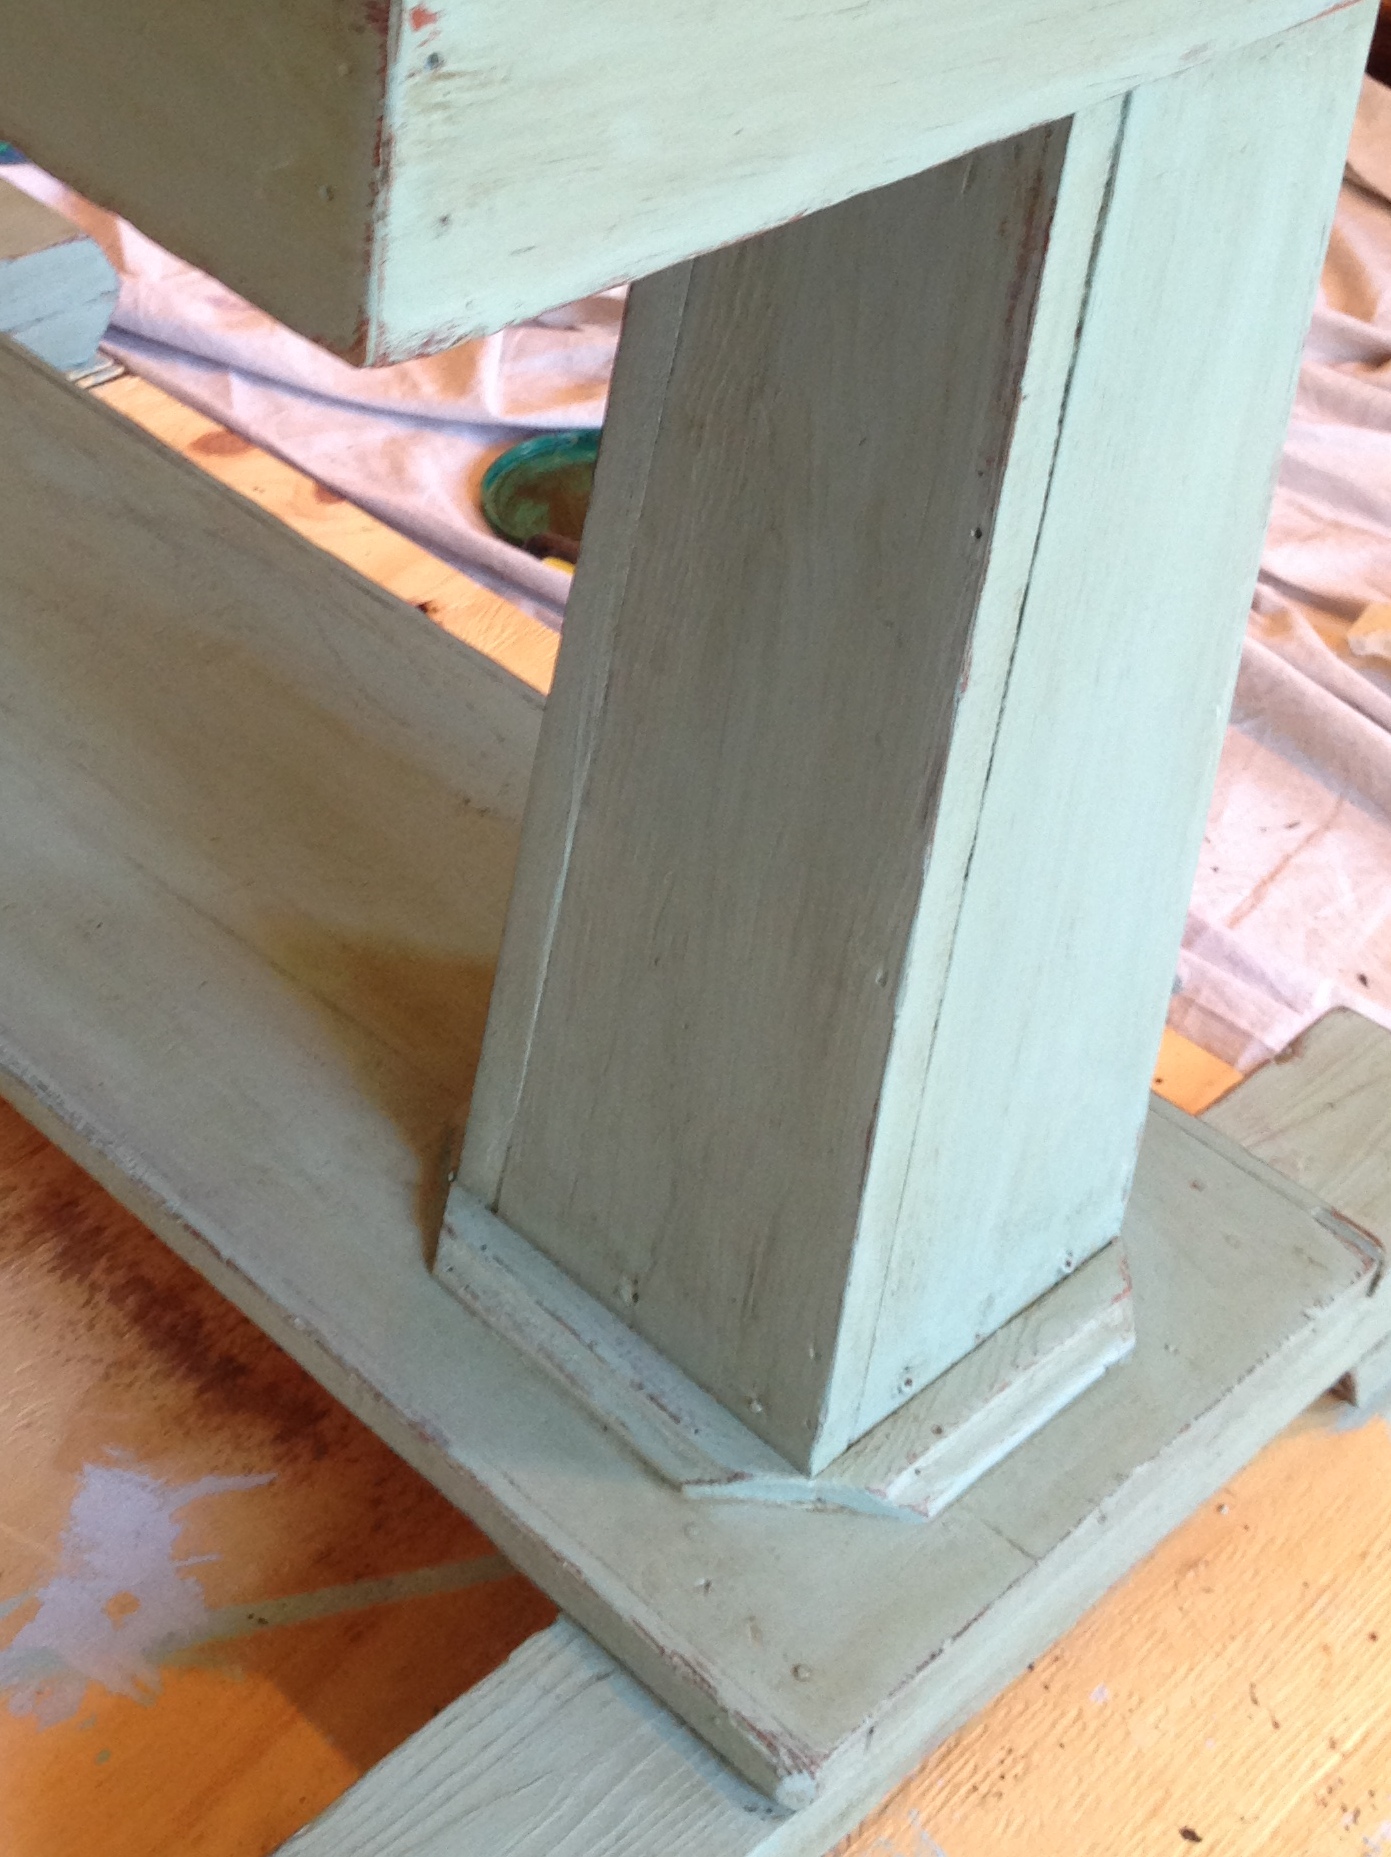
Here is the table after one coat of paint. There is already a huge difference.
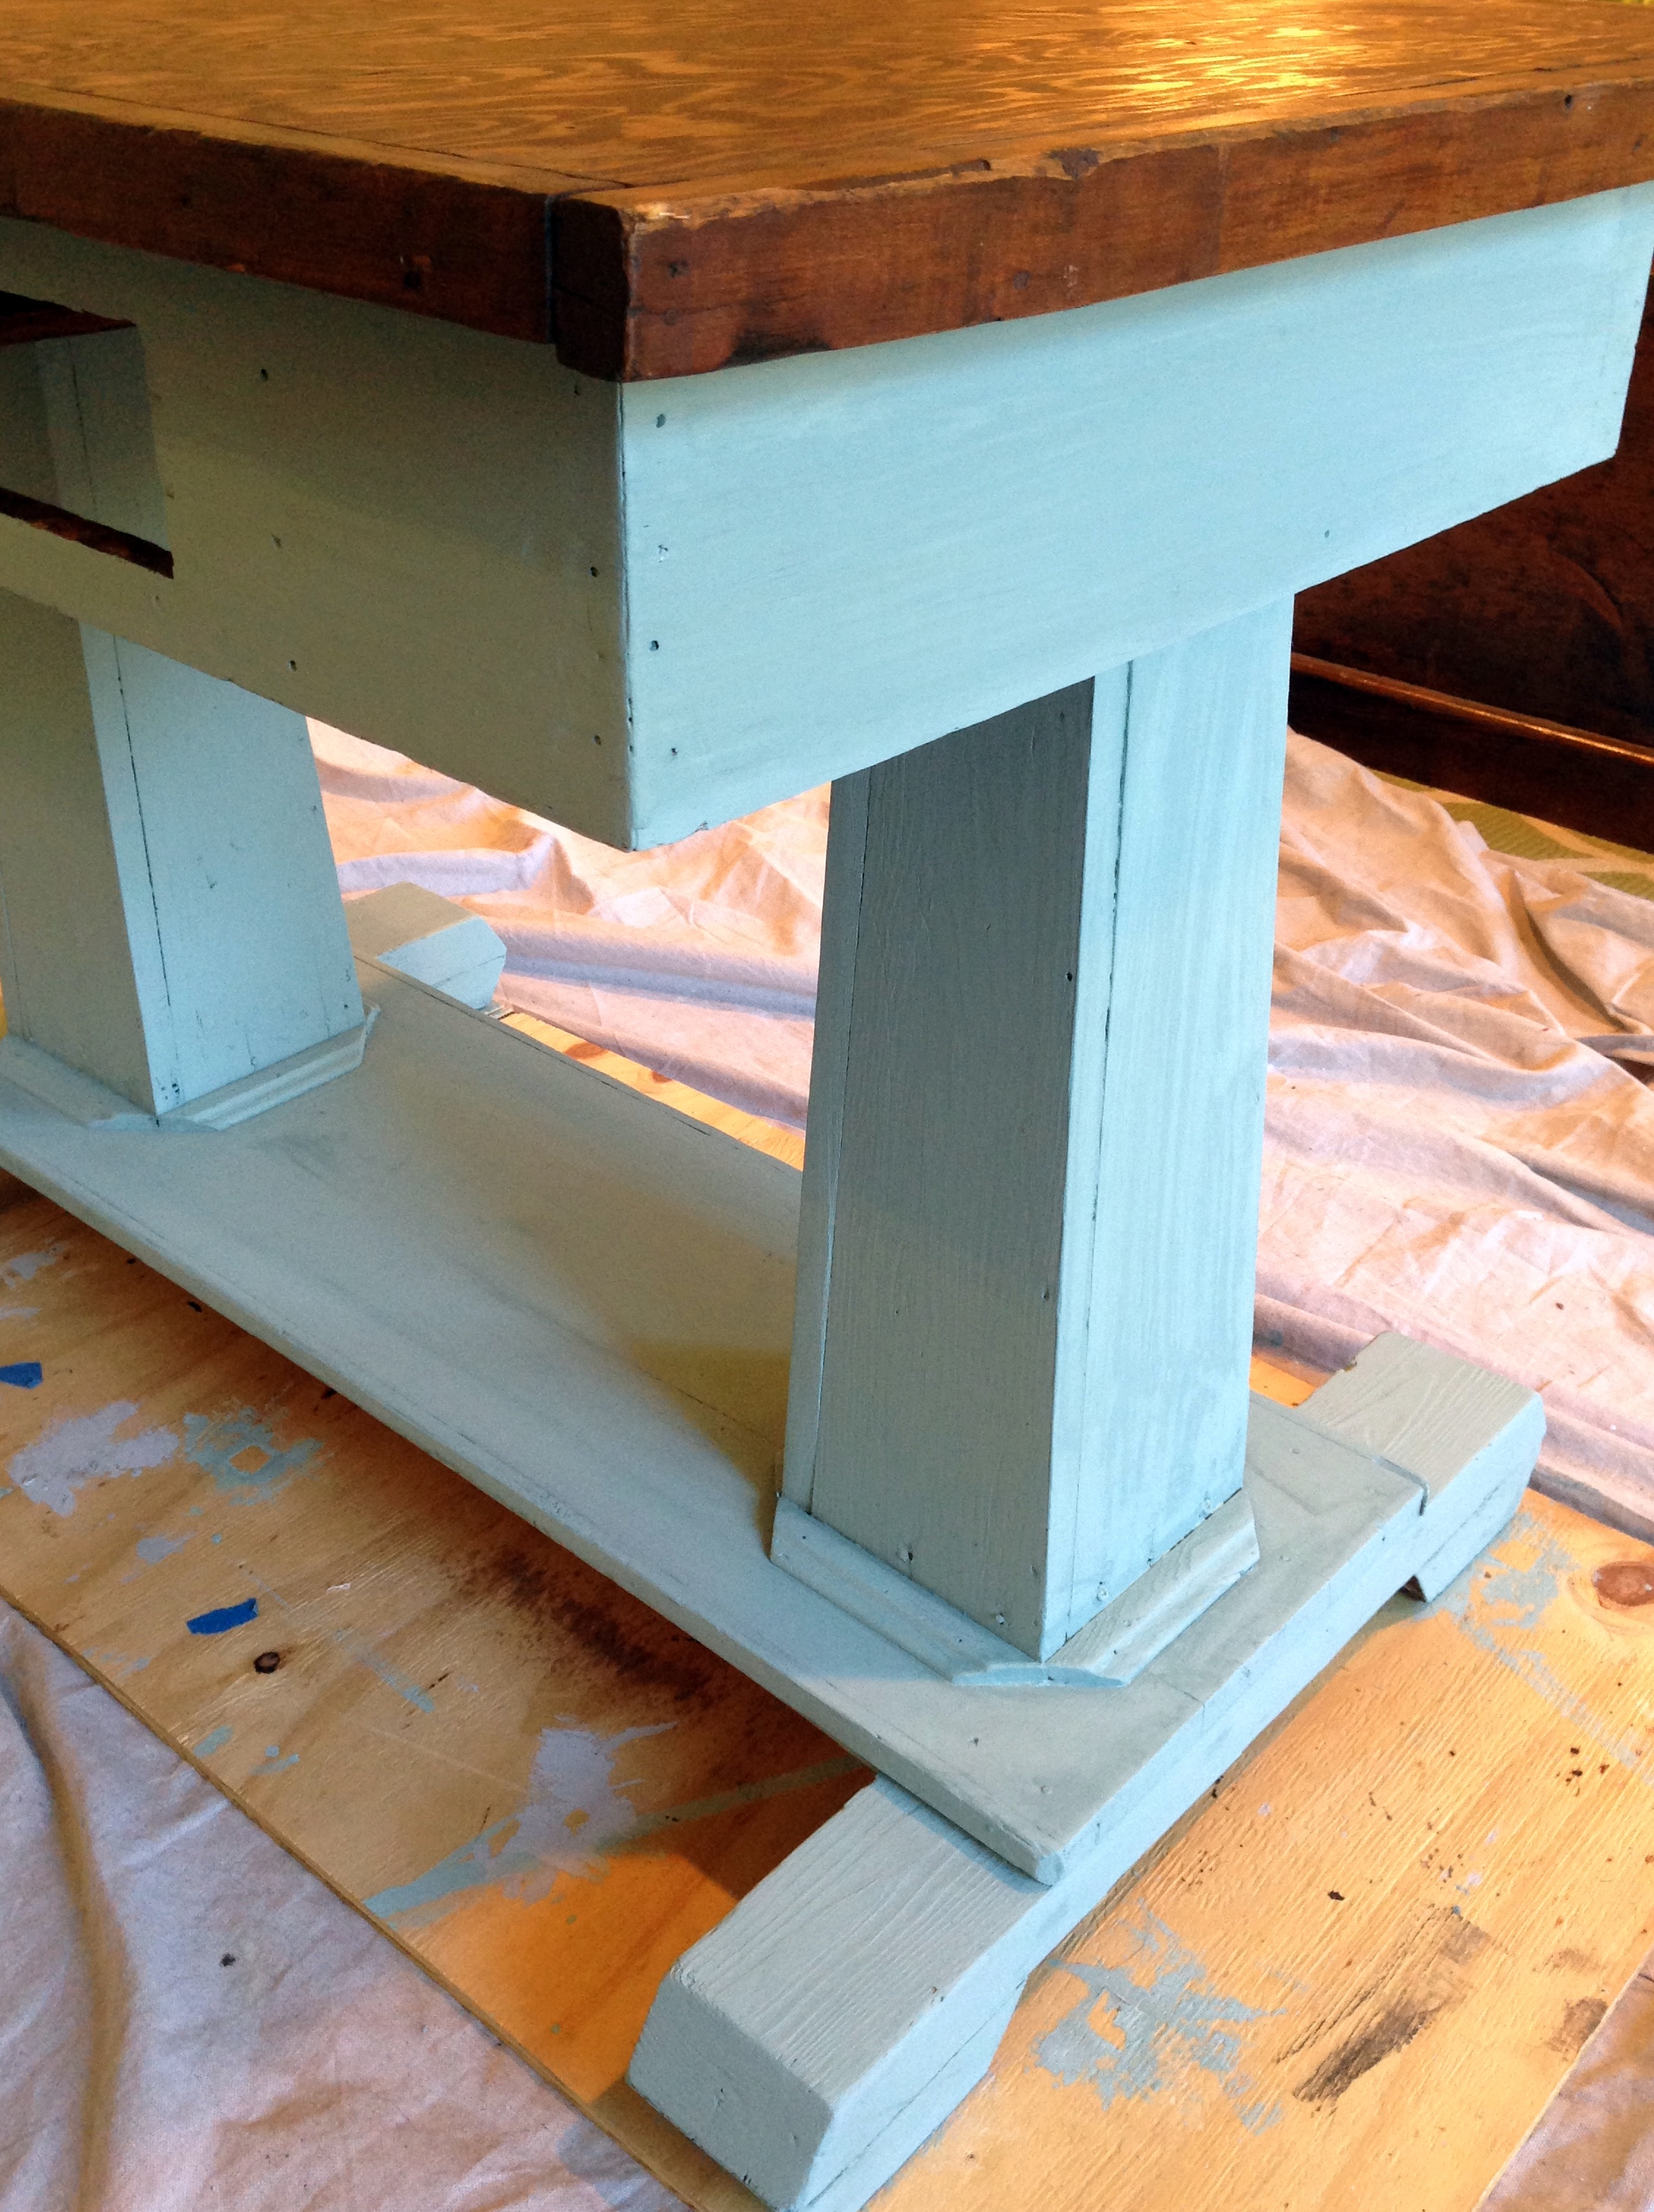
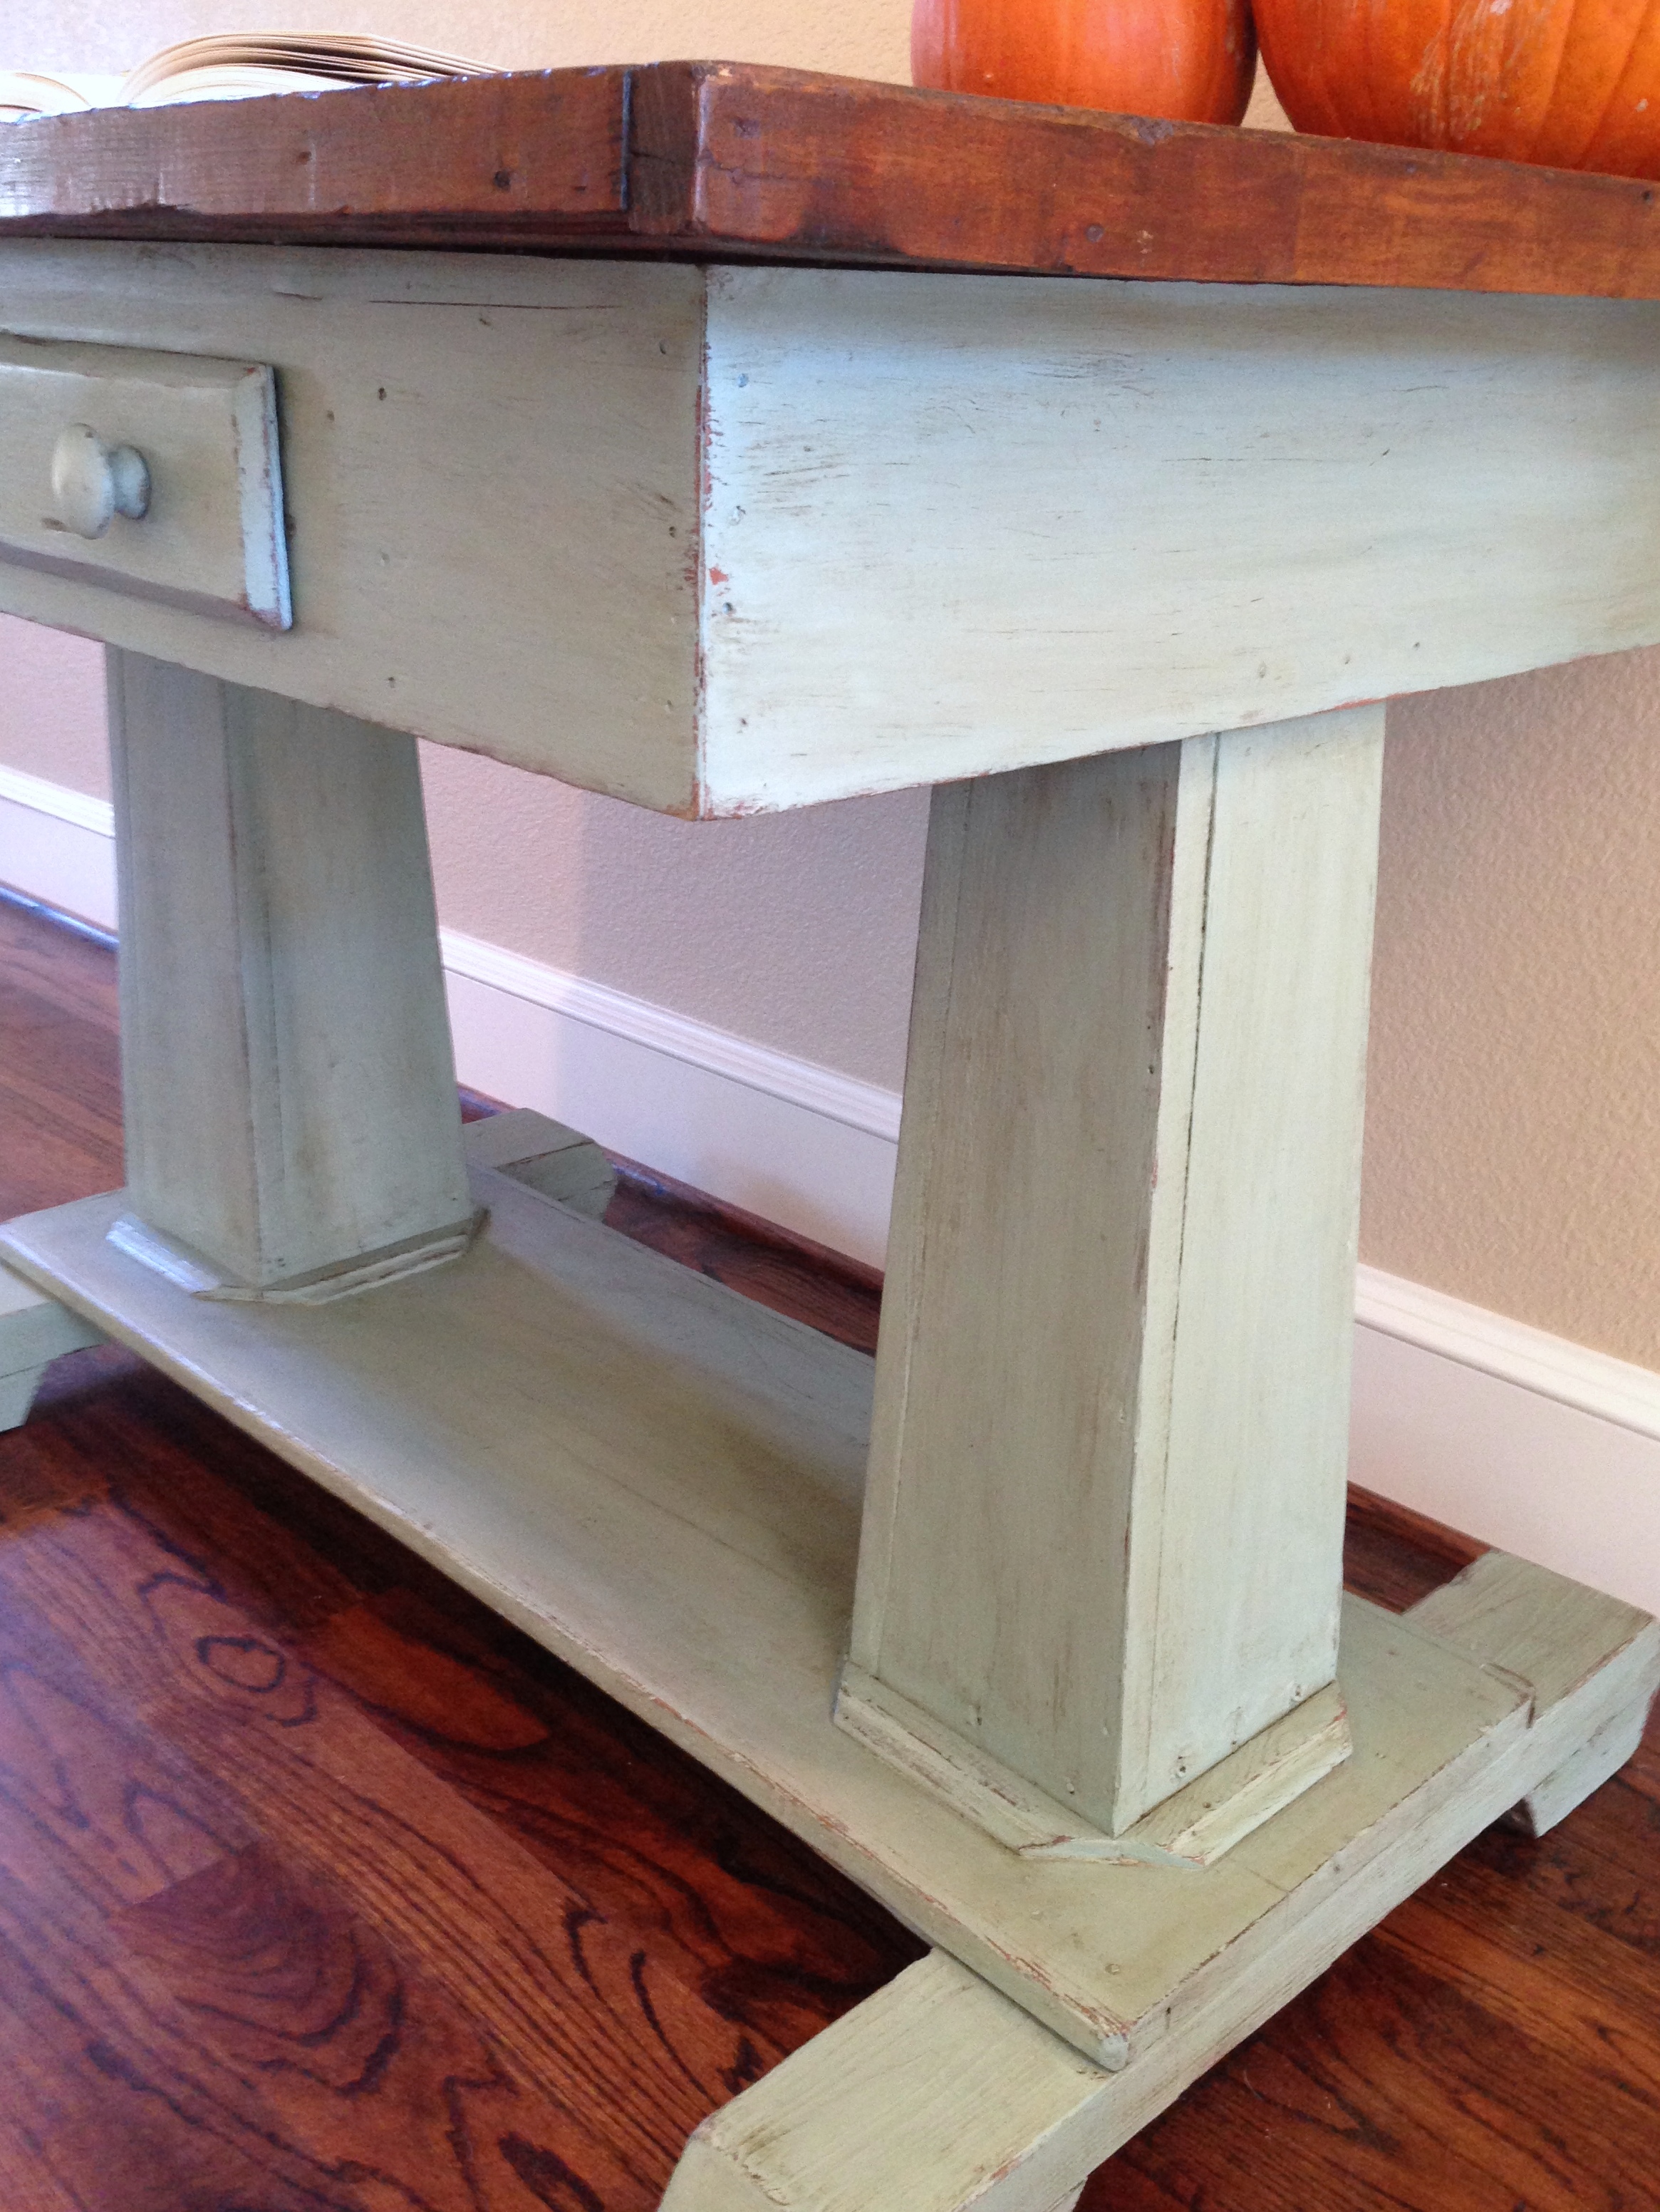
After adding a second coat and letting it dry I decided to distress the edges. This table is primitive, so I wanted to embrace all of its imperfections. Now, here is where I saved myself a lot of time. Normally, I distress with a sanding wedge, but honestly it takes some effort to make those marks look natural. It also makes a huge dusty mess. This time I tried my hand at just rubbing the edges of the piece with a damp rag.
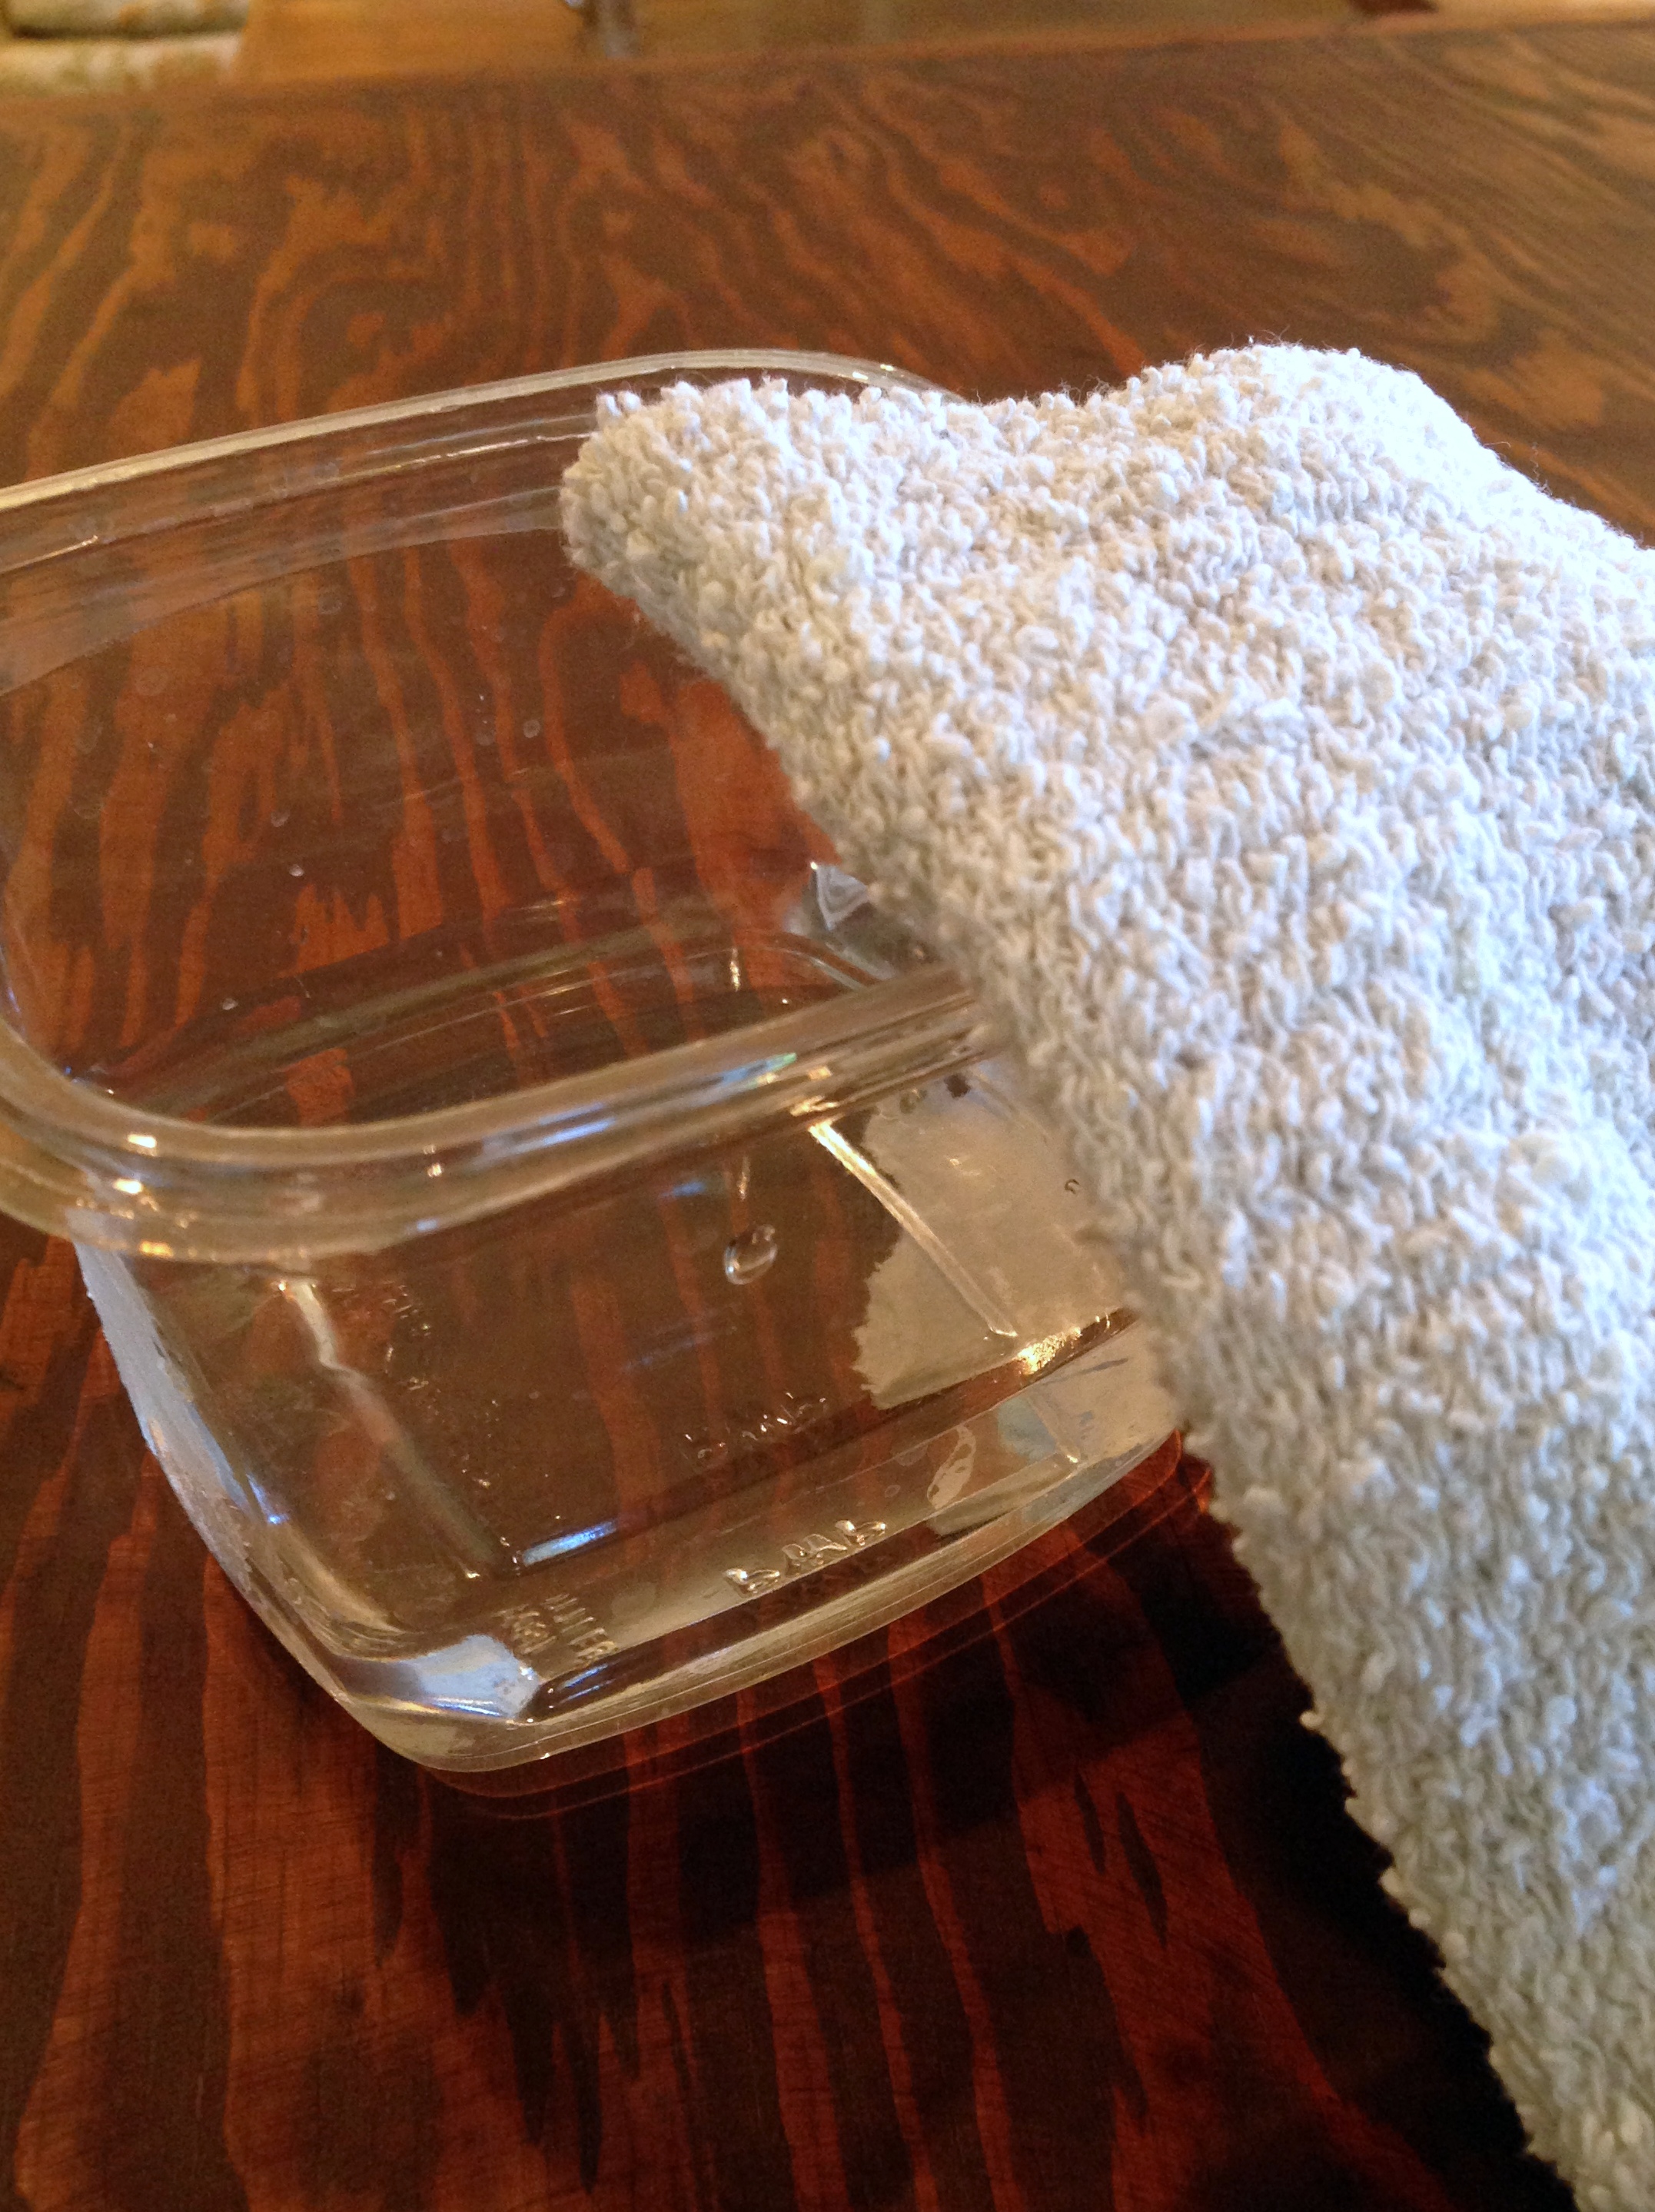
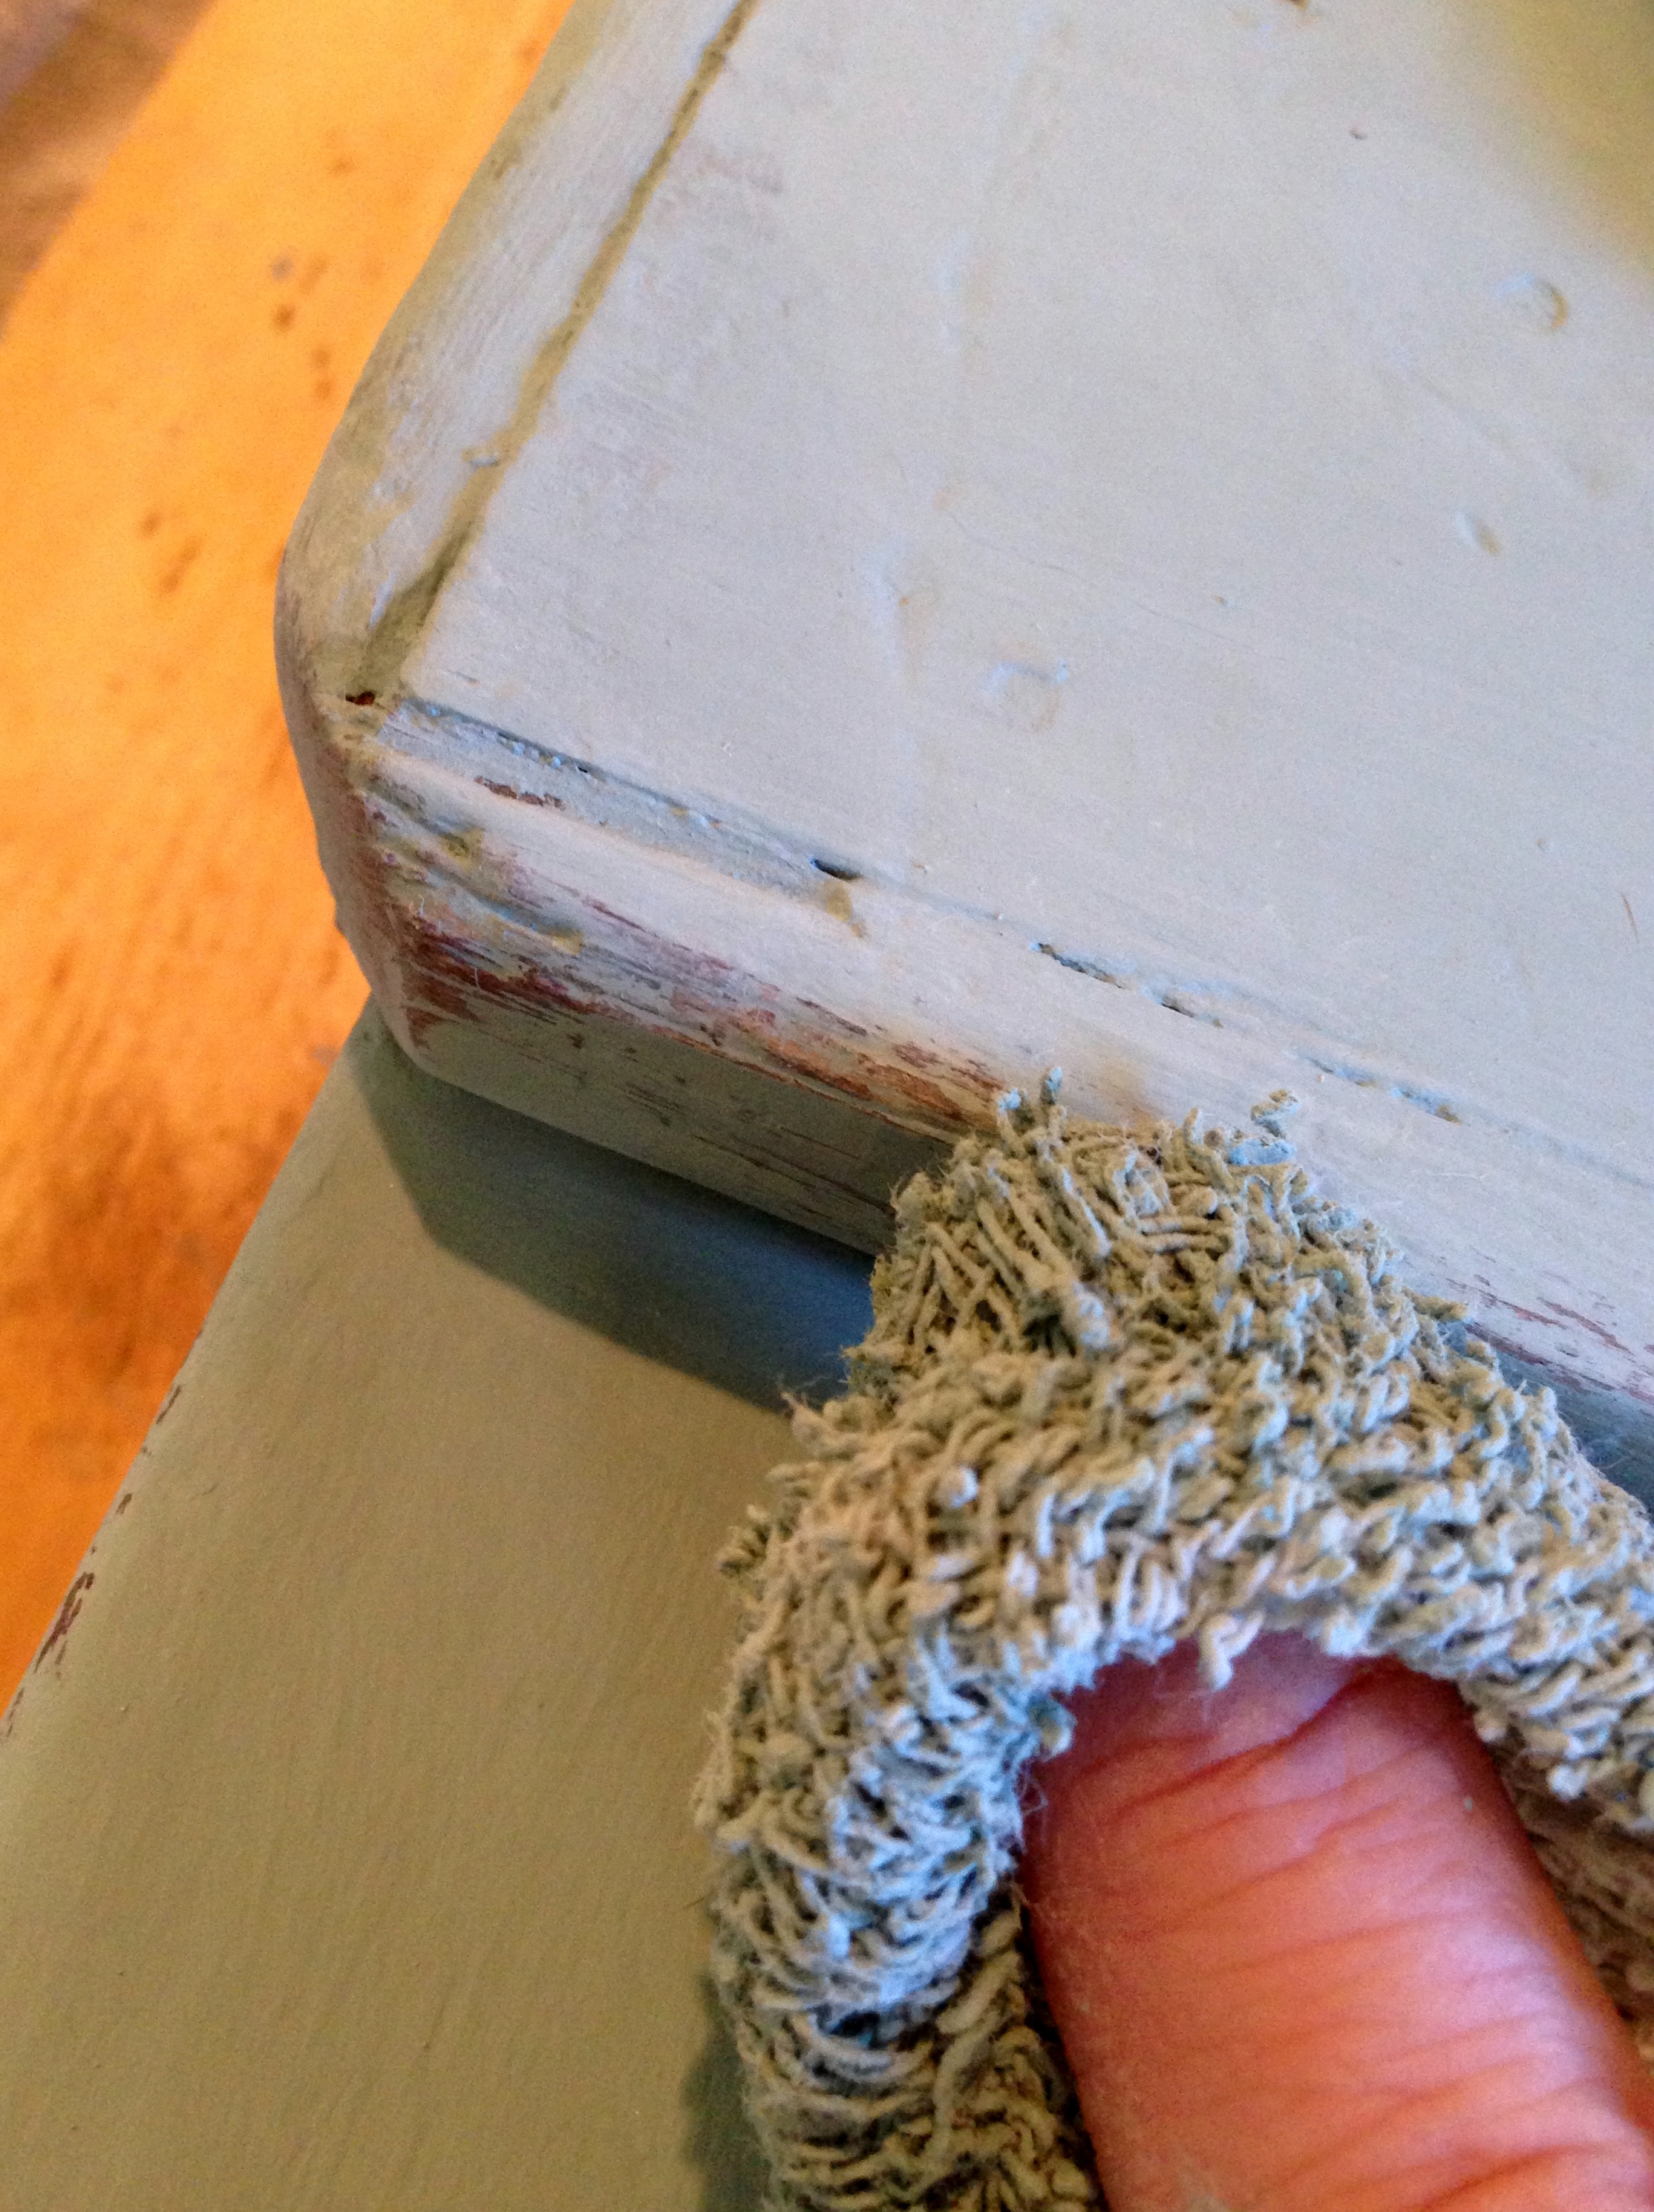
Brilliant results! I’m mad at myself for not trying this sooner (this is not a new concept when using chalk paint). Not only did the paint come off in a more natural way, but there was literally no mess.
From there, I applied a coat of Johnson Paste Wax with a chip brush, wiped it down, then let it dry. Since I wanted to embrace all the character, I “aged” the finish by adding dark Briwax. This not only keeps the piece from looking brand new, but the dark wax highlights the imperfections.
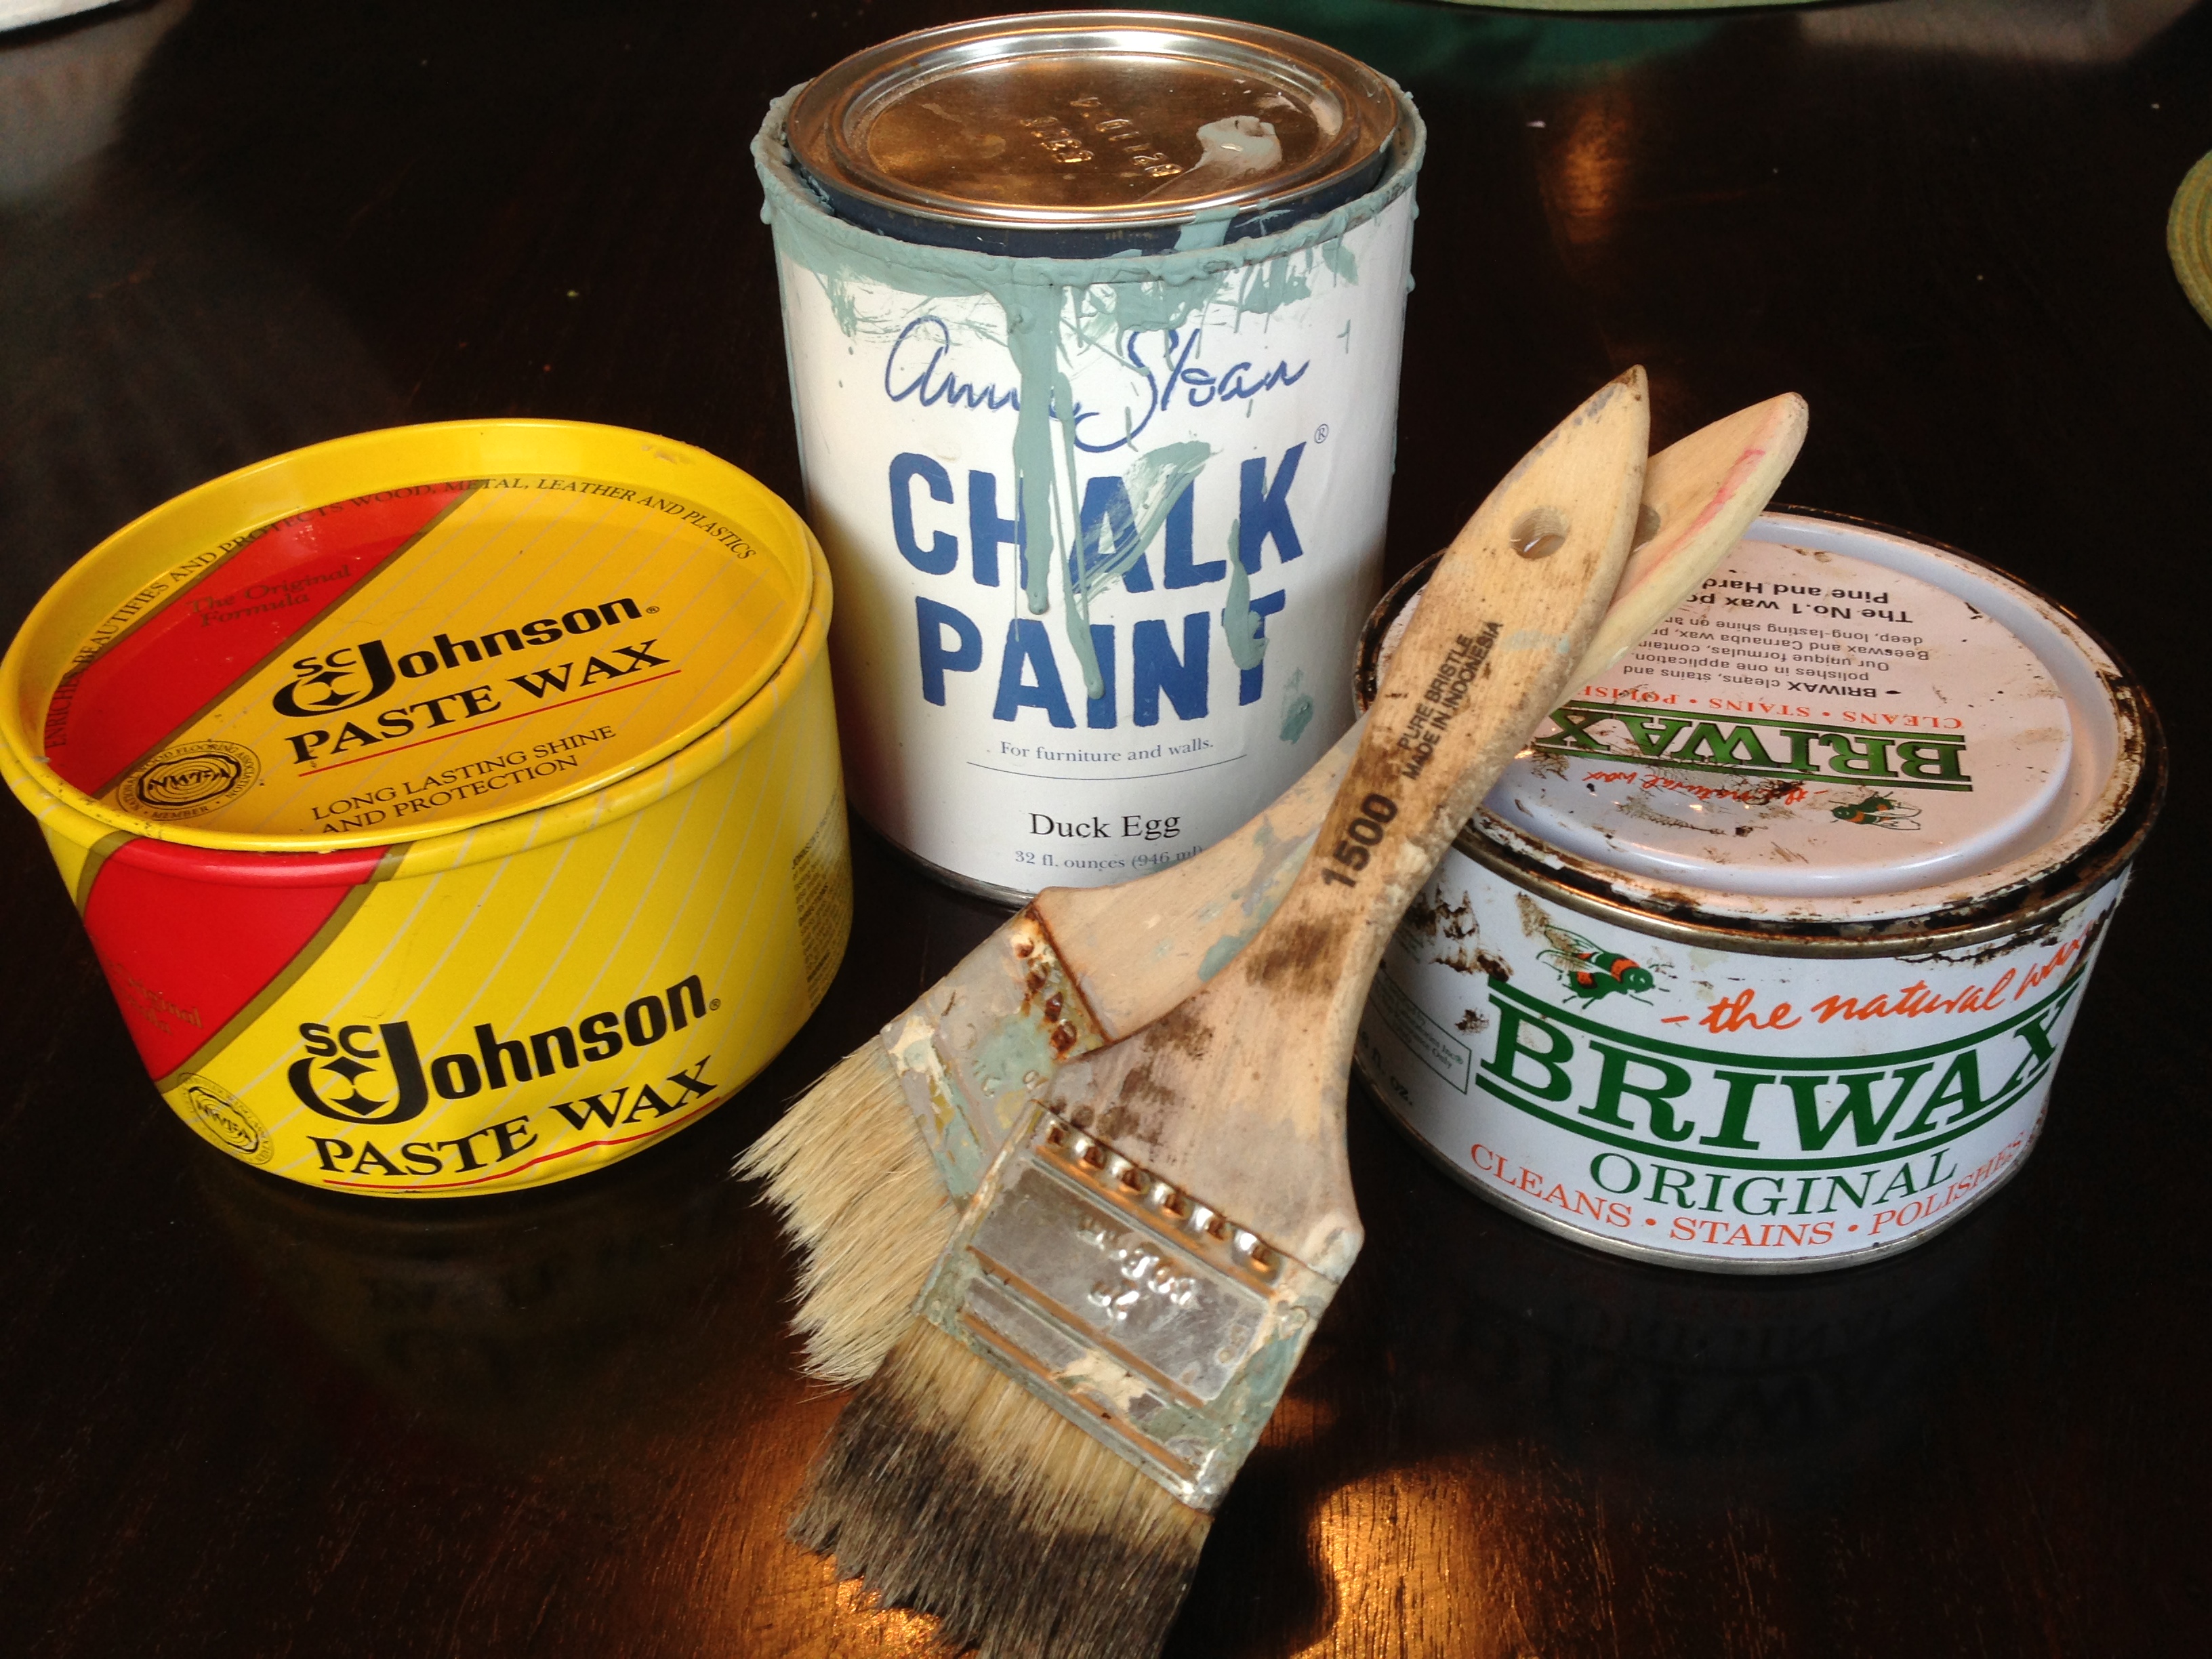
The trick to getting that aged look is applying just a small amount of dark wax then rubbing it into the piece with a paper towel or clean white cloth immediately (NOTE: You MUST add a coat of clear wax first or it will be a disaster!). If too much dark wax is applied, just add a little clear wax and it will act as an eraser.
You might have noticed I kept the top of the table in tact. It was just too cool and too important of a feature to cover up with paint. Instead, I wiped it down, applied some Restor-A-Finish in dark walnut, then followed up with a coat of dark Briwax.
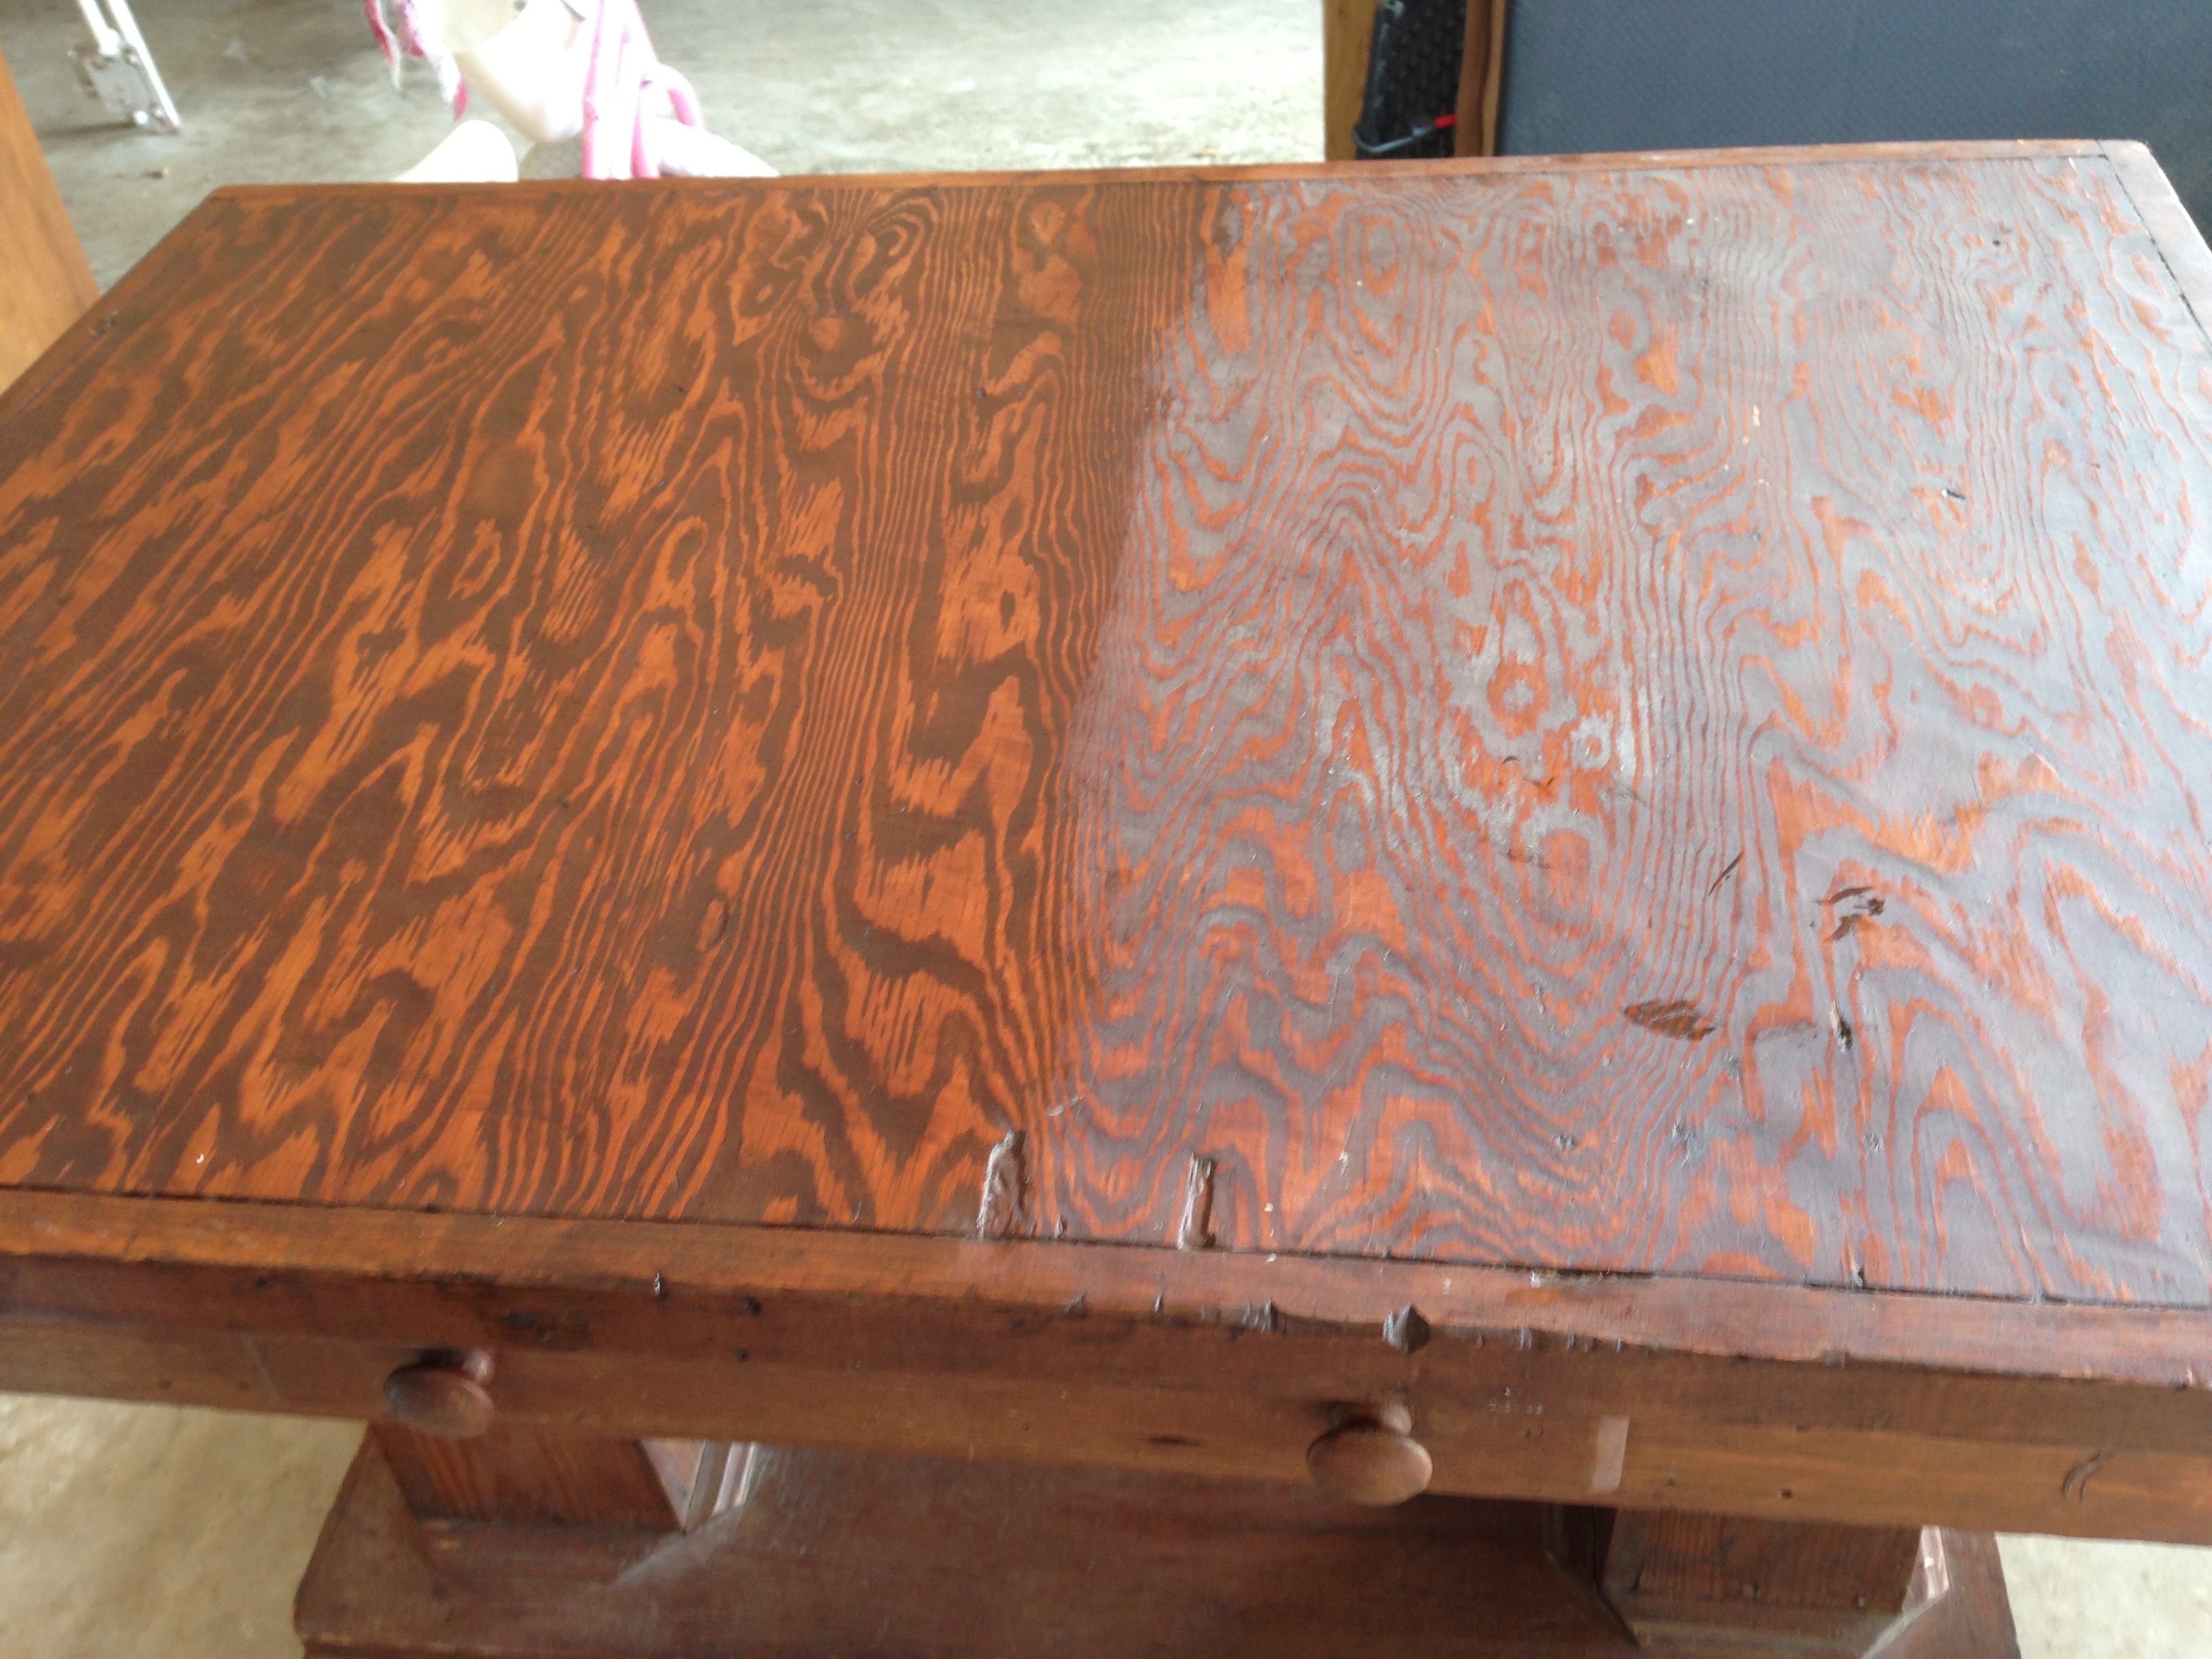
(Restor-A-Finish was applied on the left)
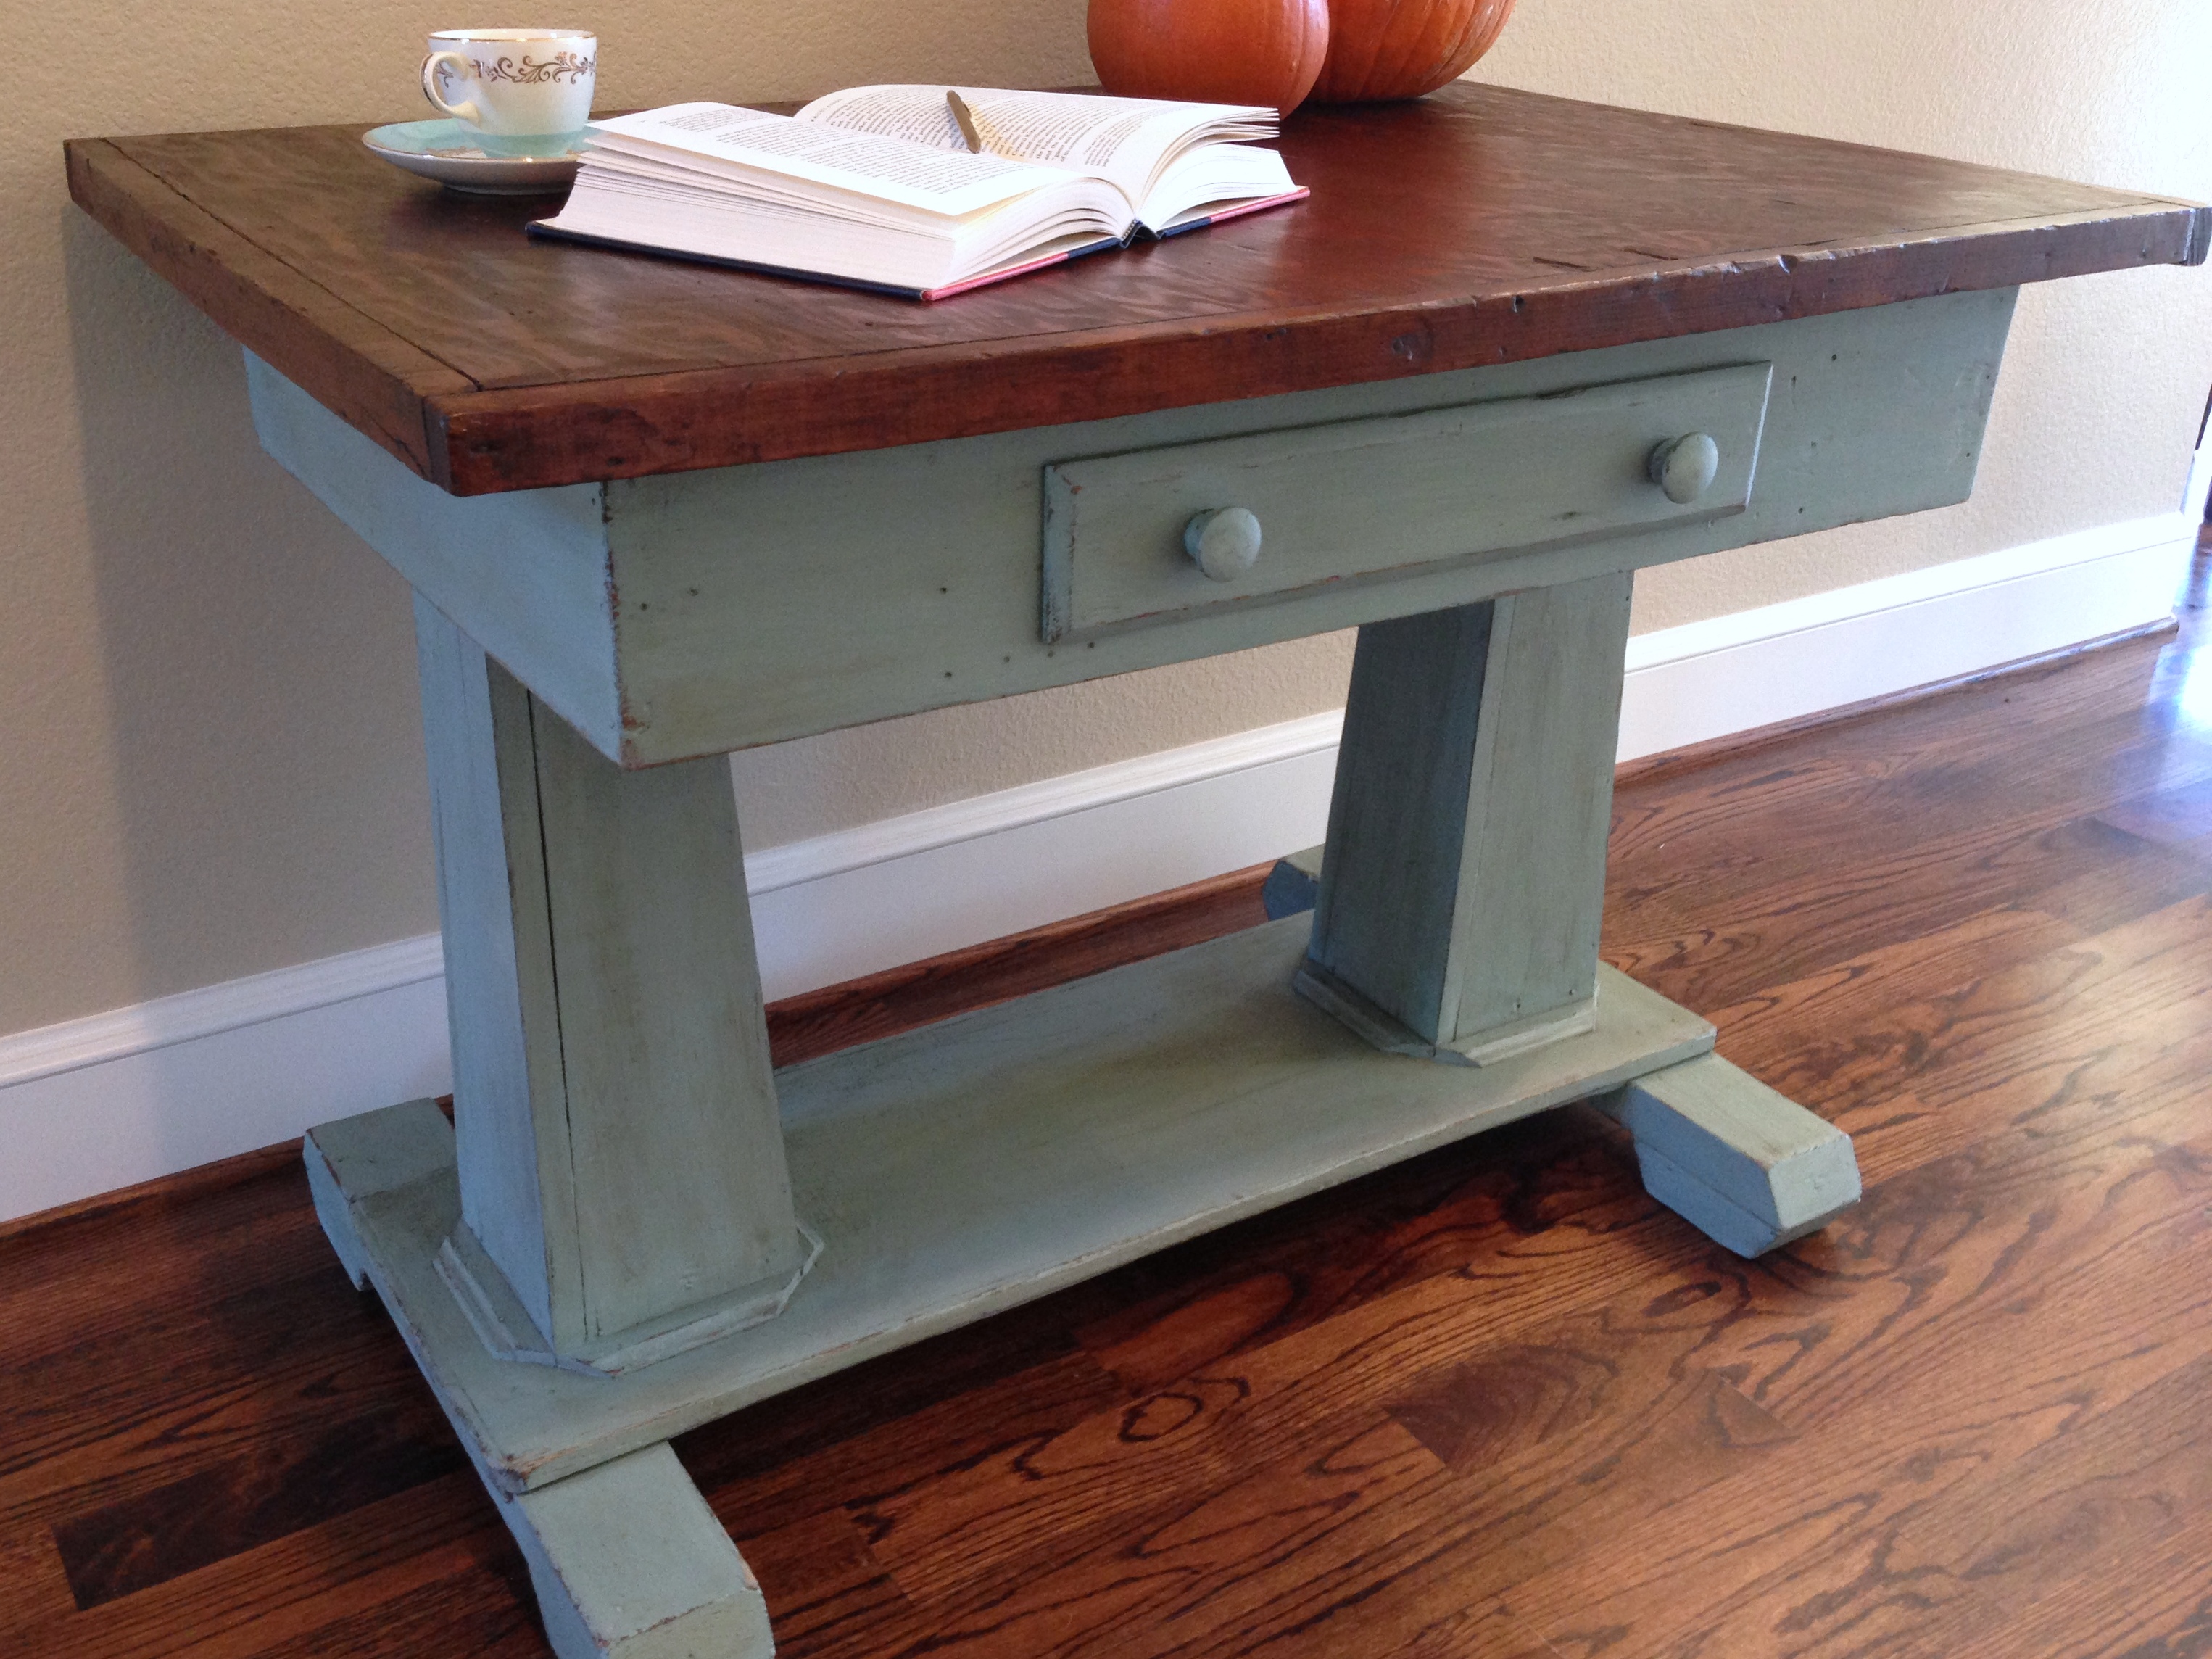
Here are the before & afters of the finished project in all its glory.


This is one of those pieces that I tried really hard to keep for myself, but I just didn’t have the room for it. So, I put it up for sale on a couple of sites and I’m happy to report it sold in less than 24 hours. I didn’t even have time to get it up on my own blog or Facebook page (I know, I know….shame on me).

Anyway, now that this piece is finished it’s time to move on to another project. Anything to keep me from the gym.


Brilliant!
You are not lazy!!
Sent from my iPad
>
Pingback: My Favorite Things (Part 2) | A Nester's Nest